
Backstage describes itself as an open platform to build developer portals. The software was developed by Spotify 2020 under the Open Source Projects and is written in Typescript. Spotify itself uses the software for internal software development.
Today we want to take a closer look at Backstage and will try to design our own template.
Out-of-the-box, Backstage offers a Software Catalog with which we can manage all our software. This includes, for example, microservices, libraries, websites, data pipelines, etc. We can create new entities in the software catalogue based on Software Templates, or register existing software. This is important so that you can import existing software into Backstage.
Software Templates provide us with a standardised way to create software. Best practices and toolsets can be stored in the template, which can be used by all developers. Automation of build and deployment processes can also be built directly into the software templates.
Backstage also offers us TechDocs. Here, technical documentation can be easily created and maintained. This way you have the technical documentation centrally in one place and always close to the software it belongs to.
To understand what exactly Backstage does, the easiest way is to start a local server. Backstage offers a CLI for this purpose, with which we can create an app. An app contains a backend and frontend, which we can configure according to our wishes.
Get started
Before we can run Backstage locally, certain preconditions must be fulfilled. Once we have installed all the programs, we can create an app with the following command. As name I choose dev-manager and as database we use SQLite for local development.
|
|
Our app will now be created. After the creation is done, we can start it with the following command.
|
|
A browser window should now open with the application.
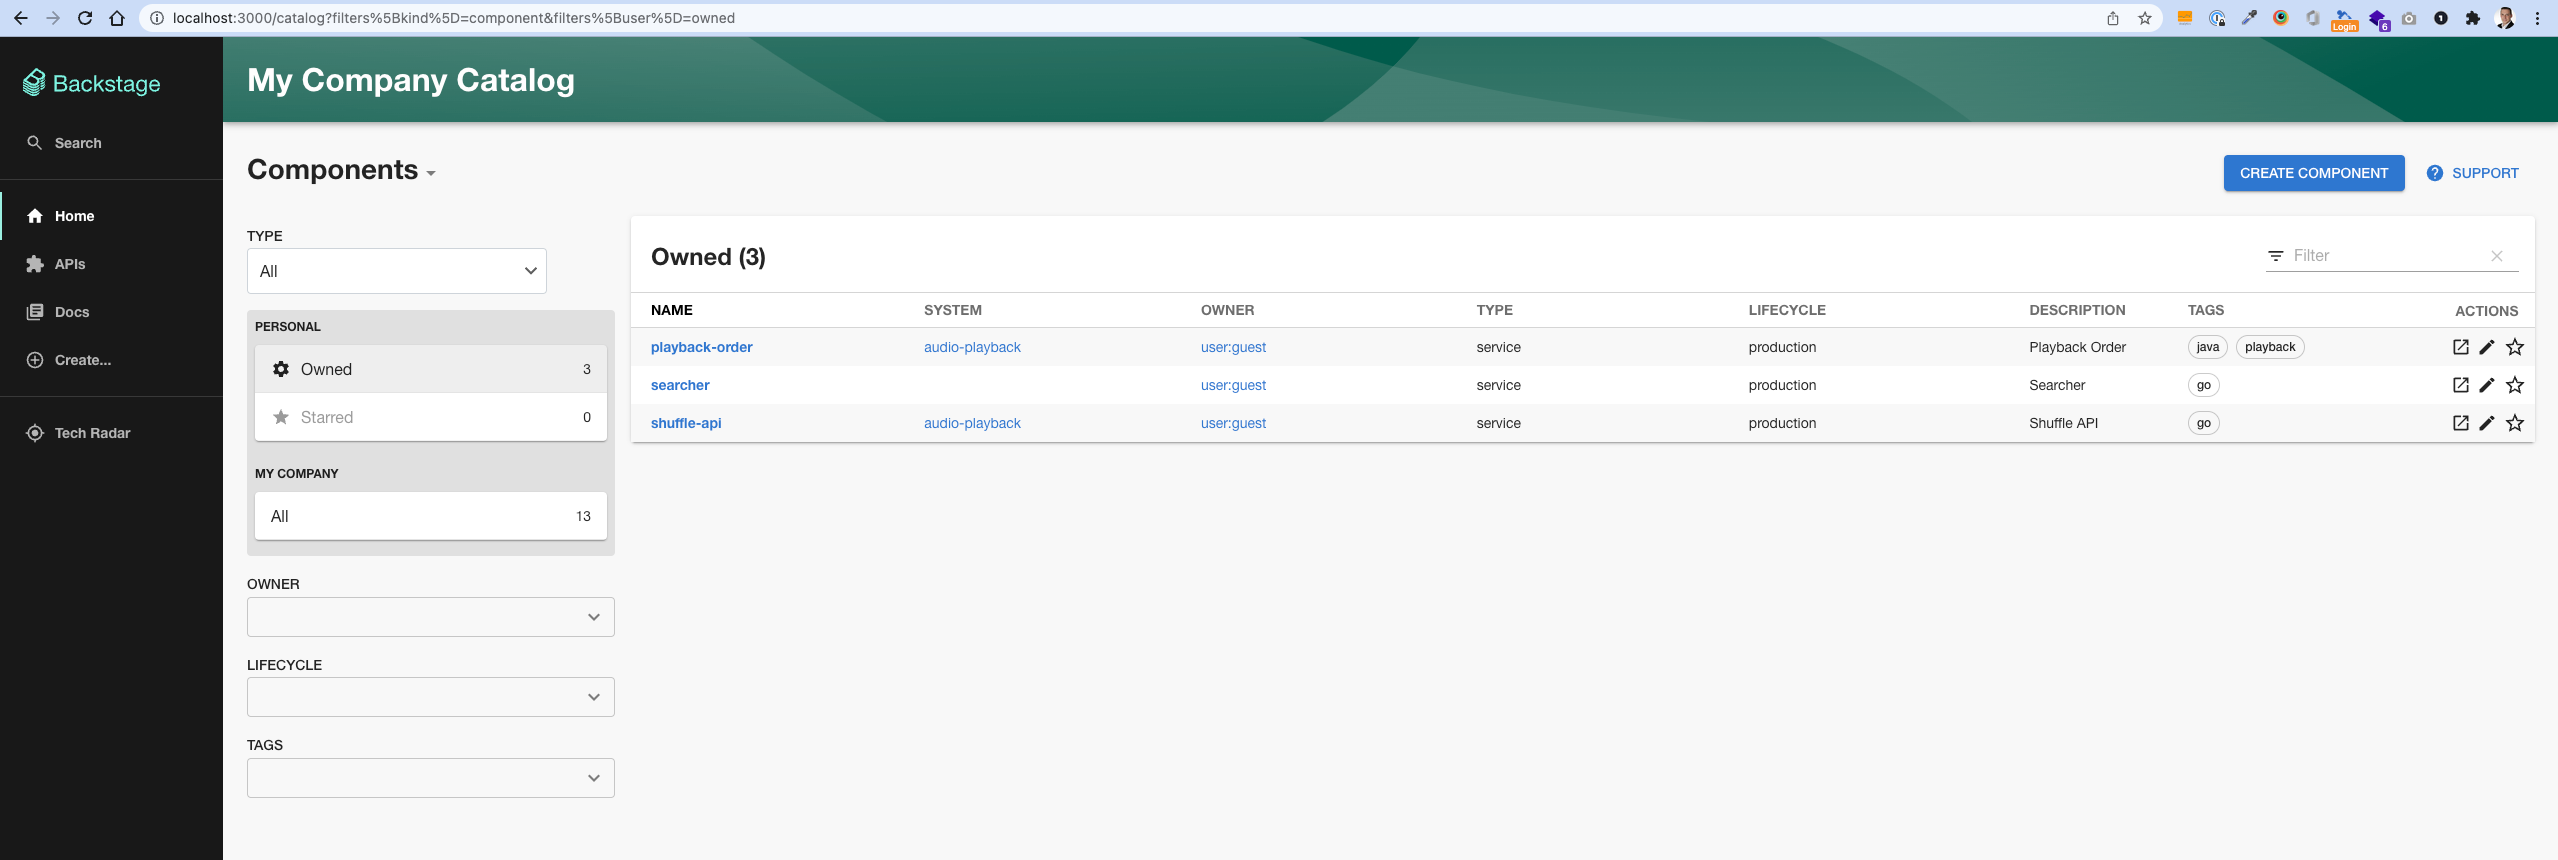
Let’s have a look at the application in detail. On the start page we find an overview of all our components. A component can be of type library, website or service. Based on the components, the specific view will be built later.
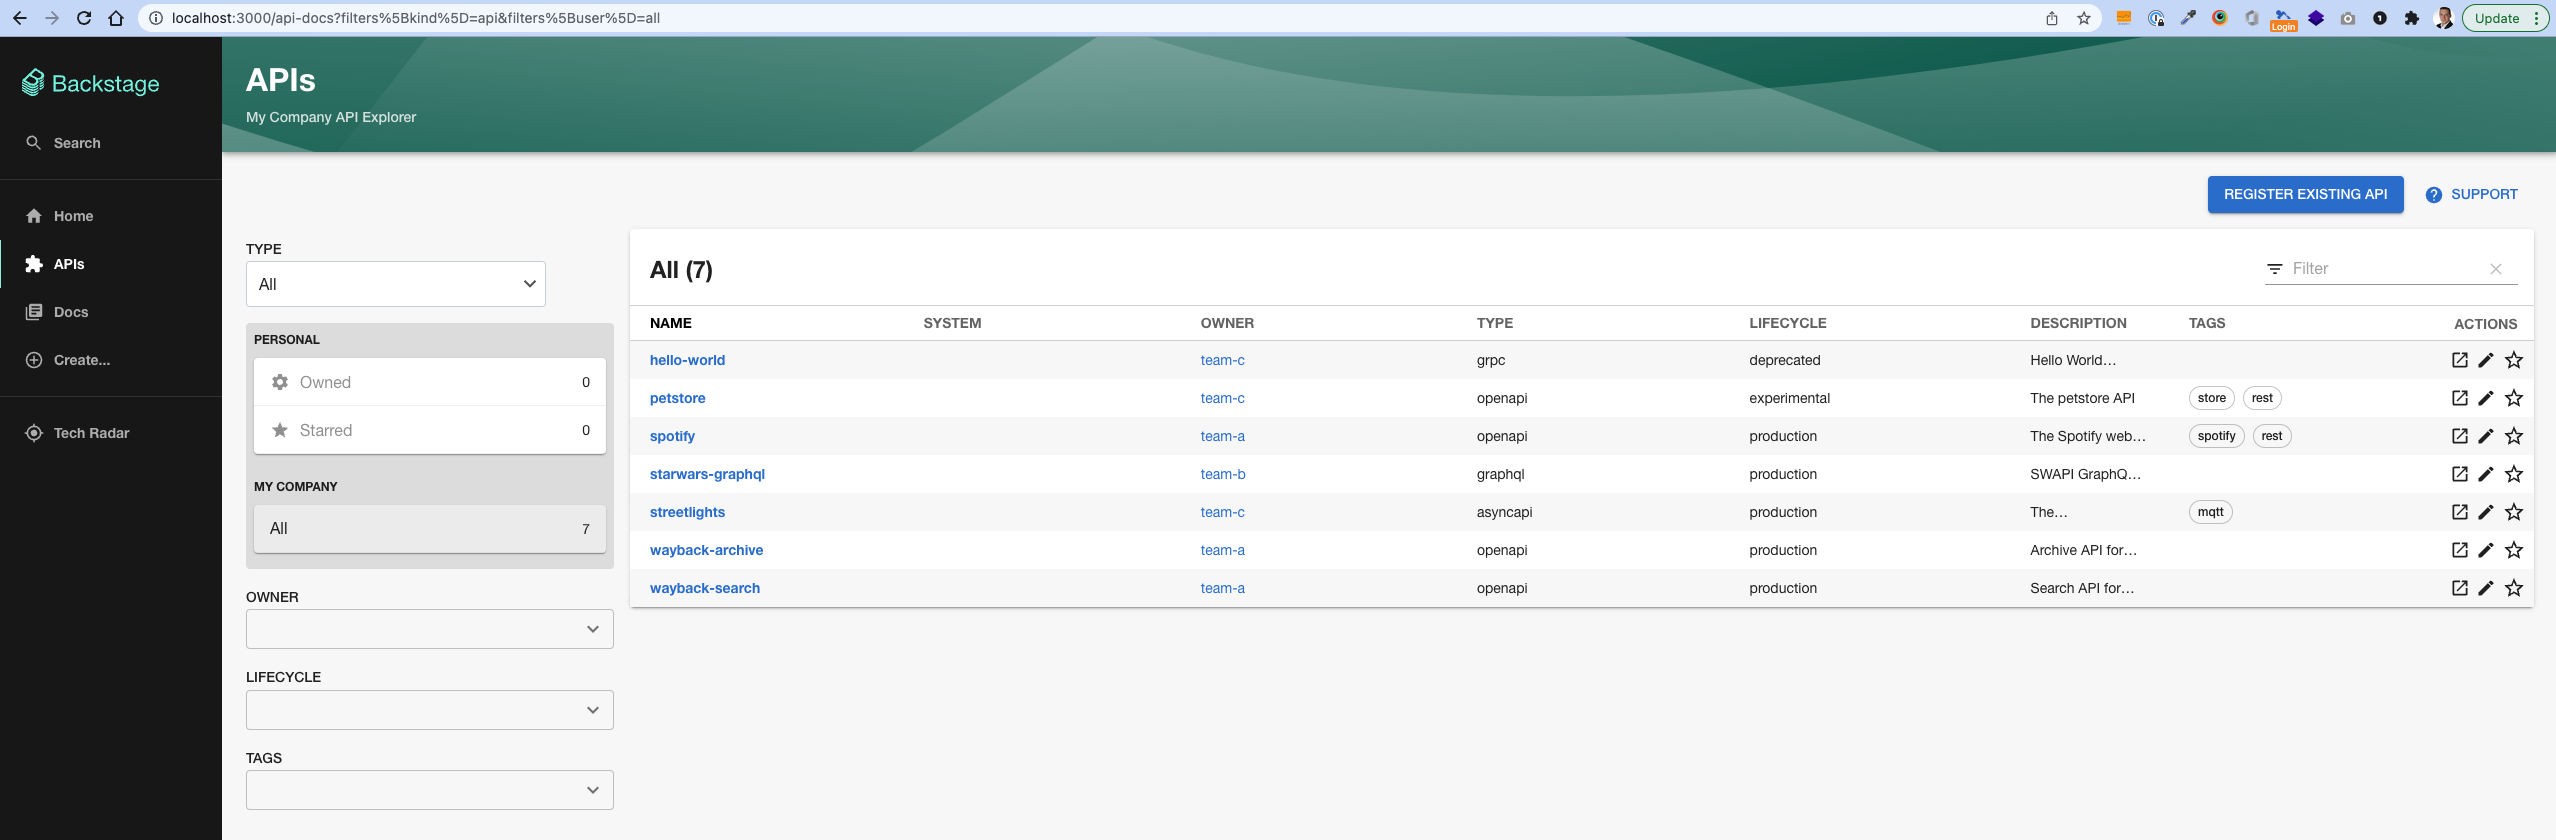
Under APIs we find an API catalogue. In this, as the name says, all APIs can be found. Here, too, there are different types (grpc, openapi, graphql and asyncapi), which influence the detailed view.
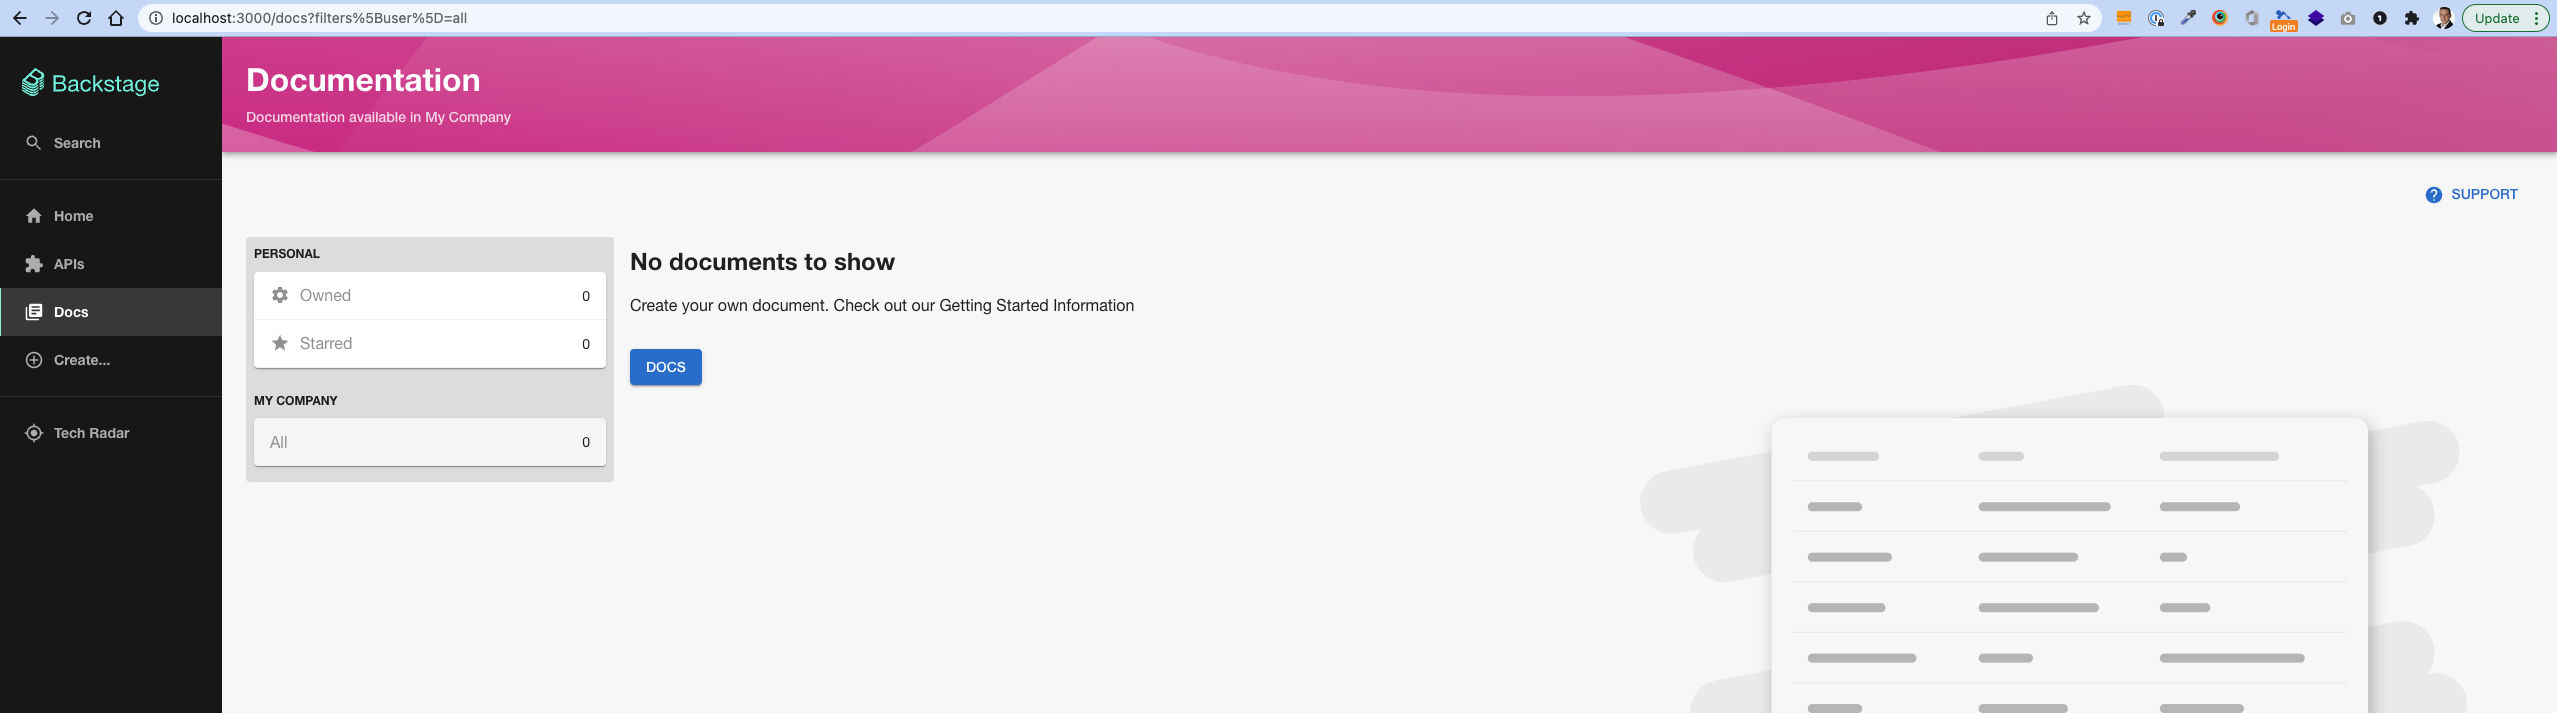
In the Docs view we find technical documentation for our components. This way, the documentation, the API as well as the implementation are in one central place.
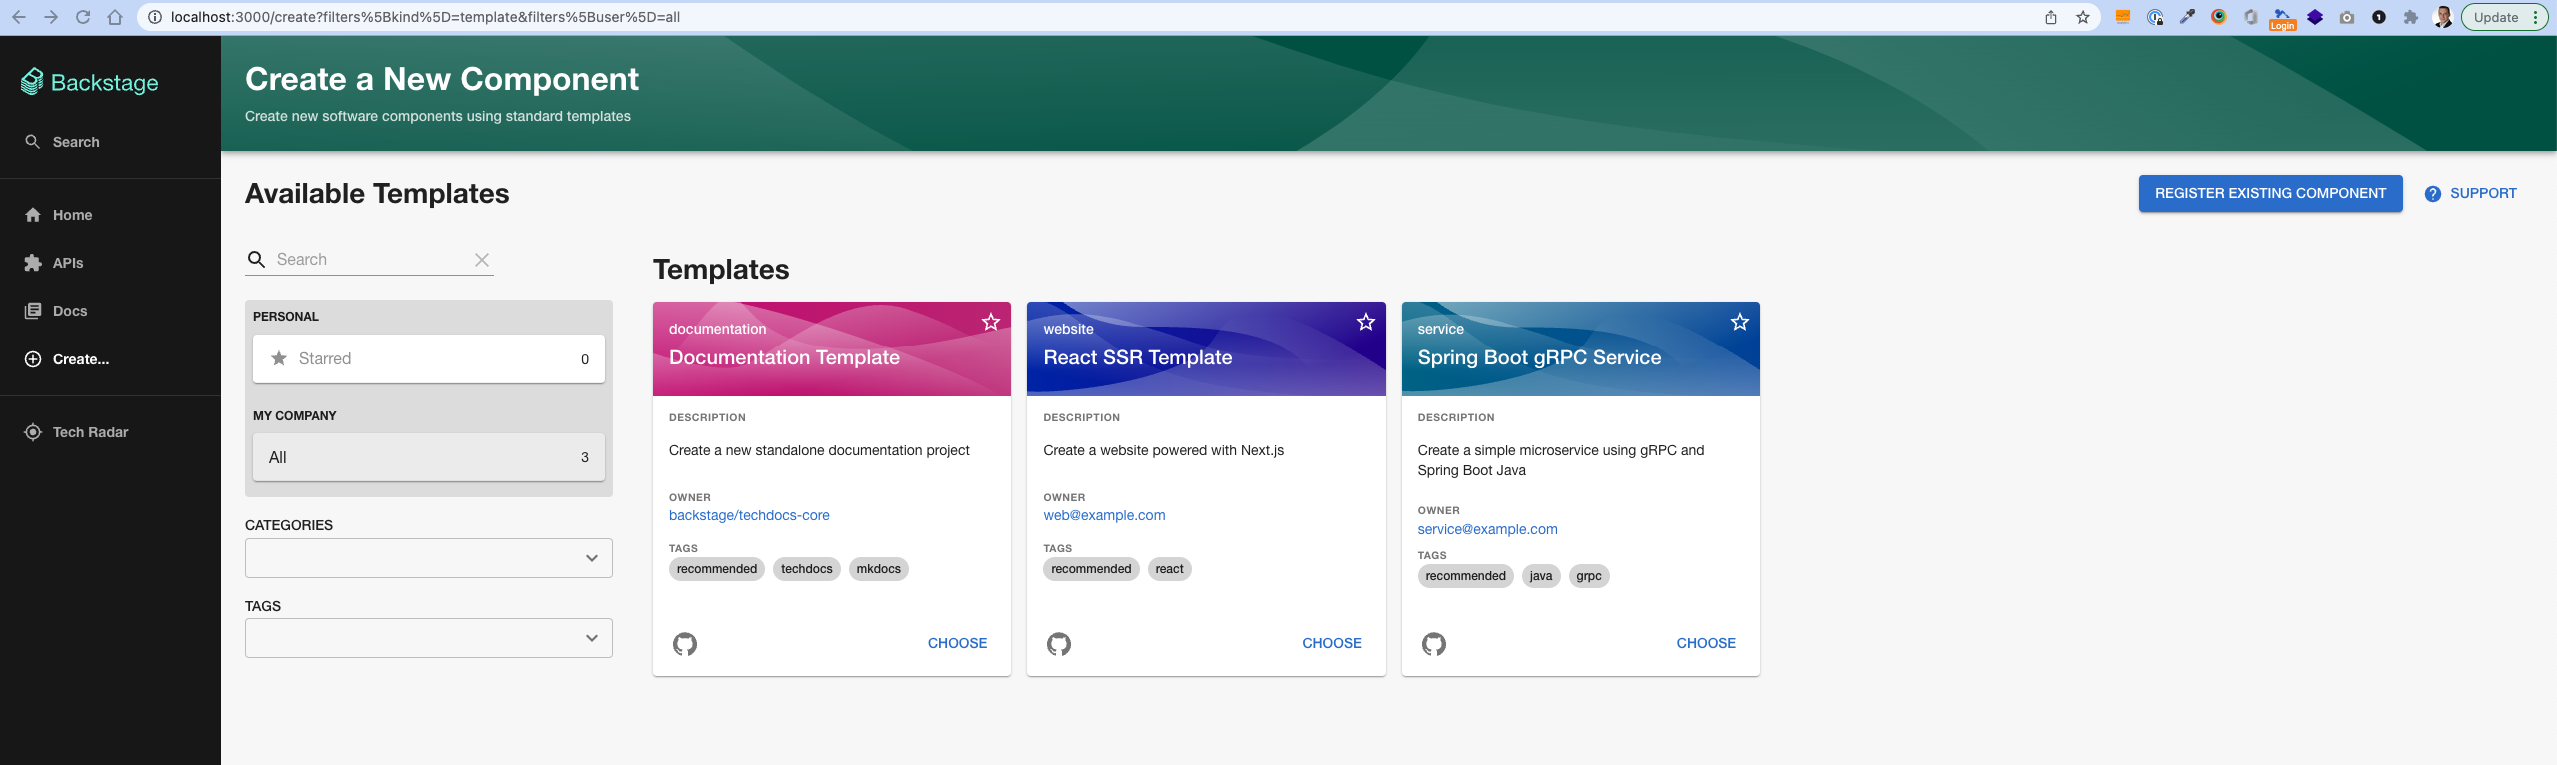
Under the menu item Create… we find various templates with which we can create a new component, API or documentation.
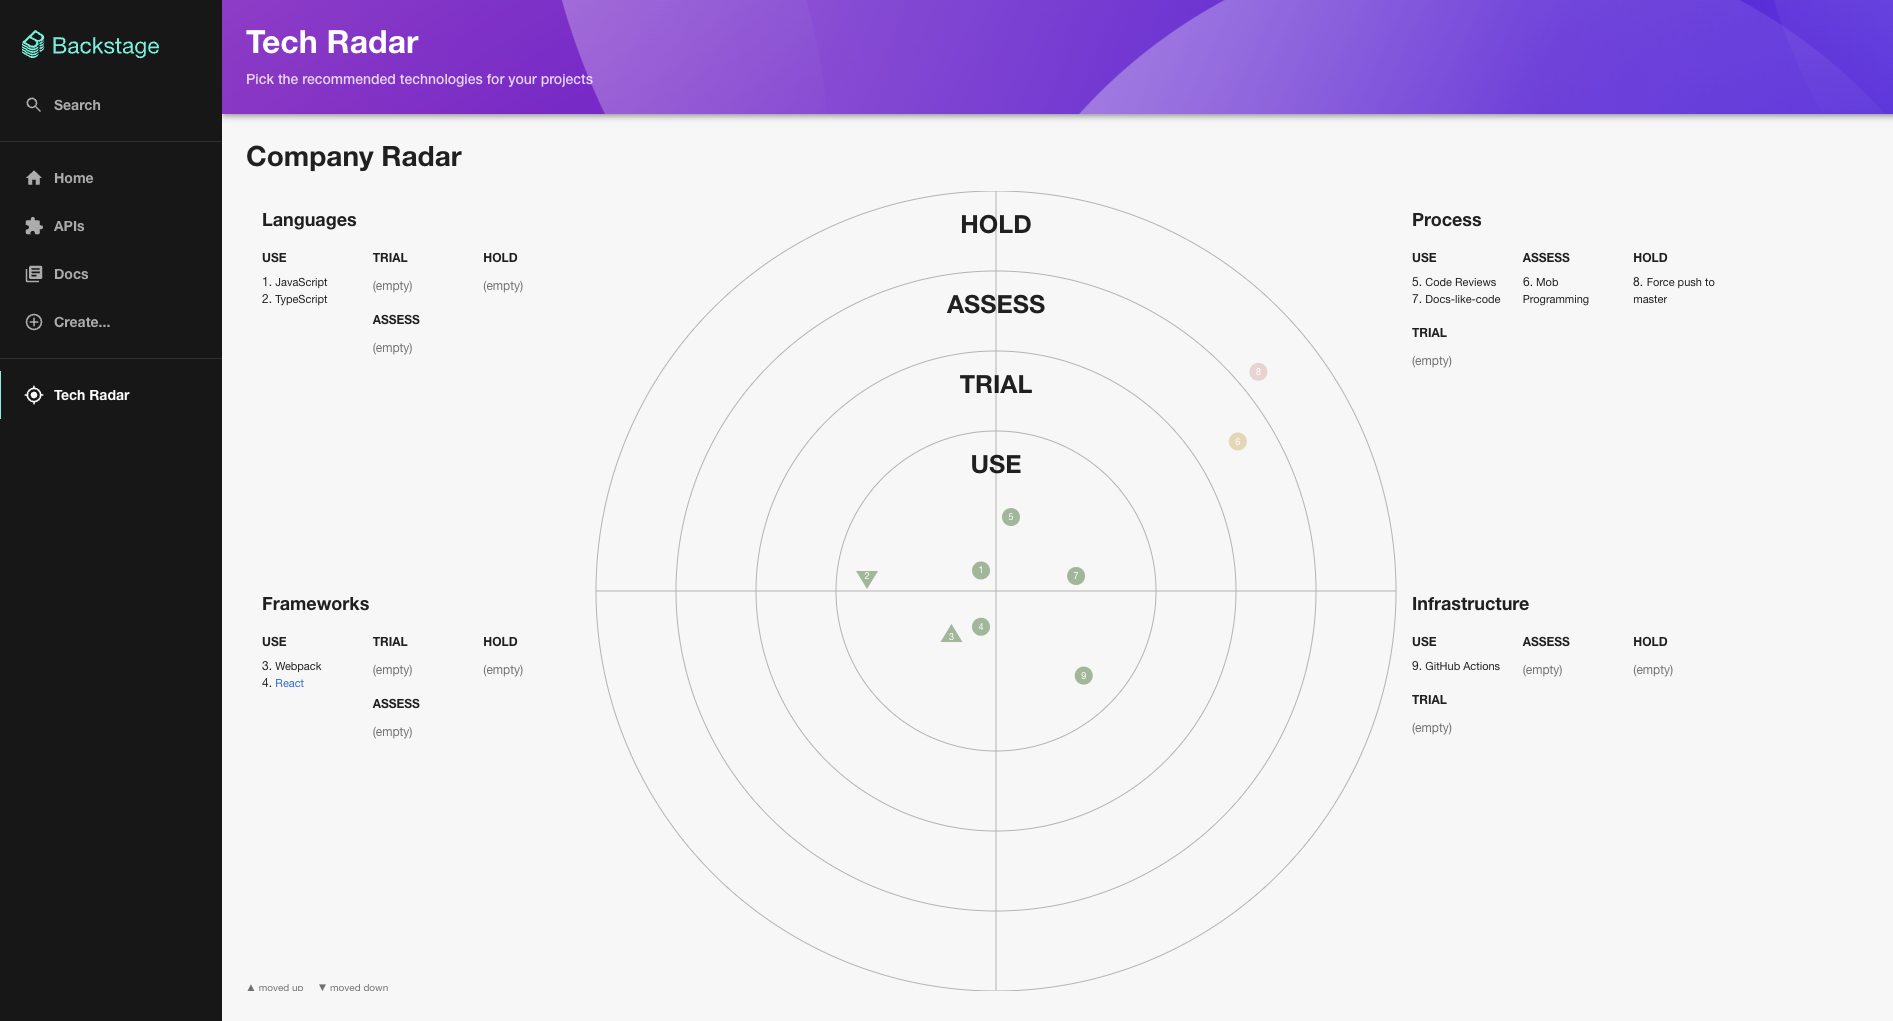
The TechRadar menu item provides an overview of the most used or newest technologies. This is very useful if you want to make sure that you use the latest technologies for new projects.
As we can see, Backstage out-of-the-box already provides a good overview of the software components used.
Templates
As already mentioned in the intro, we want to take a look at the templates. Templates, as the name suggests, are templates for software projects. But what do you need these templates for anyway?
In the age of microservices, the quantity of software projects has increased dramatically. In the past, we still had “eggshell applications” that had to offer as many functionalities as possible. All components of the software were developed in this one application. For example, a user was authenticated, then a service was called which retrieved certain user roles from LDAP for authentication. Then a service was called again, which read out information about this user from a database, etc.
Today, this one application is built in a microservice architecture, so there is one service to authenticate the user, another to read the roles from the LDAP and another to do the database access. This is only a highly simplified example. In reality, there are often dozens of microservices, which are then also managed by different teams within an organisation, or even several organisations.
To ensure the maintenance of these applications, it makes sense that each team adheres to certain guidelines and rules when creating and developing these applications. This is exactly where templates help us. We can specify naming, folder structures, tools and best practices in templates. Let’s take a look at a template using a Quarkus application. To do this, we use the Quarkus Configurator to create a new application with the desired tools.
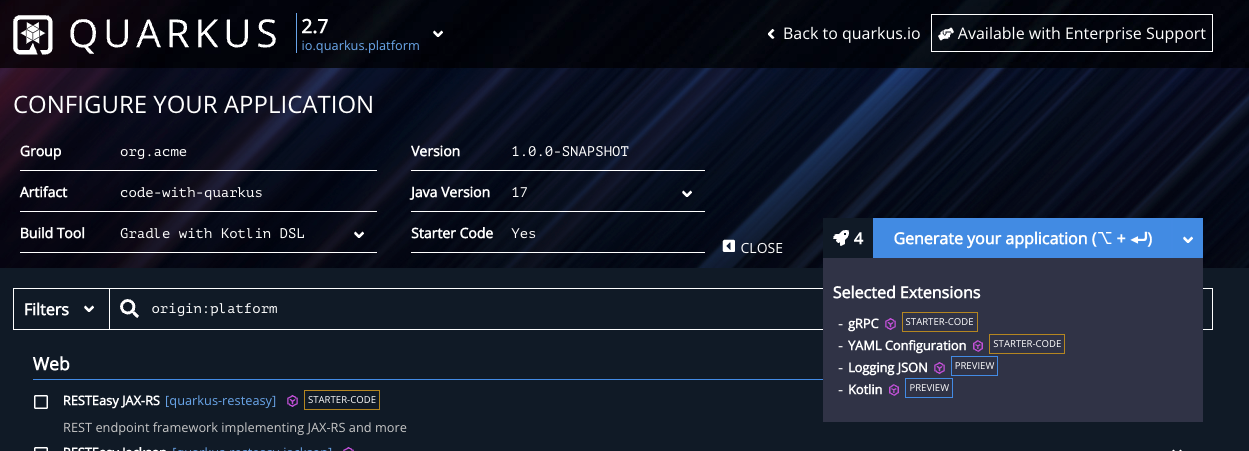
So we want to use gRPC services in our application, the configuration should always be in YAML. So that we have a uniform logging output, we use the logging JSON. As a programming language we use Kotlin instead of Java by default and last but not least we want to use Gradle as a build tool.
Via the button “Generate your application” we can now download a .zip with the source code and unpack the project. To create a backstage template, we create a folder called quarkus-template and within this folder we create a folder called template.
|
|
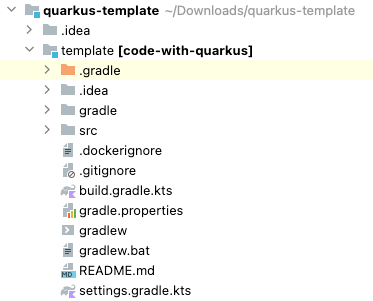
Now we move the whole content of our Quarkus project into the template folder. The folder structure should look like this.
Now let’s get to work and create a template from our application. First we create a file called template.yaml in the root. This file defines the meta data of our template like name, description, parameters and which actions should be executed. The content of this file looks like this:
|
|
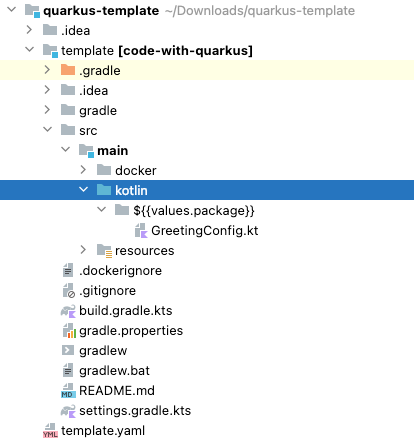
Now we first want to make the name of our application configurable. To do this, we search for code-with-quarkus (current name) in our project and replace it with the placeholder {{values.name}}. Then we want to make the package name configurable. Currently this is org.acme. So we search the whole project for org.acme and replace it with ${{values.package}}. Now we just have to change the package name in the folder src/main/kotlinto${{values.package}}`.
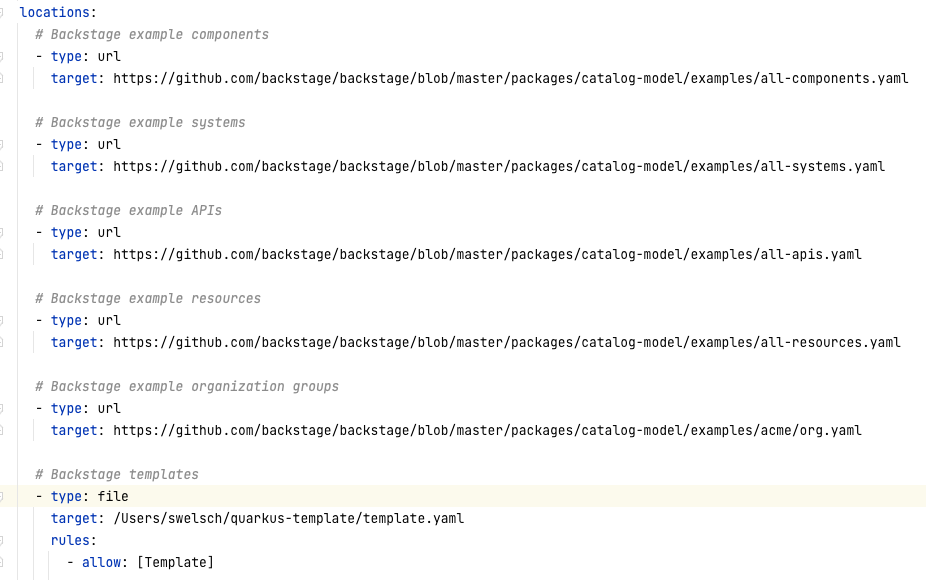
Our template is now ready. Now we want to make the template available in the backstage. To do this, we first have to convert the template into a Git directory. To do this, we change to our dev-manager project and open the file app-config.yaml. Under the item catalog we find various locations. These are the sample data that we have seen above. First we delete all templates from the locations and add our own.
INFO
If you see the following error in the log
|
|
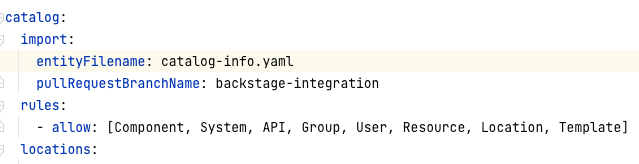
you still have to add template to the Catalog Rules.
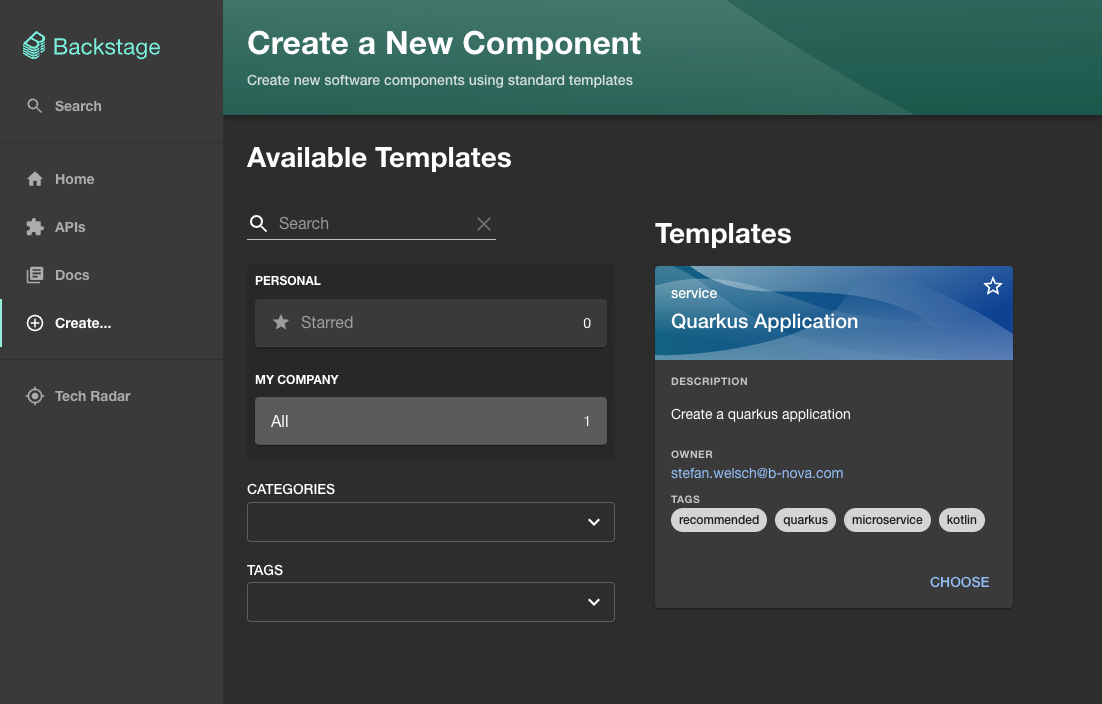
If we now start the Backstage application, we should now see our own template under the menu item “Create”.
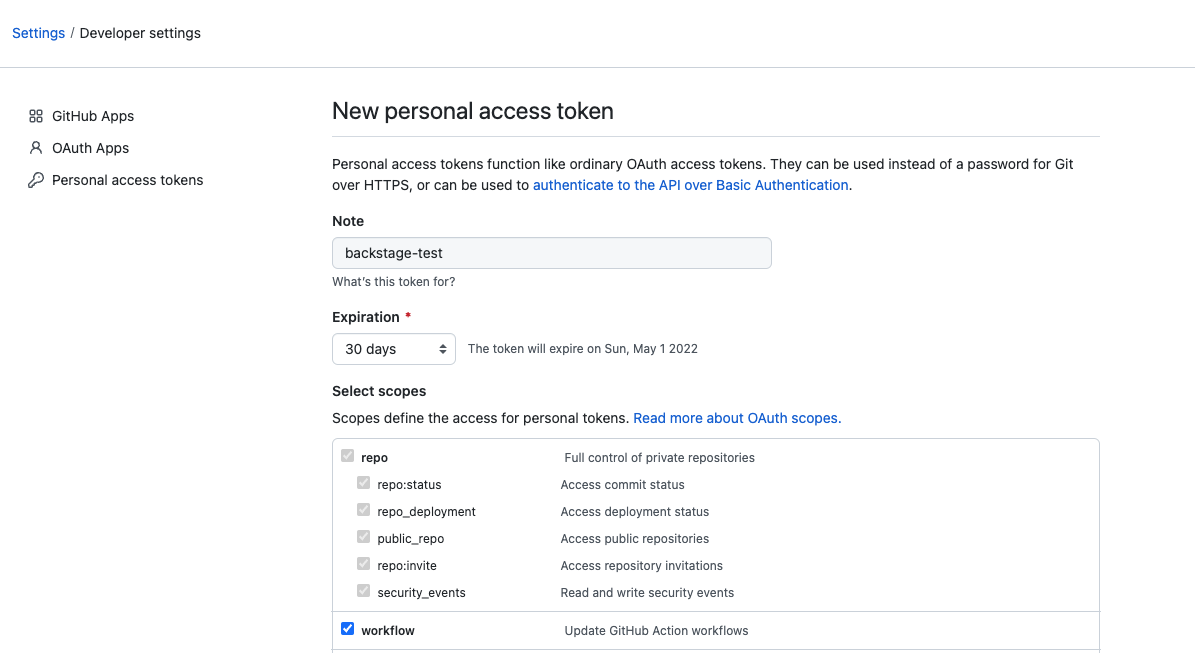
Before we can create our first own application, we need a repository where we will publish our code later. In our example we use Github. To do this, we first need to create a developer token in Github. We can create such a token at https://github.com/settings/tokens/new (an account is required). The following permissions are required.
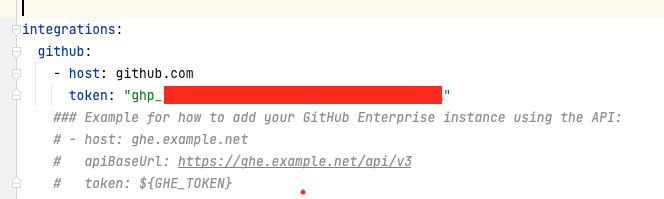
We can then add the Github token to the app-config.yaml under the Github integration. The token should not be inserted in plain text. Please use your appropriate secrets management mechanism to read the token from the environment variables at runtime.
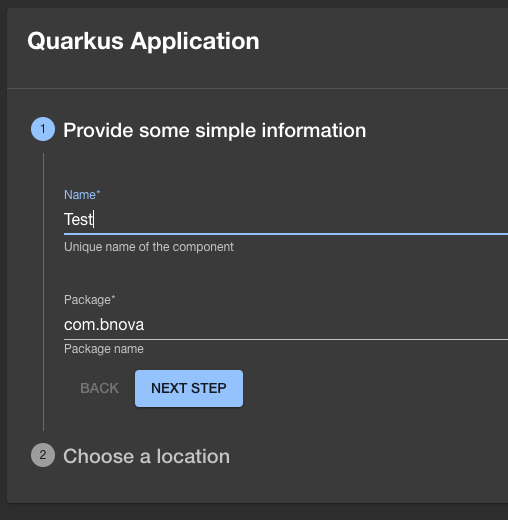
After our Github connection is configured, we now want to create our first own application from our template. To do this, we click on “Choose “ and enter the name and package of the project in the following dialogue.
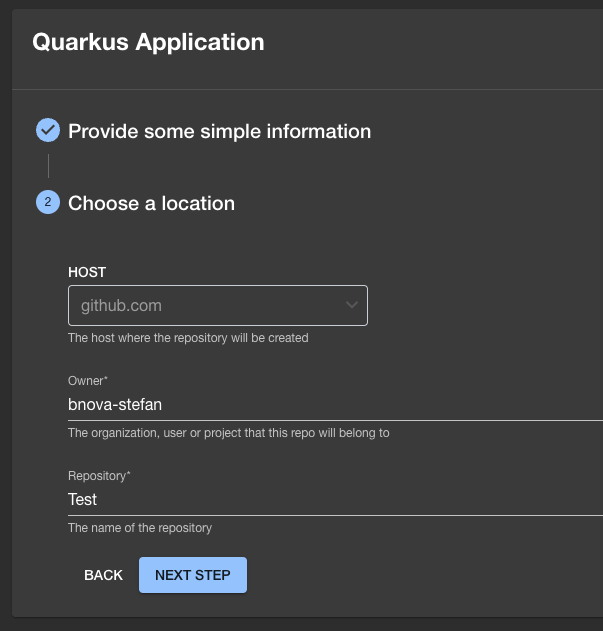
In the next step we have to specify in which repository the project should be stored. As owner we simply enter our Github username, and as repository the name.
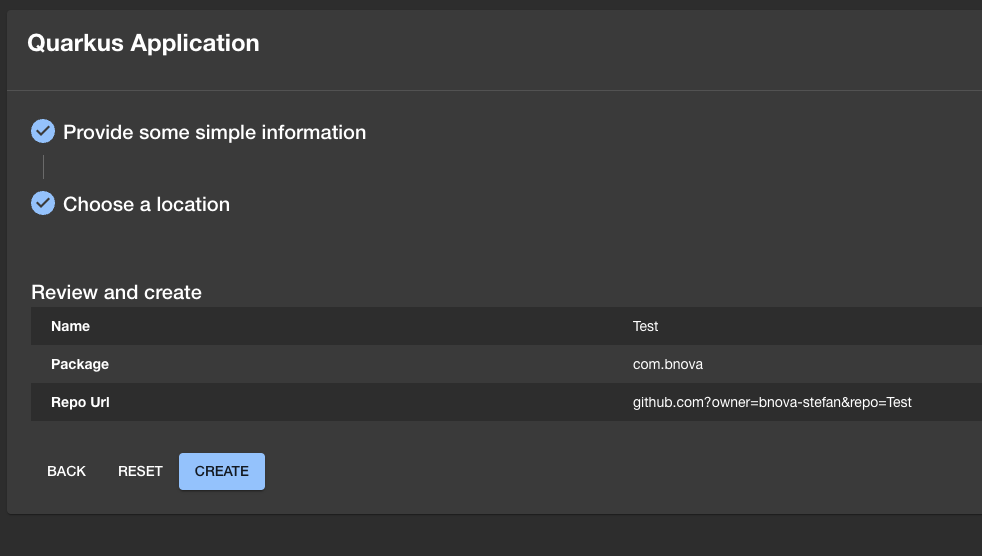
With a click on “Next Step “ we see another summary. If everything is ok, we can click on “Create” to create the project.
Now we see that the steps “Fetch Skeleton + Template “ and “Publish “ have been successfully executed. However, there is still an error in the “Register “ step, which we will deal with later.

Now let’s check how the project was created in Github and if the variable substitution worked.
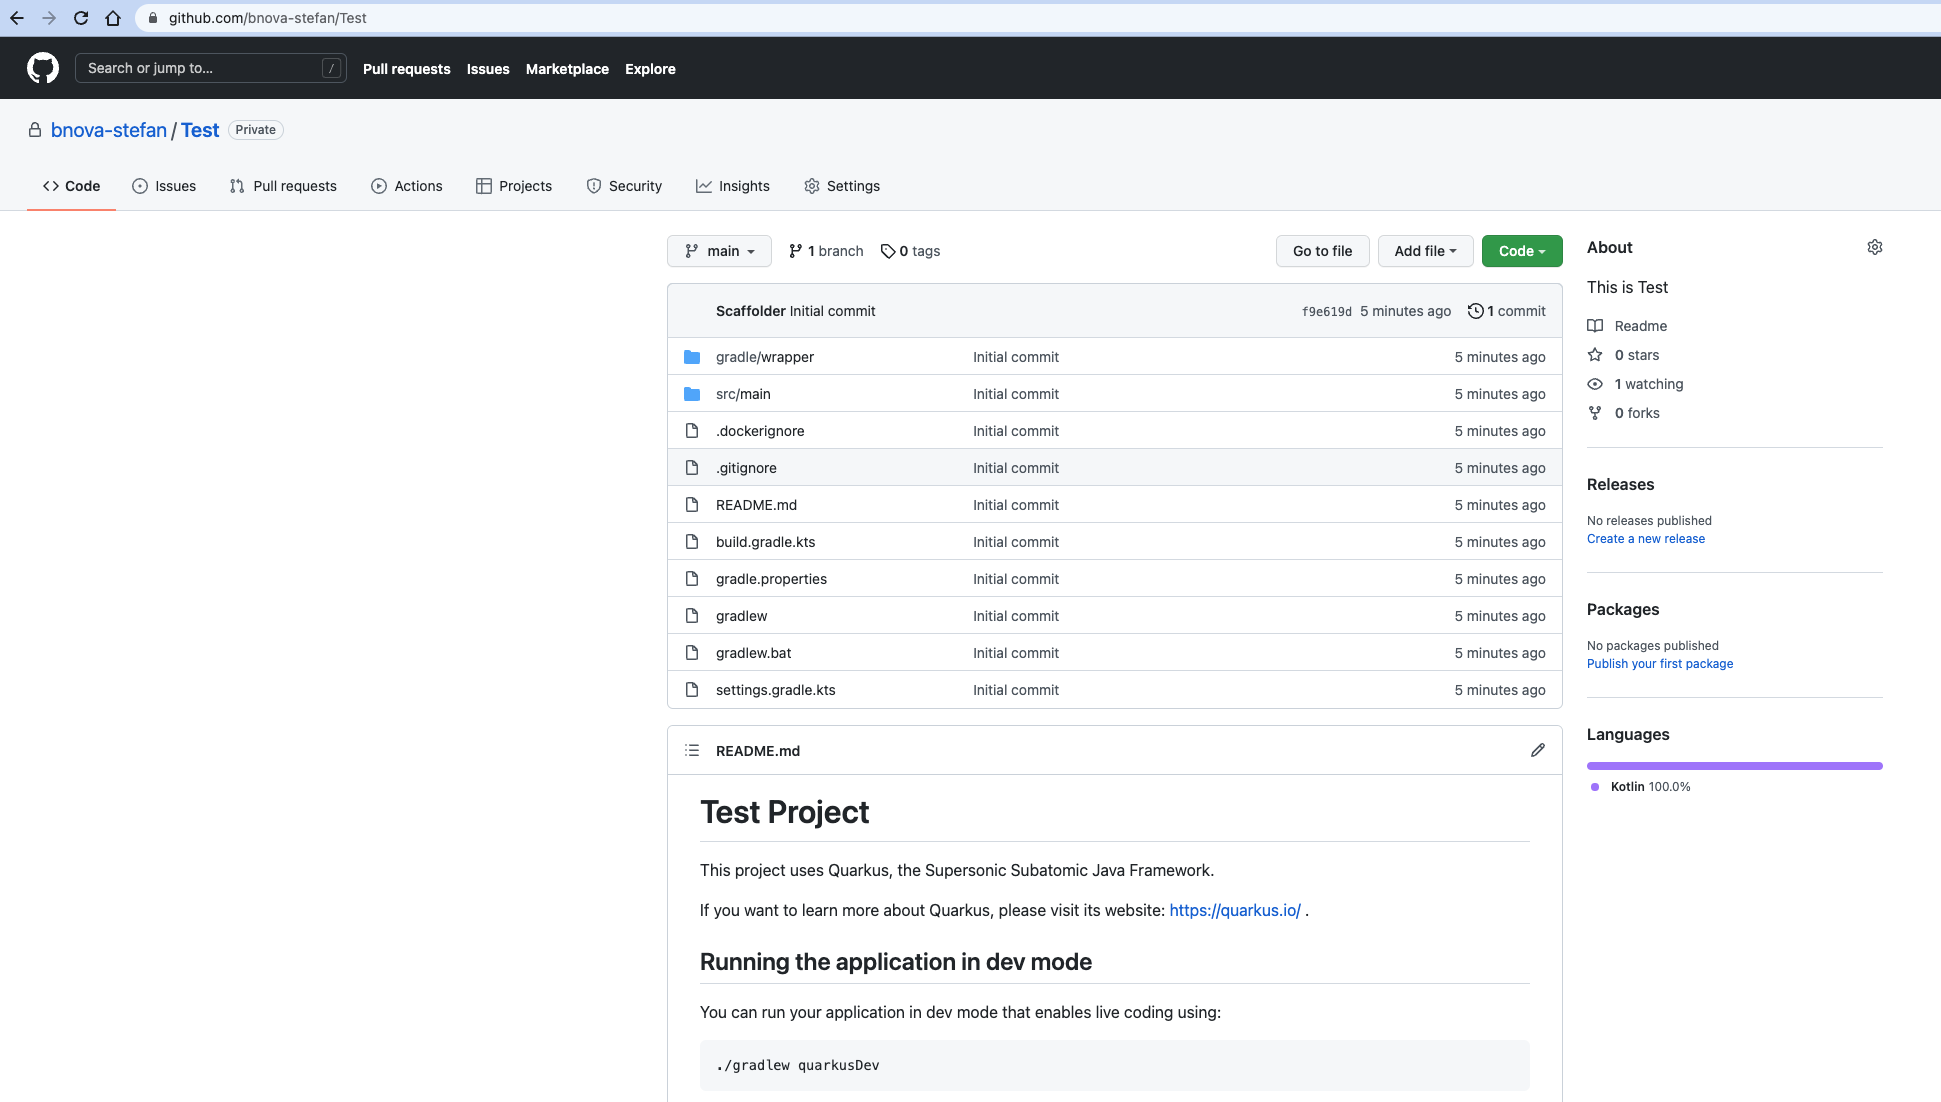
The project was correctly created as a test and everything in the readme was also correctly replaced. So we have successfully created our first own template and made our first application from it. :-)
Catalogue registration
Now let’s take a look at why the component was not registered in the Backstage Software catalogue.
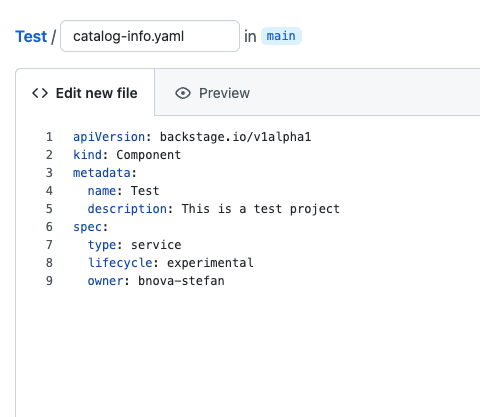
As we can see from the error message, a file called catalog-info.yaml is missing. This is necessary to register new, but also existing components in the software catalogue. So we have to add this file to our template. The content of the file is quite simple. We only have to specify a few metadata.
|
|
If we now want to add our already created project to the software catalogue, it is sufficient to simply add this file to the repository.
We can do this directly in Github via “Add File “.

Now we can add the component directly in the backstage. To do this, we go to the menu item “Create “ and click “Register Existing Component “. As path we simply enter the complete path to catalog-info.
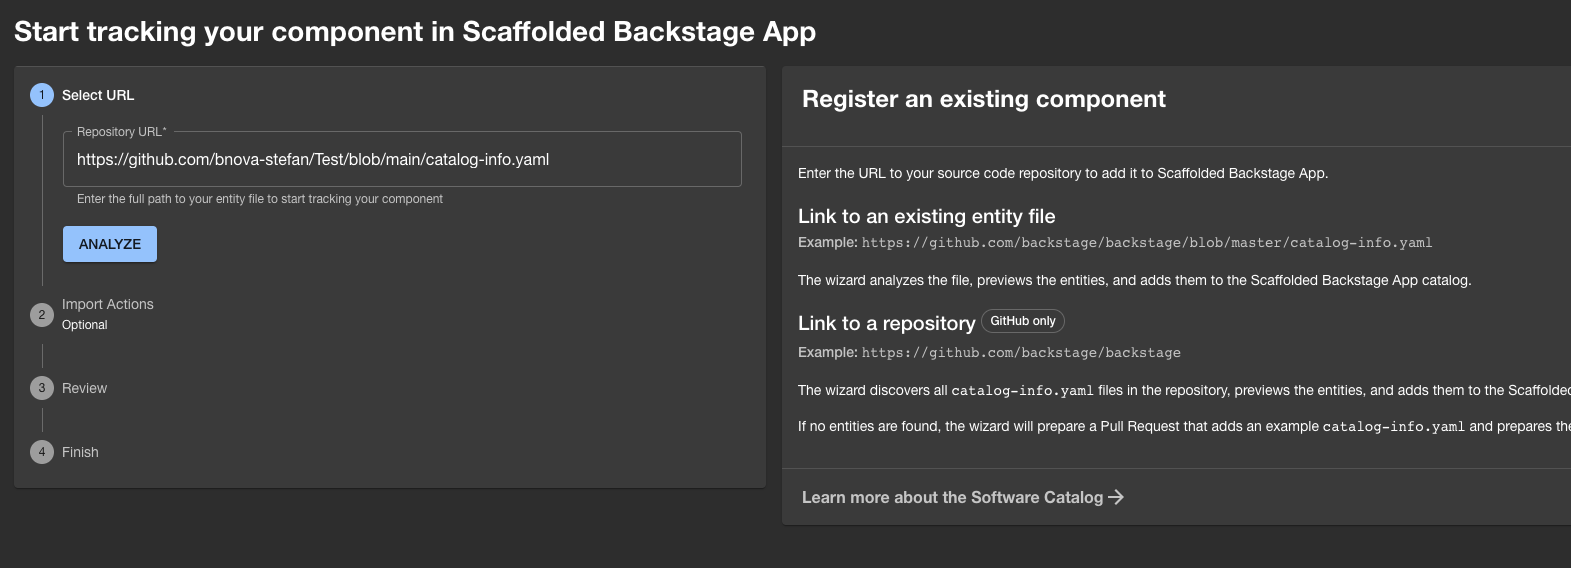
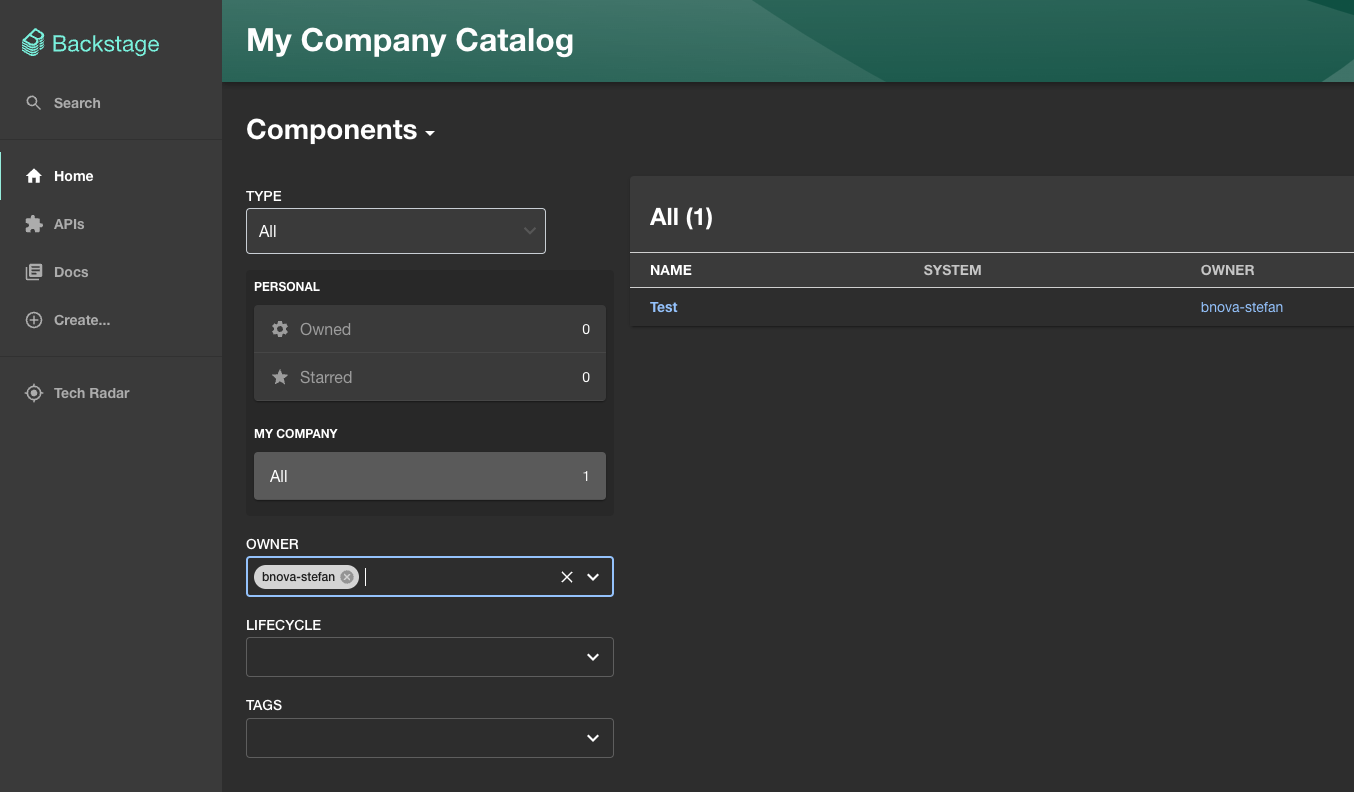
By clicking on “Analyze “ the catalog-info should now be found and you can import it by clicking on the button “Import”. Under “Home” we should now see this new component.
Conclusion
You have now got to know Backstage and seen how you can easily and very elegantly make software templates available in your company. Backstage is a good start so that developers can concentrate on their core competence again, namely programming.
Stefan Welsch – Pionier, Stuntman, Mentor. Als Gründer von b-nova ist Stefan immer auf der Suche nach neuen und vielversprechenden Entwicklungsfeldern. Er ist durch und durch Pragmatiker und schreibt daher auch am liebsten Beiträge die sich möglichst nahe an 'real-world' Szenarien anlehnen.