In the last few weeks we have heard a lot from Raffi, Ricky and Tom about Angular, React, VueJS and Headless CMS. Today I want to go into how you can build and deploy all these projects very elegantly in AWS. There are of course several approaches and ways. A very simple one is AWS Amplify.
AWS Amplify is a JavaScript library for front-end and mobile developers who want to develop cloud-enabled applications. You can provide your front-end application with various back-end functionalities. I want to present Amplify to you today in a very practical form. As a starting point, I’ll take the well-known ToDo-List, which Tom presented to us on Angular in February.
Initialization of Amplify
First we clone the Angular project. We can easily do this with the following command. Since I only need the most necessary functionality for my example, I check out a very specific commit.
|
|
Amplify CLI
Now I install the amplify-cli. With this we can easily add AWS Cloud Services to our application. To initialize this, we can execute the following commands within the application.
|
|
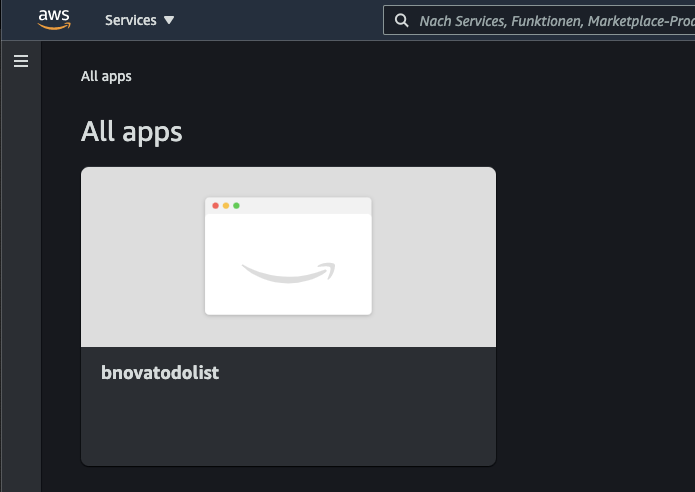
There should now be a new app in our AWS Console.
Now let’s take a closer look at the app. We can see here that there is currently a “dev” backend, as we created it during initialization.
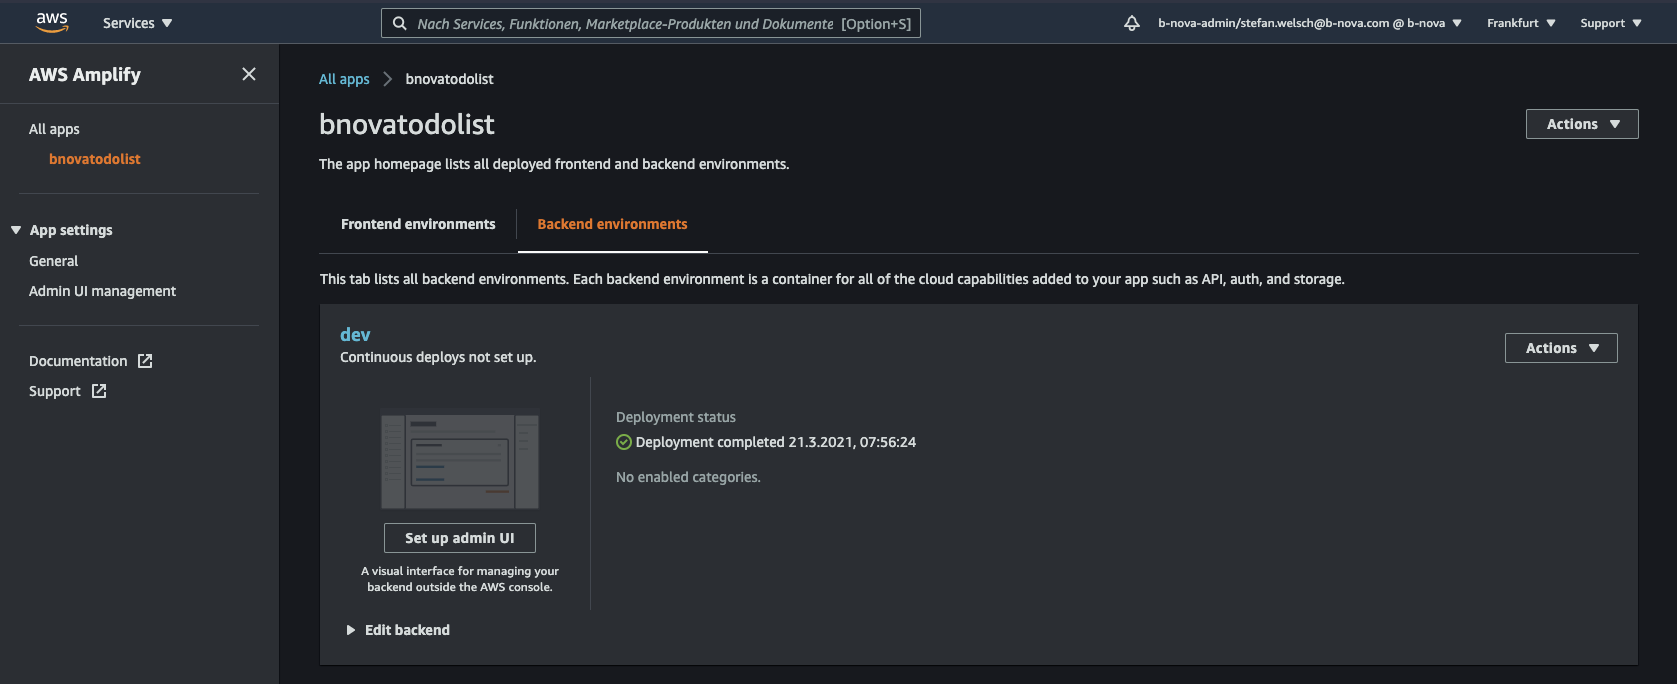
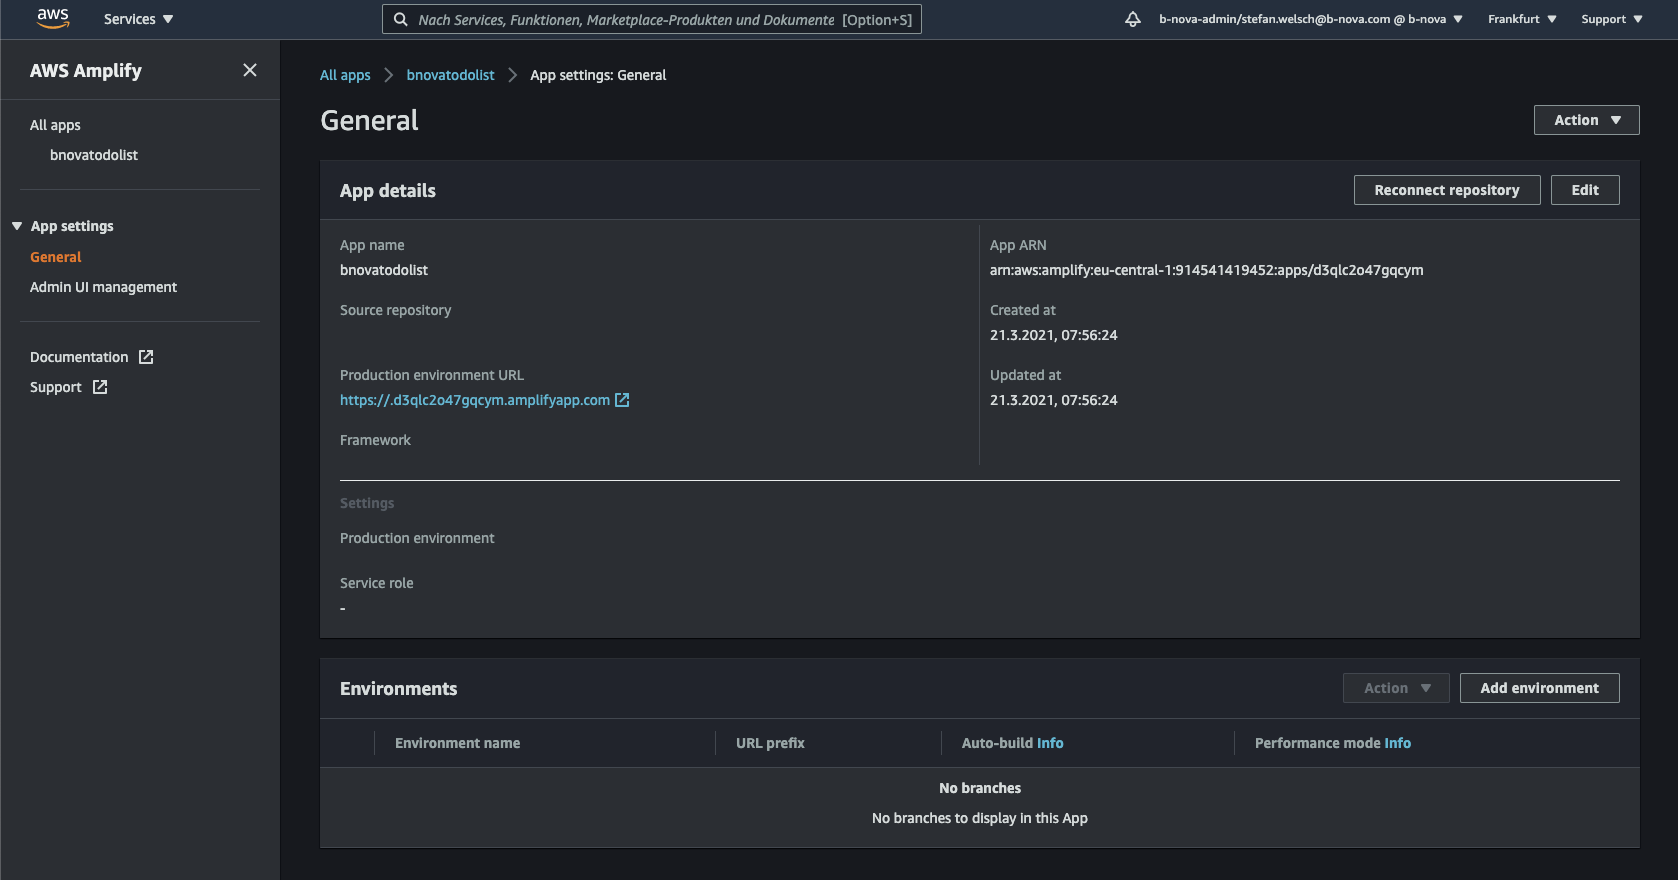
Under ‘General’ we can see that there is already an url with which we can access our application. But when you click, you notice that the application is not available as desired. Let’s change that in the next step.
hosting
In order to make our application available under the link shown above, we add a new category “hosting” to our project. This is very easy to do with the following command. We use the Amplify-Console for hosting and initially use manual deployments to play out new features. We’ll see later how you can create automated deployments.
|
|
Now we can execute the following command in the CLI to make our application reachable under the given link in the Amplify-Console.
|
|
We see that cloud formation is used to create the corresponding resources. The link to view the application is then output at the end. If we follow the link, we will now come to our ToDo list.
Integration in Angular
Before we can work with Amplify in our Angular App, we first have to install the Amplify libraries. NPM offers us a module here.
|
|
After the module has been downloaded, all we have to do is import it into our Angular application.
In the app.module.ts we add the following.
|
|
We can now integrate further backend services into our application. Today I want to show you how easy user authentication can be implemented using Amazon Cognito.
Authentication
Prepare the application
Amplify offers a backend functionality for this, which we can easily integrate into our Angular app. We use Amazon Cognito, a web service for user administration, to authenticate users.
In the root directory of our application we now execute the following command:
|
|
In order to build the local backend resources now and to provision them in Amplify, we then execute the following command:
|
|
After a few minutes, all the necessary resources have been created via CloudFormation, and we can continue with the authentication. At the same time, a file called aws-export.js was created in our source folder, which we now need so that our Angular is configured correctly. First we install a new library “aws-amplify”
|
|
Then we can configure Amplify in the app.module.ts file as follows.
|
|
Amplify offers us an Angular component that ensures that a user must be authenticated before he can use the application. We now wrap our own code in the app.component.html with the “amplify-authenticator” component. This ensures that the code within the component can only be executed if you are authenticated.
|
|
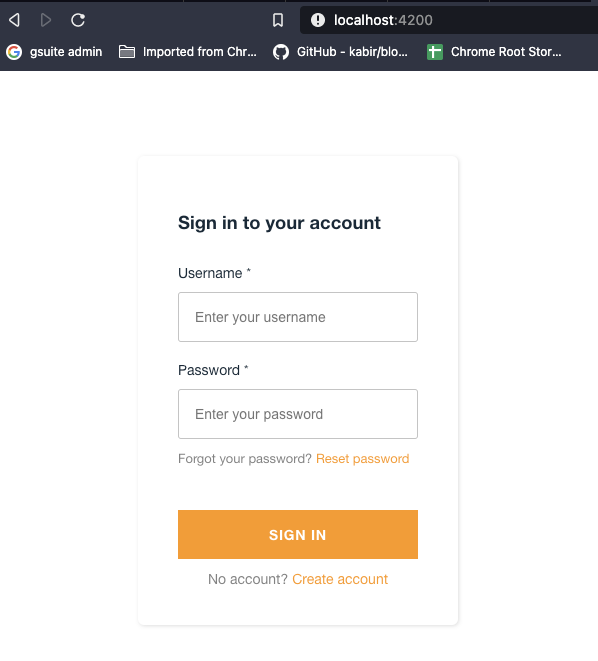
Now we can start a first test. We can now start the application locally as usual.
|
|
The following window should now appear:
When you get the following error in the browser console Uncaught ReferenceError: global is not defined you simply have to insert the following snippet in the head of the index.html
|
|
Create user
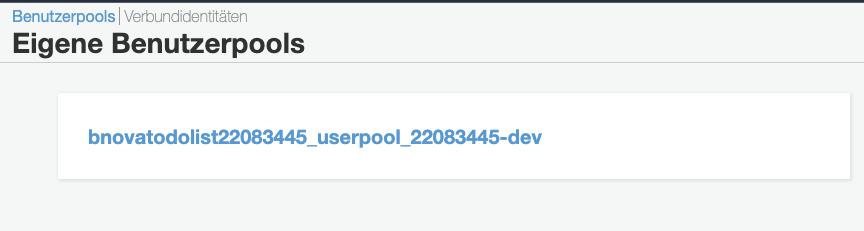
Let’s now create a user in AWS Cognito so that we can test our setup. First select “Manage user pools” in the Cognito console.
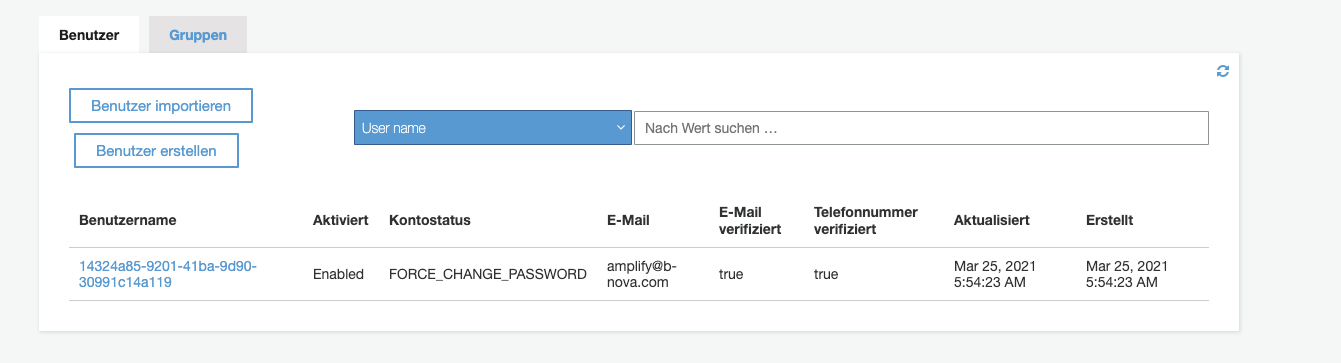
We can now see the user pool that was added for us by amplify.
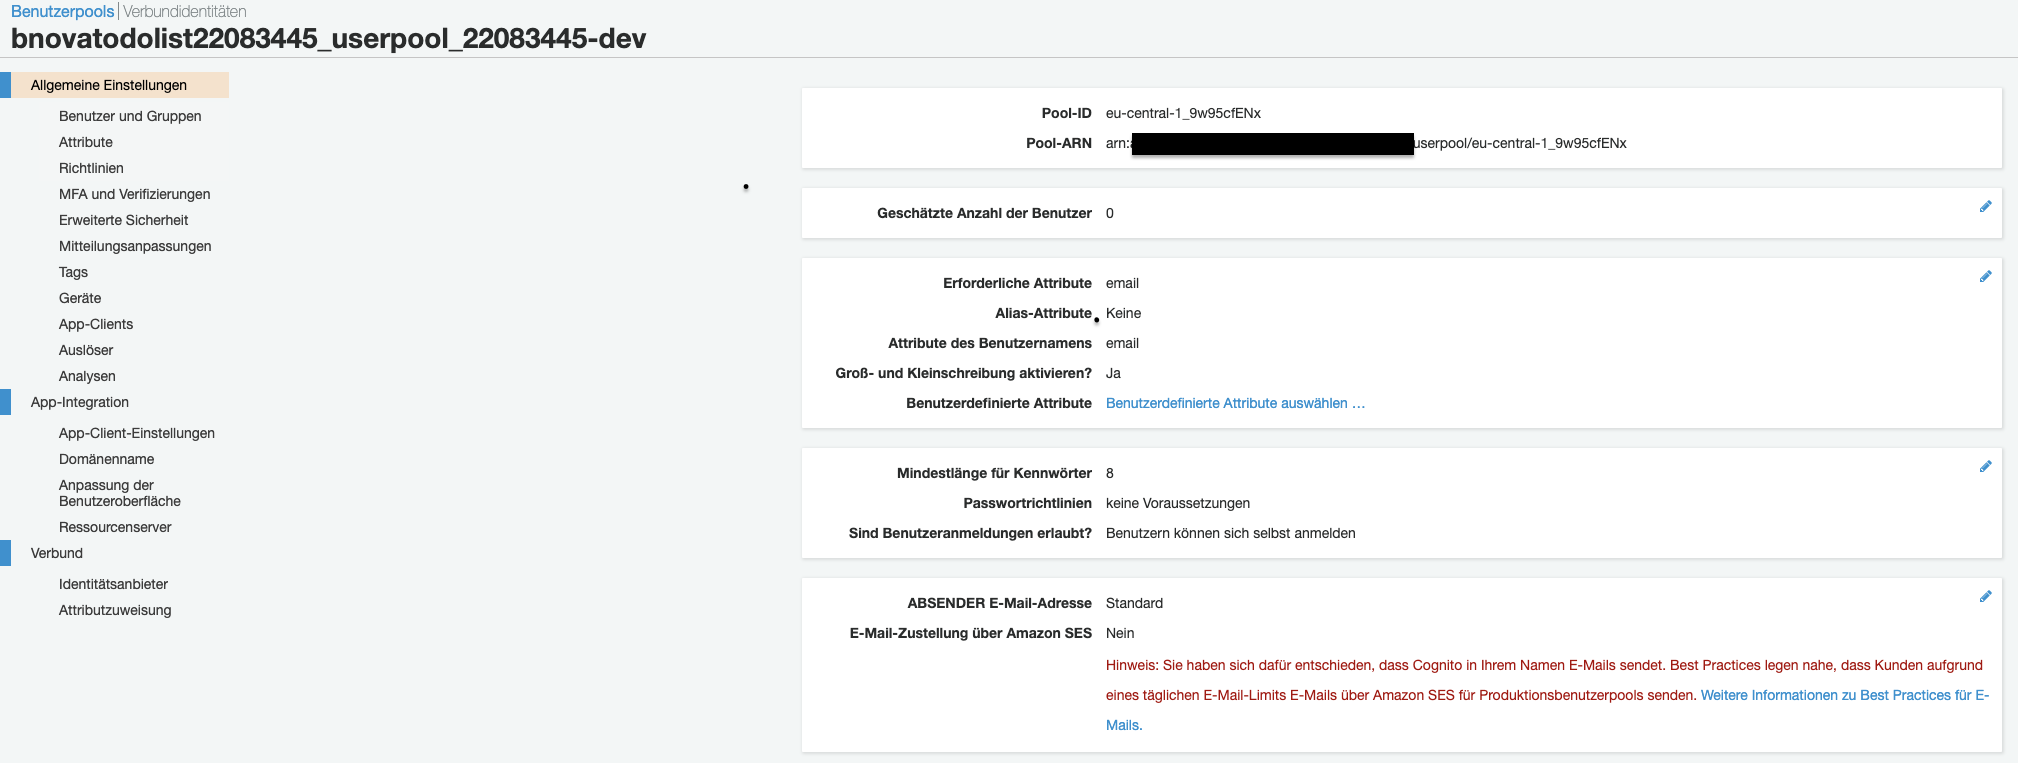
With one click on the pool, we can now configure it and add users and groups.
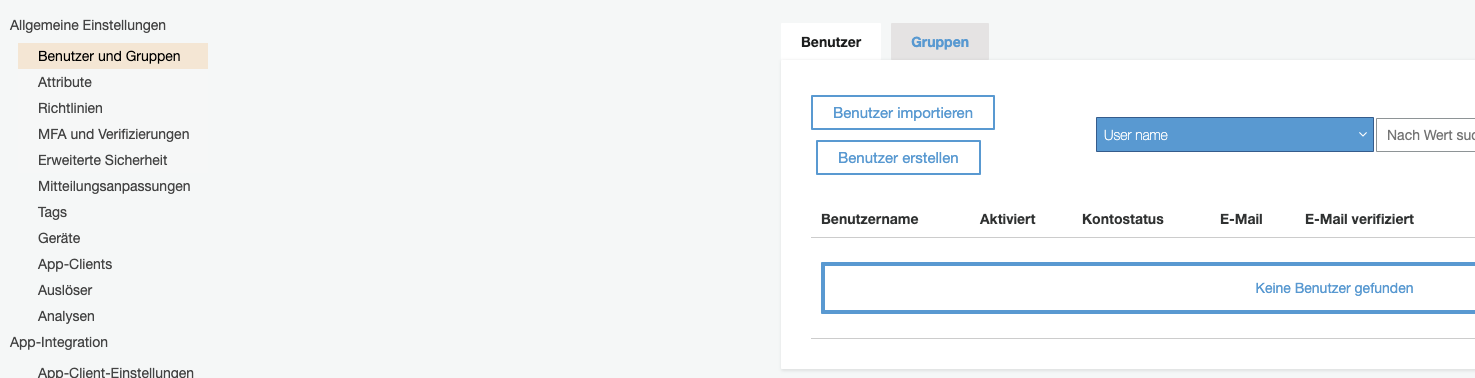
We can now create a new user under Users and Groups.
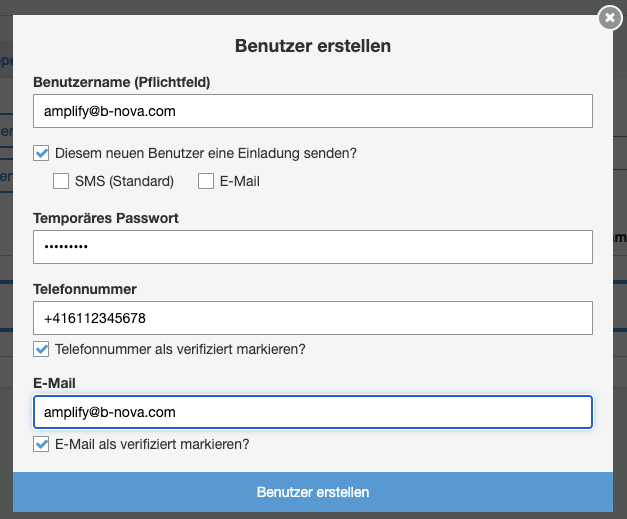
Now we can try to log in with the new user.
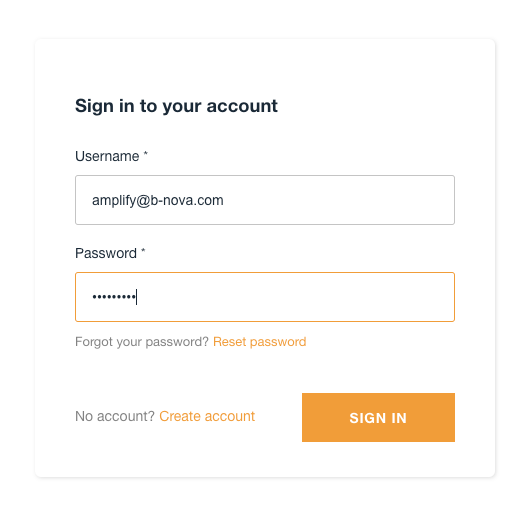
If everything works, we will see a window to change the password and then we will be redirected to our website.

summary
AWS Amplify is a very useful tool for the quick provision of front-end applications with back-end functionalities.
But there are still a few bugs here and there. For example, in my test I couldn’t access any repositories from GitHub.
The integration in Angular is also not yet sufficiently documented (See error: Uncaught ReferenceError: global is not defined).
This text was automatically translated with our golang markdown translator.