This week we would like to take a look at a tool for testing, namely the open-source project Micoo. Micoo is a pixel-based screenshot solution for visual regression testing. It provides a web application that uses screenshots to compare a reference image with an image generated for the regression test, and also displays this in all conceivable forms. Thanks to the Docker images supplied, it can be set up quickly and started immediately.
Visual Regression Testing
In order to understand what Micoo actually does, let’s first take a look at what Visual Regression Testing actually means. For example, if you are about to change the design of a button on the start page of your application, you want to be sure that this change does not affect any other button. This is where the so-called Visual Regression Testing comes in, which focuses on whether the content displayed is what the developer wants it to be.
Most developers mainly look at testing the code in the backend sufficiently to avoid most logic errors and to avoid an error in the application. But when testing, one should also think about the presentation with which the user interacts. If you take a button as an element again, this can lead to undesired representations or functional restrictions if it is not displayed correctly. Here, for example, it could happen that the text of a button extends beyond the button, depending on the size of the display. Of course, one would like to avoid such things.
In this case, a function test would usually still pass as successful because the button can still be clicked, but this is not the desired design. Exactly such errors can often be avoided with Visuals Regression Tests.
Especially nowadays, developers have to take into account that the applications they provide are usually made available on a wide variety of devices and browsers. This includes different screen sizes, different browsers, different operating systems and also different operating variants (touch, keyboard, mouse). If you list all this, you realise that you have to spend a lot of time here if you test all this.
Puppeteer
Puppeteer is a node library developed by Google and used to work with Headless Chrome.
How Puppeteer is built can be described with the pyramid of Puppeteer. This goes from the bottom to the top:
-
Headless Chrome
- this layer mirrors the Chrome browser that the user normally interacts with. But here the difference is that there is no UI. Google itself describes it as “Chrome without chrome”.
-
CDP - Chrome DevTools Protocol
- CDP is used to allow communication with the site within Chrome. However, to break it down, it is actually a JSON based WebSocket API.
-
Puppeteer
- is used to actually use Headless Chrome and CDP. This can be easily installed using
npm. It also installs Chromium, so you can easily start Chrome in headless mode.
- is used to actually use Headless Chrome and CDP. This can be easily installed using
The typical uses are:
- Create screenshots
- Creating PDF files
- Crawling a single-page application and creating pre-rendered content
- Automating forms, UI testing, etc.
- Test Chrome Extensions
- Service workers test whether the application really works offline
Links
How-To
In preparation, the repository must be loaded from GitHub:
|
|
To start, change to the env directory:
|
|
In this directory you will find several yaml files that you can start with Docker.
|
|
Within this directory, you can now start Micoo with docker-compose up. You can always use the official Docker image from Docker Hub as long as you don’t need to make your own changes. Inside the browser, you can access Micoo’s home page by going to http://localhost:8123 once Docker has started all the containers.
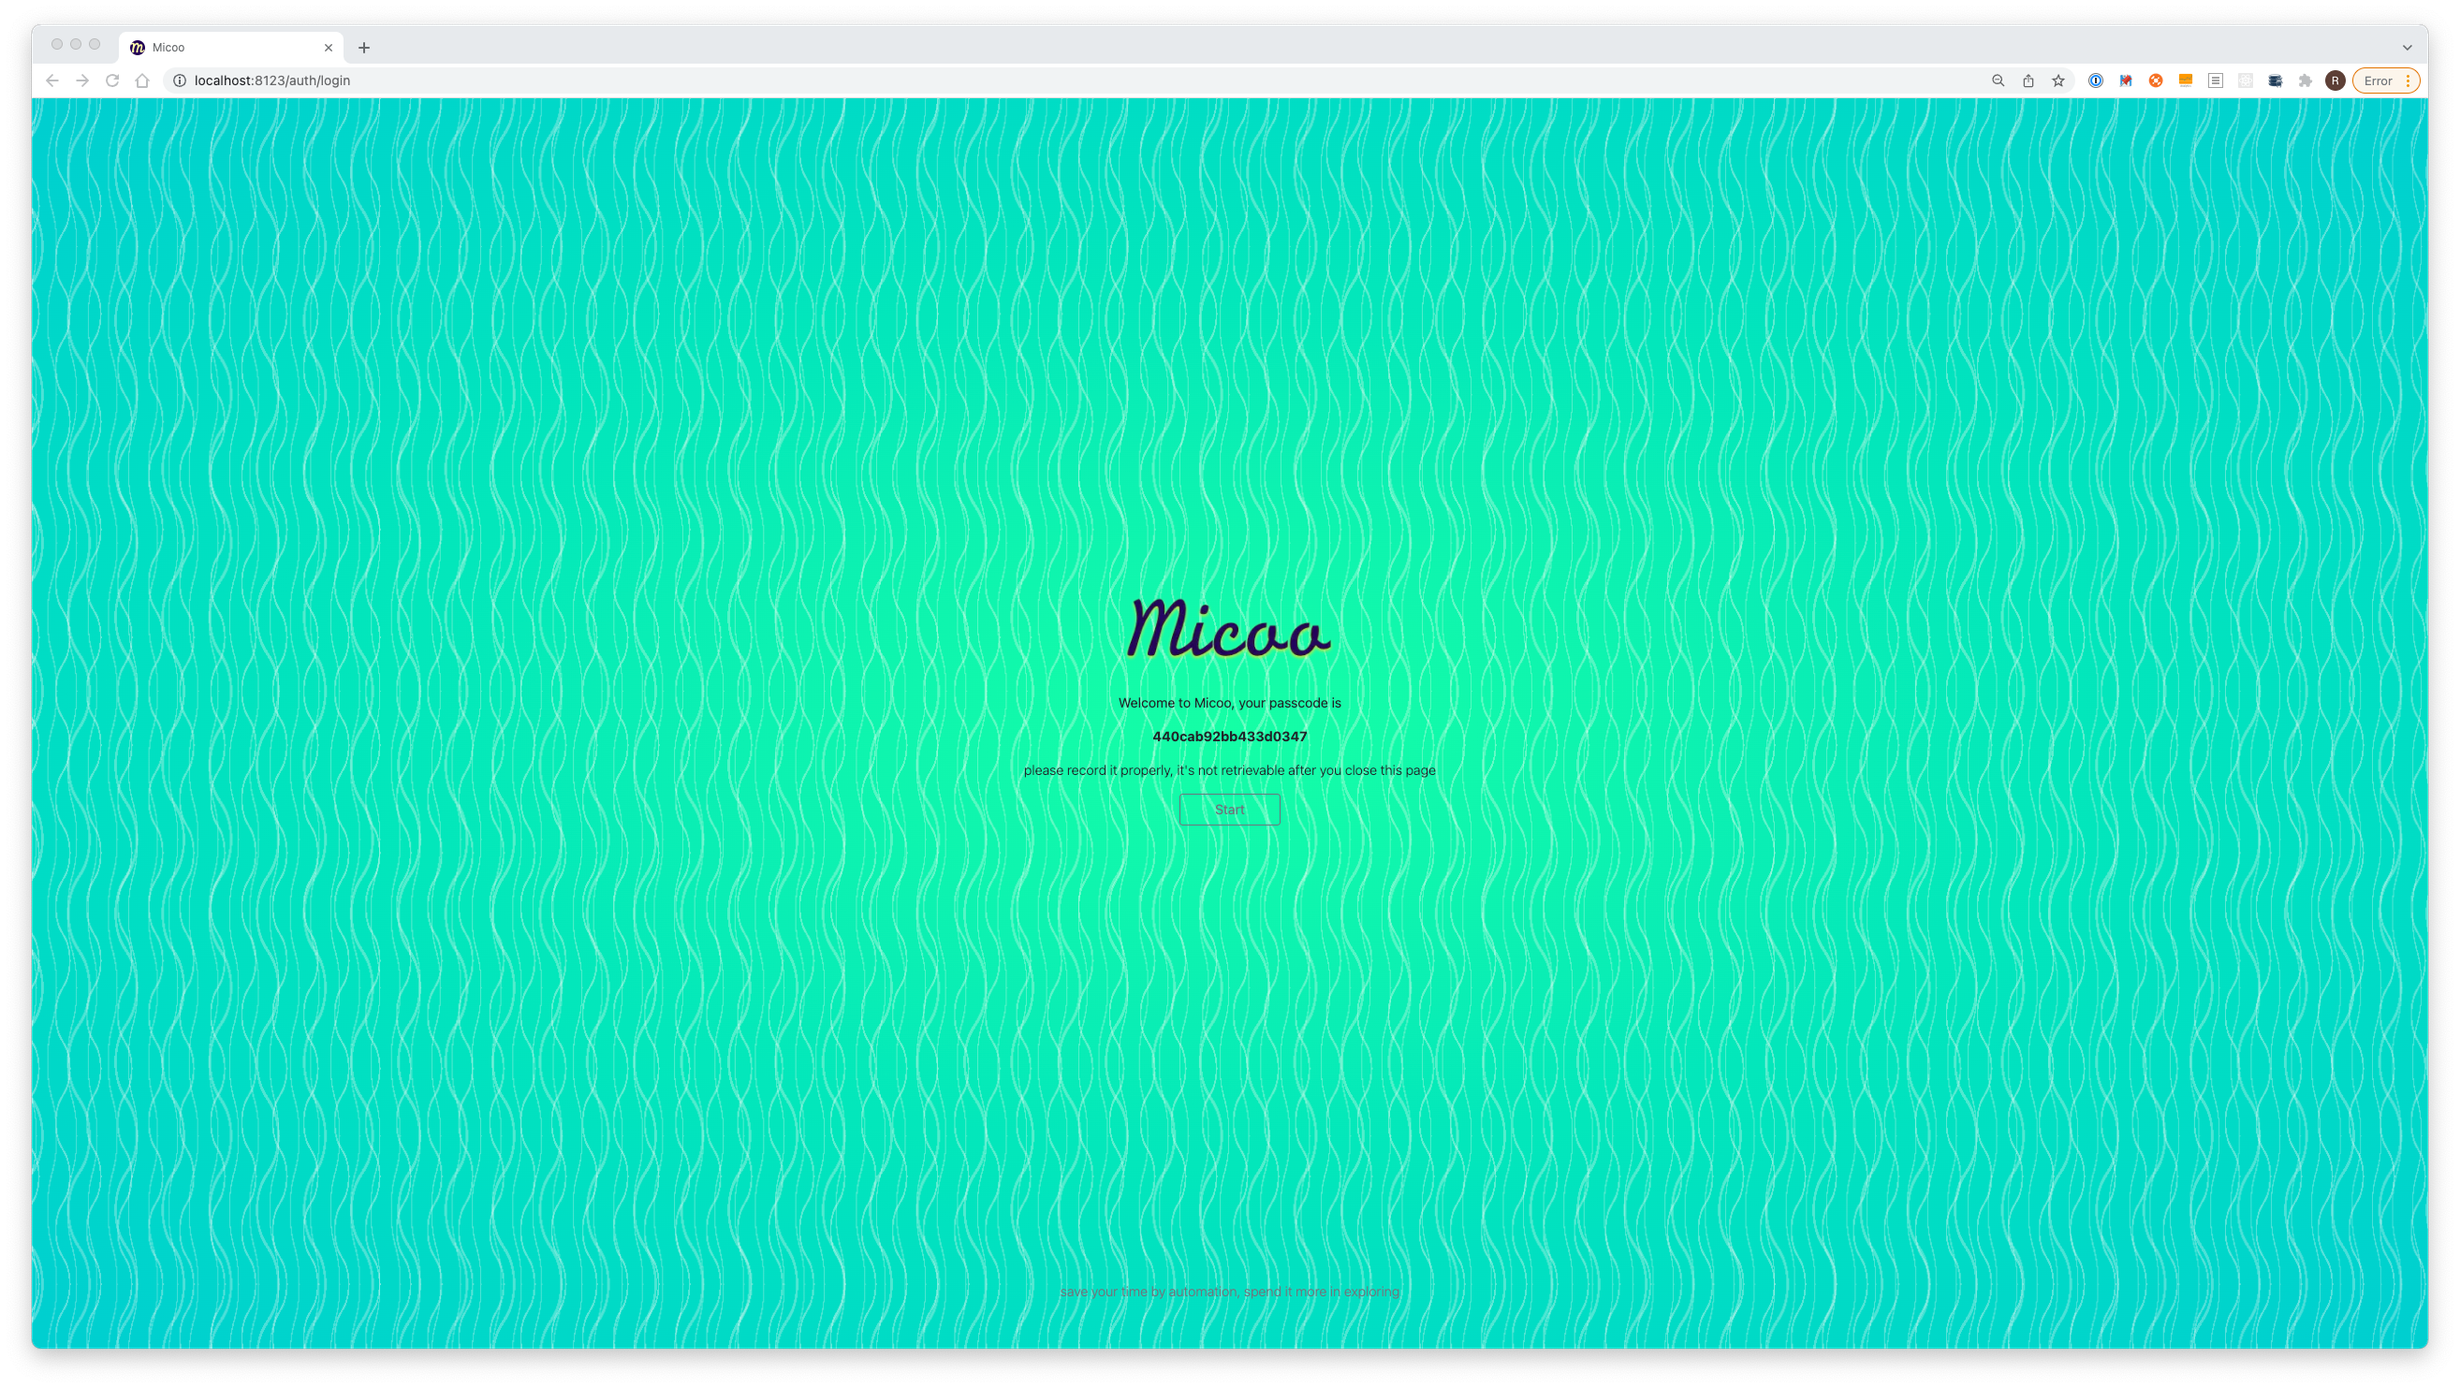
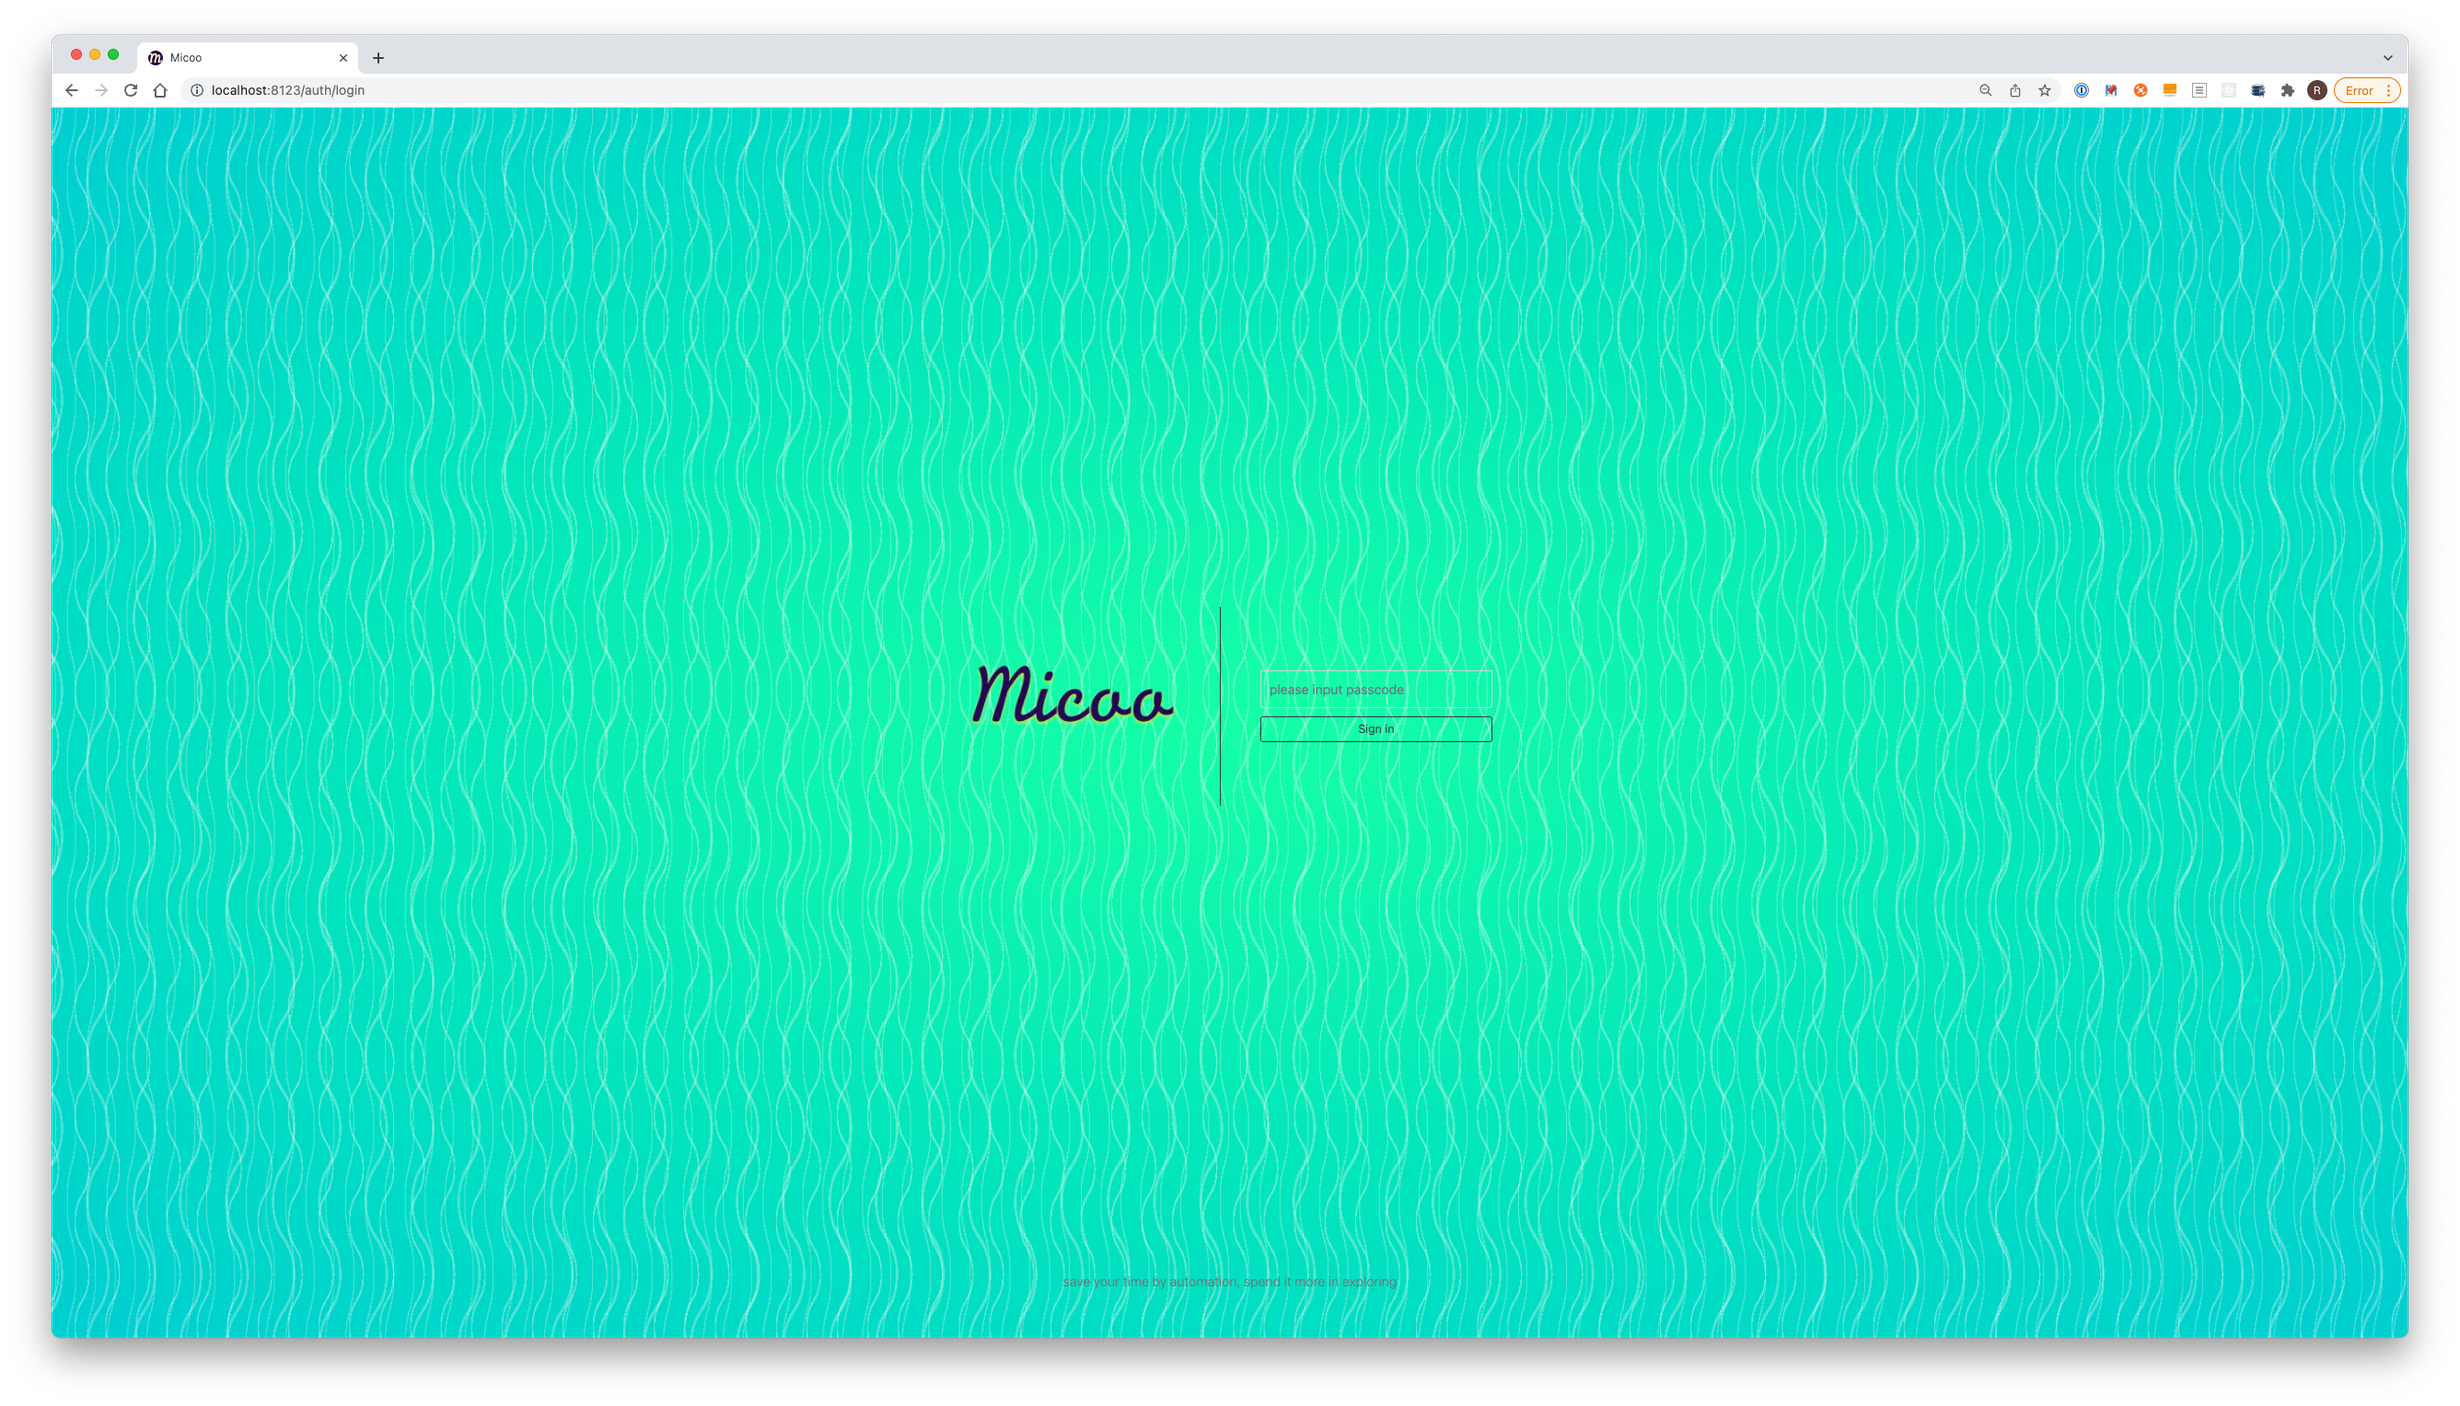
On the start page you can now see a password which you must save. If you lose this password, you will have to start from the beginning. As soon as you click on the start button, you will be redirected to the login page. There you can log in with the previously saved password.
If the login was successful, you will be taken to the dashboard, which presents an overview of all your projects.
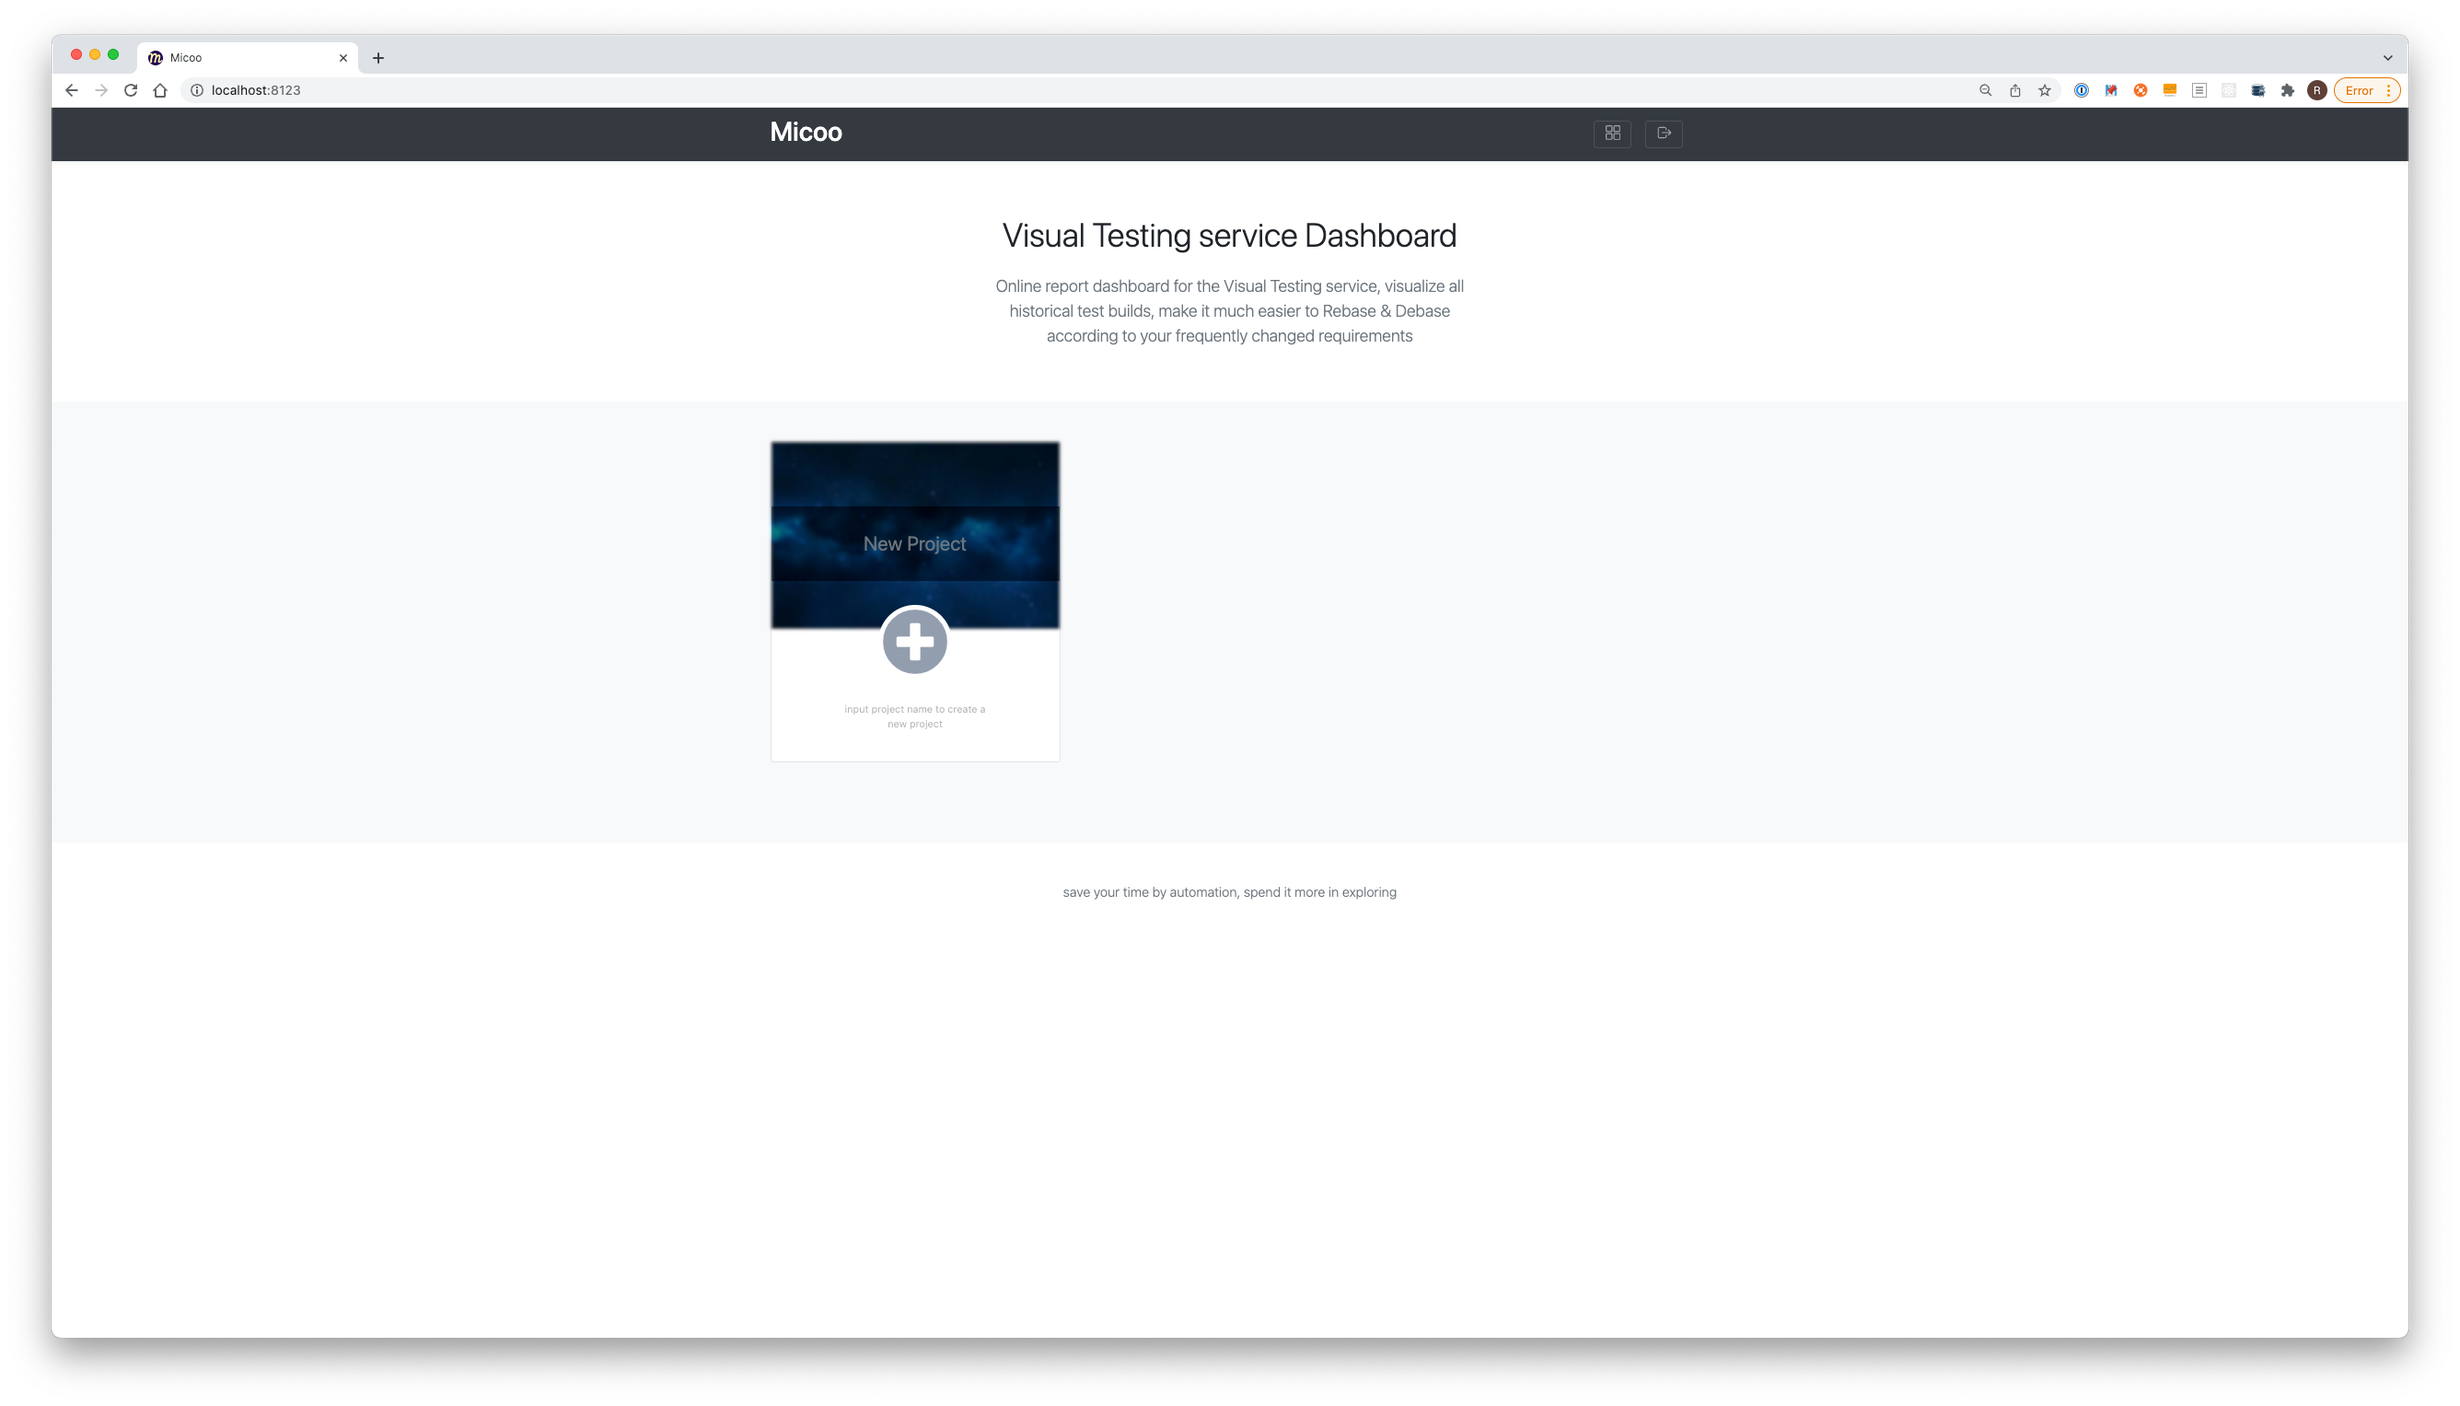
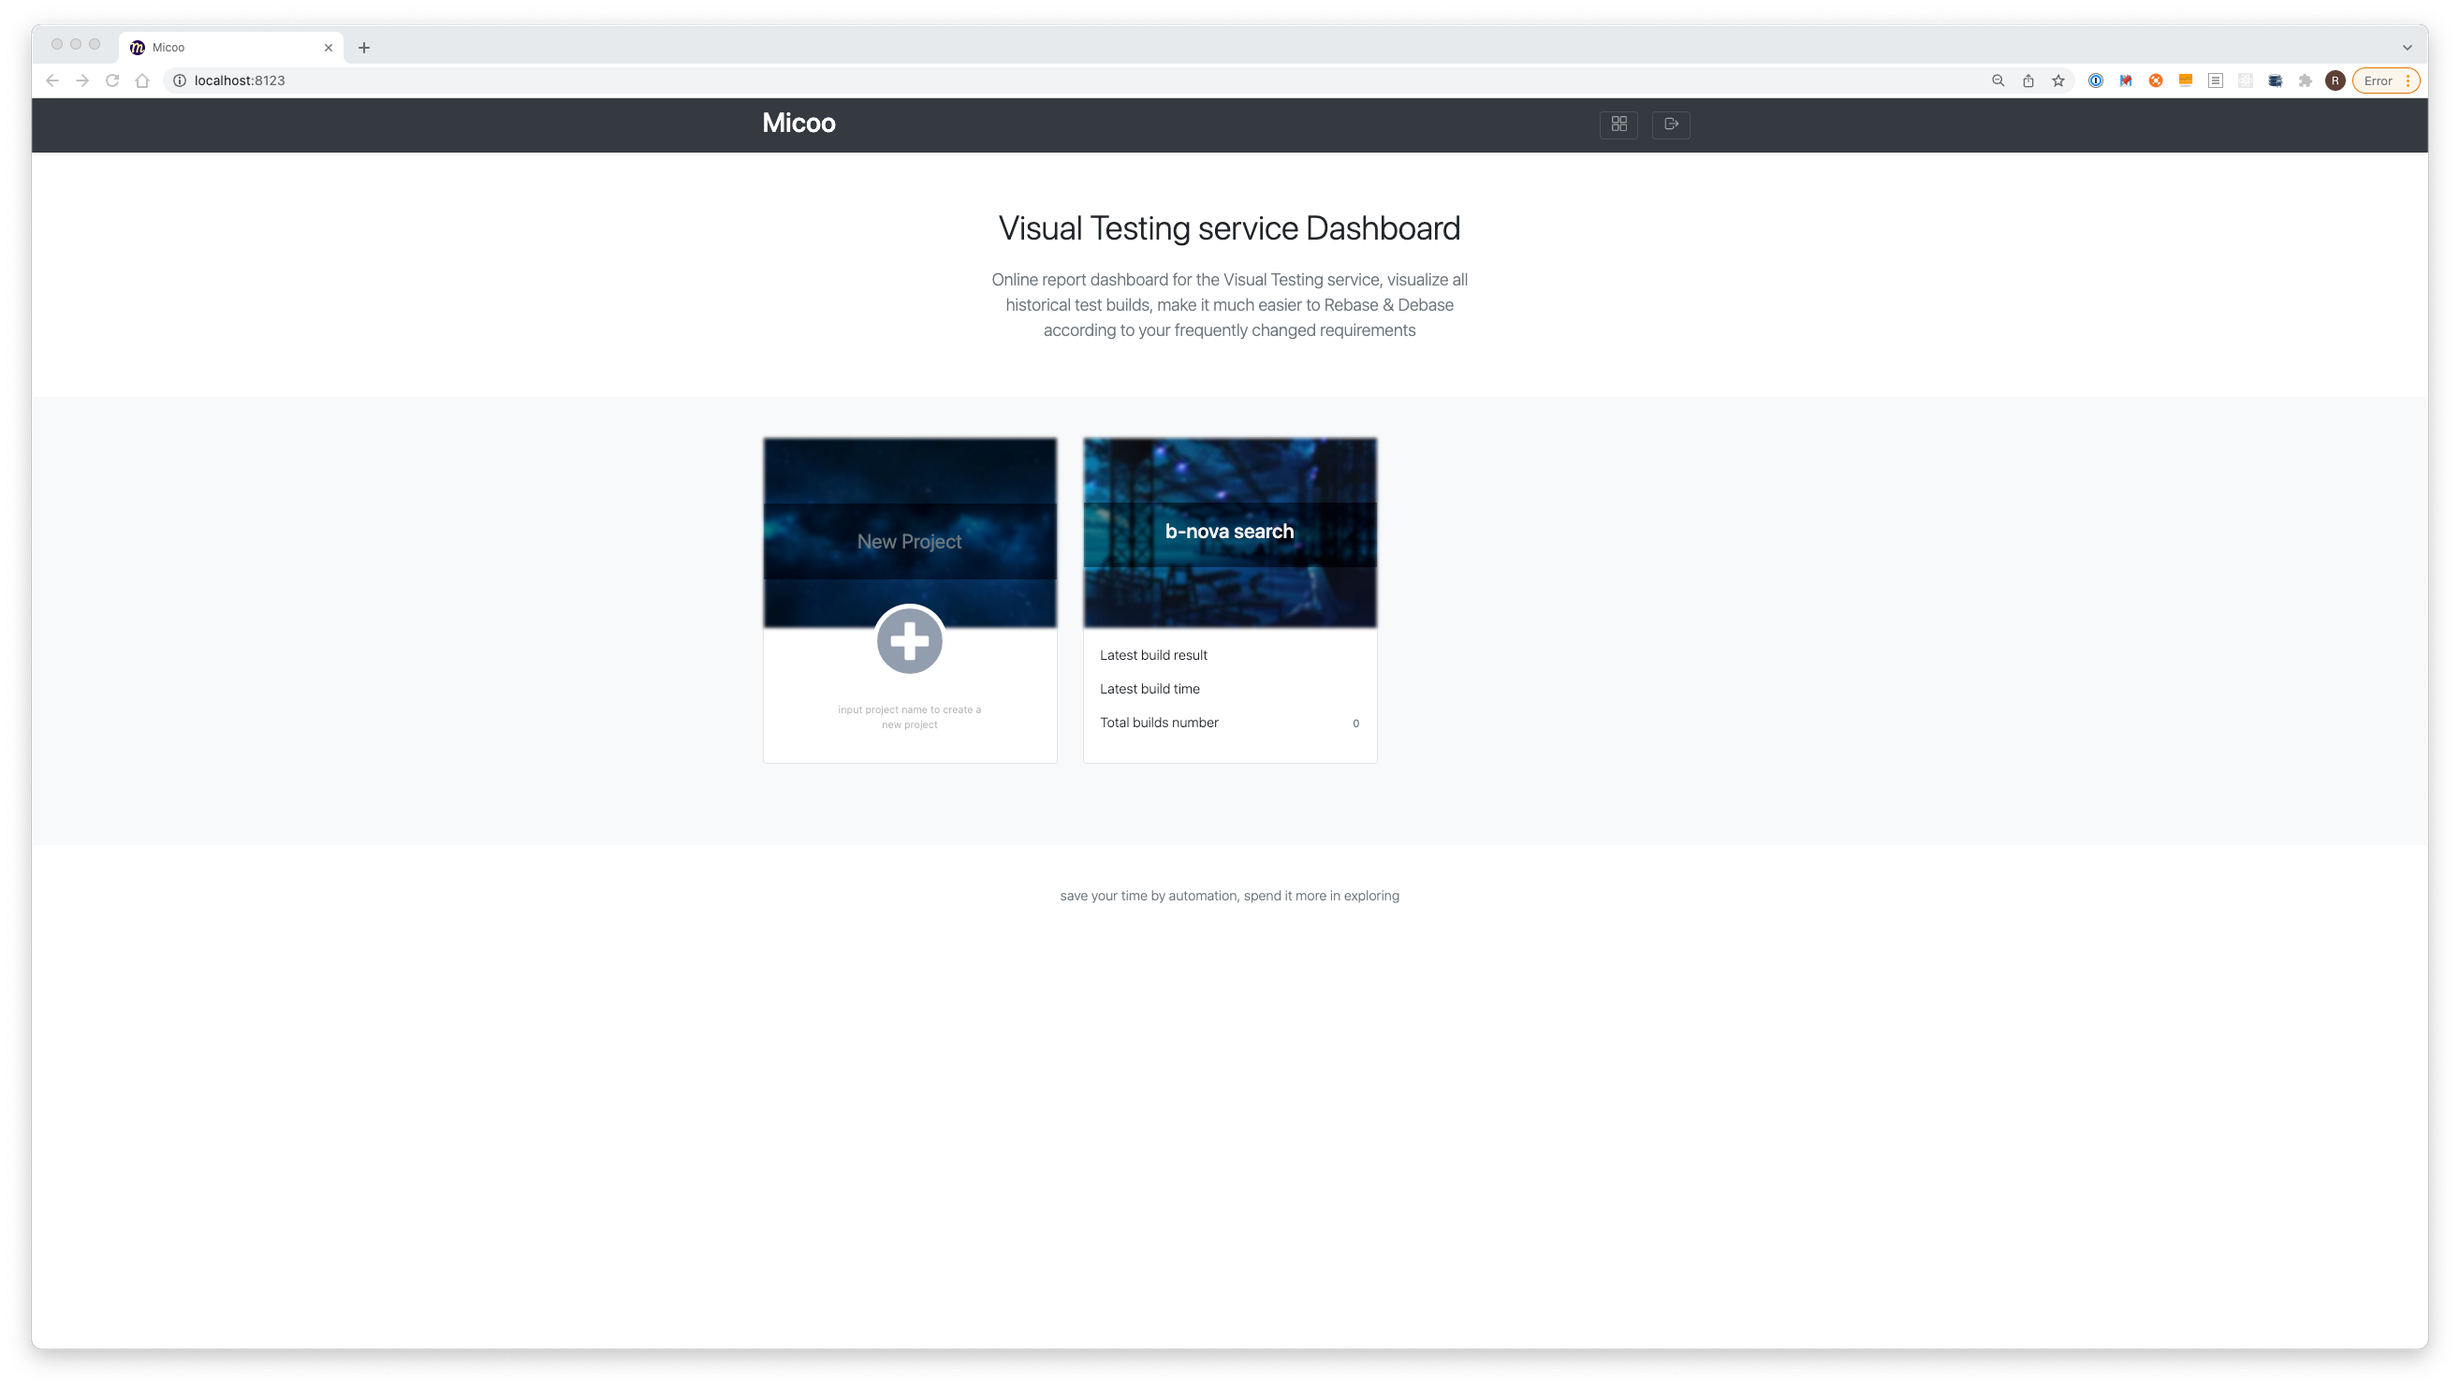
Using the input field “New Project” within the first tile, you can give your project a name and then confirm the entry by clicking on the plus sign. This is all you need to start a new project.
In the next step you need a folder for your test data. Once you have created the first folder, change into it and create another one to store the actual data. For Micoo, these are screenshots of the application under test.
|
|
Afterwards you can create a project inside the test_data folder and install puppeteer.
This is necessary so that you can automatically run your application and then take a screenshot of it for Micoo to compare.
|
|
After that you need a script that takes over this task and saves images into the screenshot folder.
In our first example we call the start page of our local application.
|
|
With the command node ui-test.js you can now create screenshots or run your tests automatically.
Now you can find inside the folder a picture with the name local.png.
Tip
If you want to see how the process is inside Puppeteer, you can also start the process with the Headful mode instead of the Headless Chrome variant. This will open Chromium and you will see virtually the same as Puppeteer. To do this, you simply need to modify the launch command:
|
|
However, you should only use this locally for testing purposes.
Now, in order for the tests to work with Micoo, you need to upload the images and start a test build. This should all happen automatically every time an upload took place. In our example, the micoo node library is used for this, with the Micoo Client. Alternatively, you can do the upload via Python or Java Client Library.
|
|
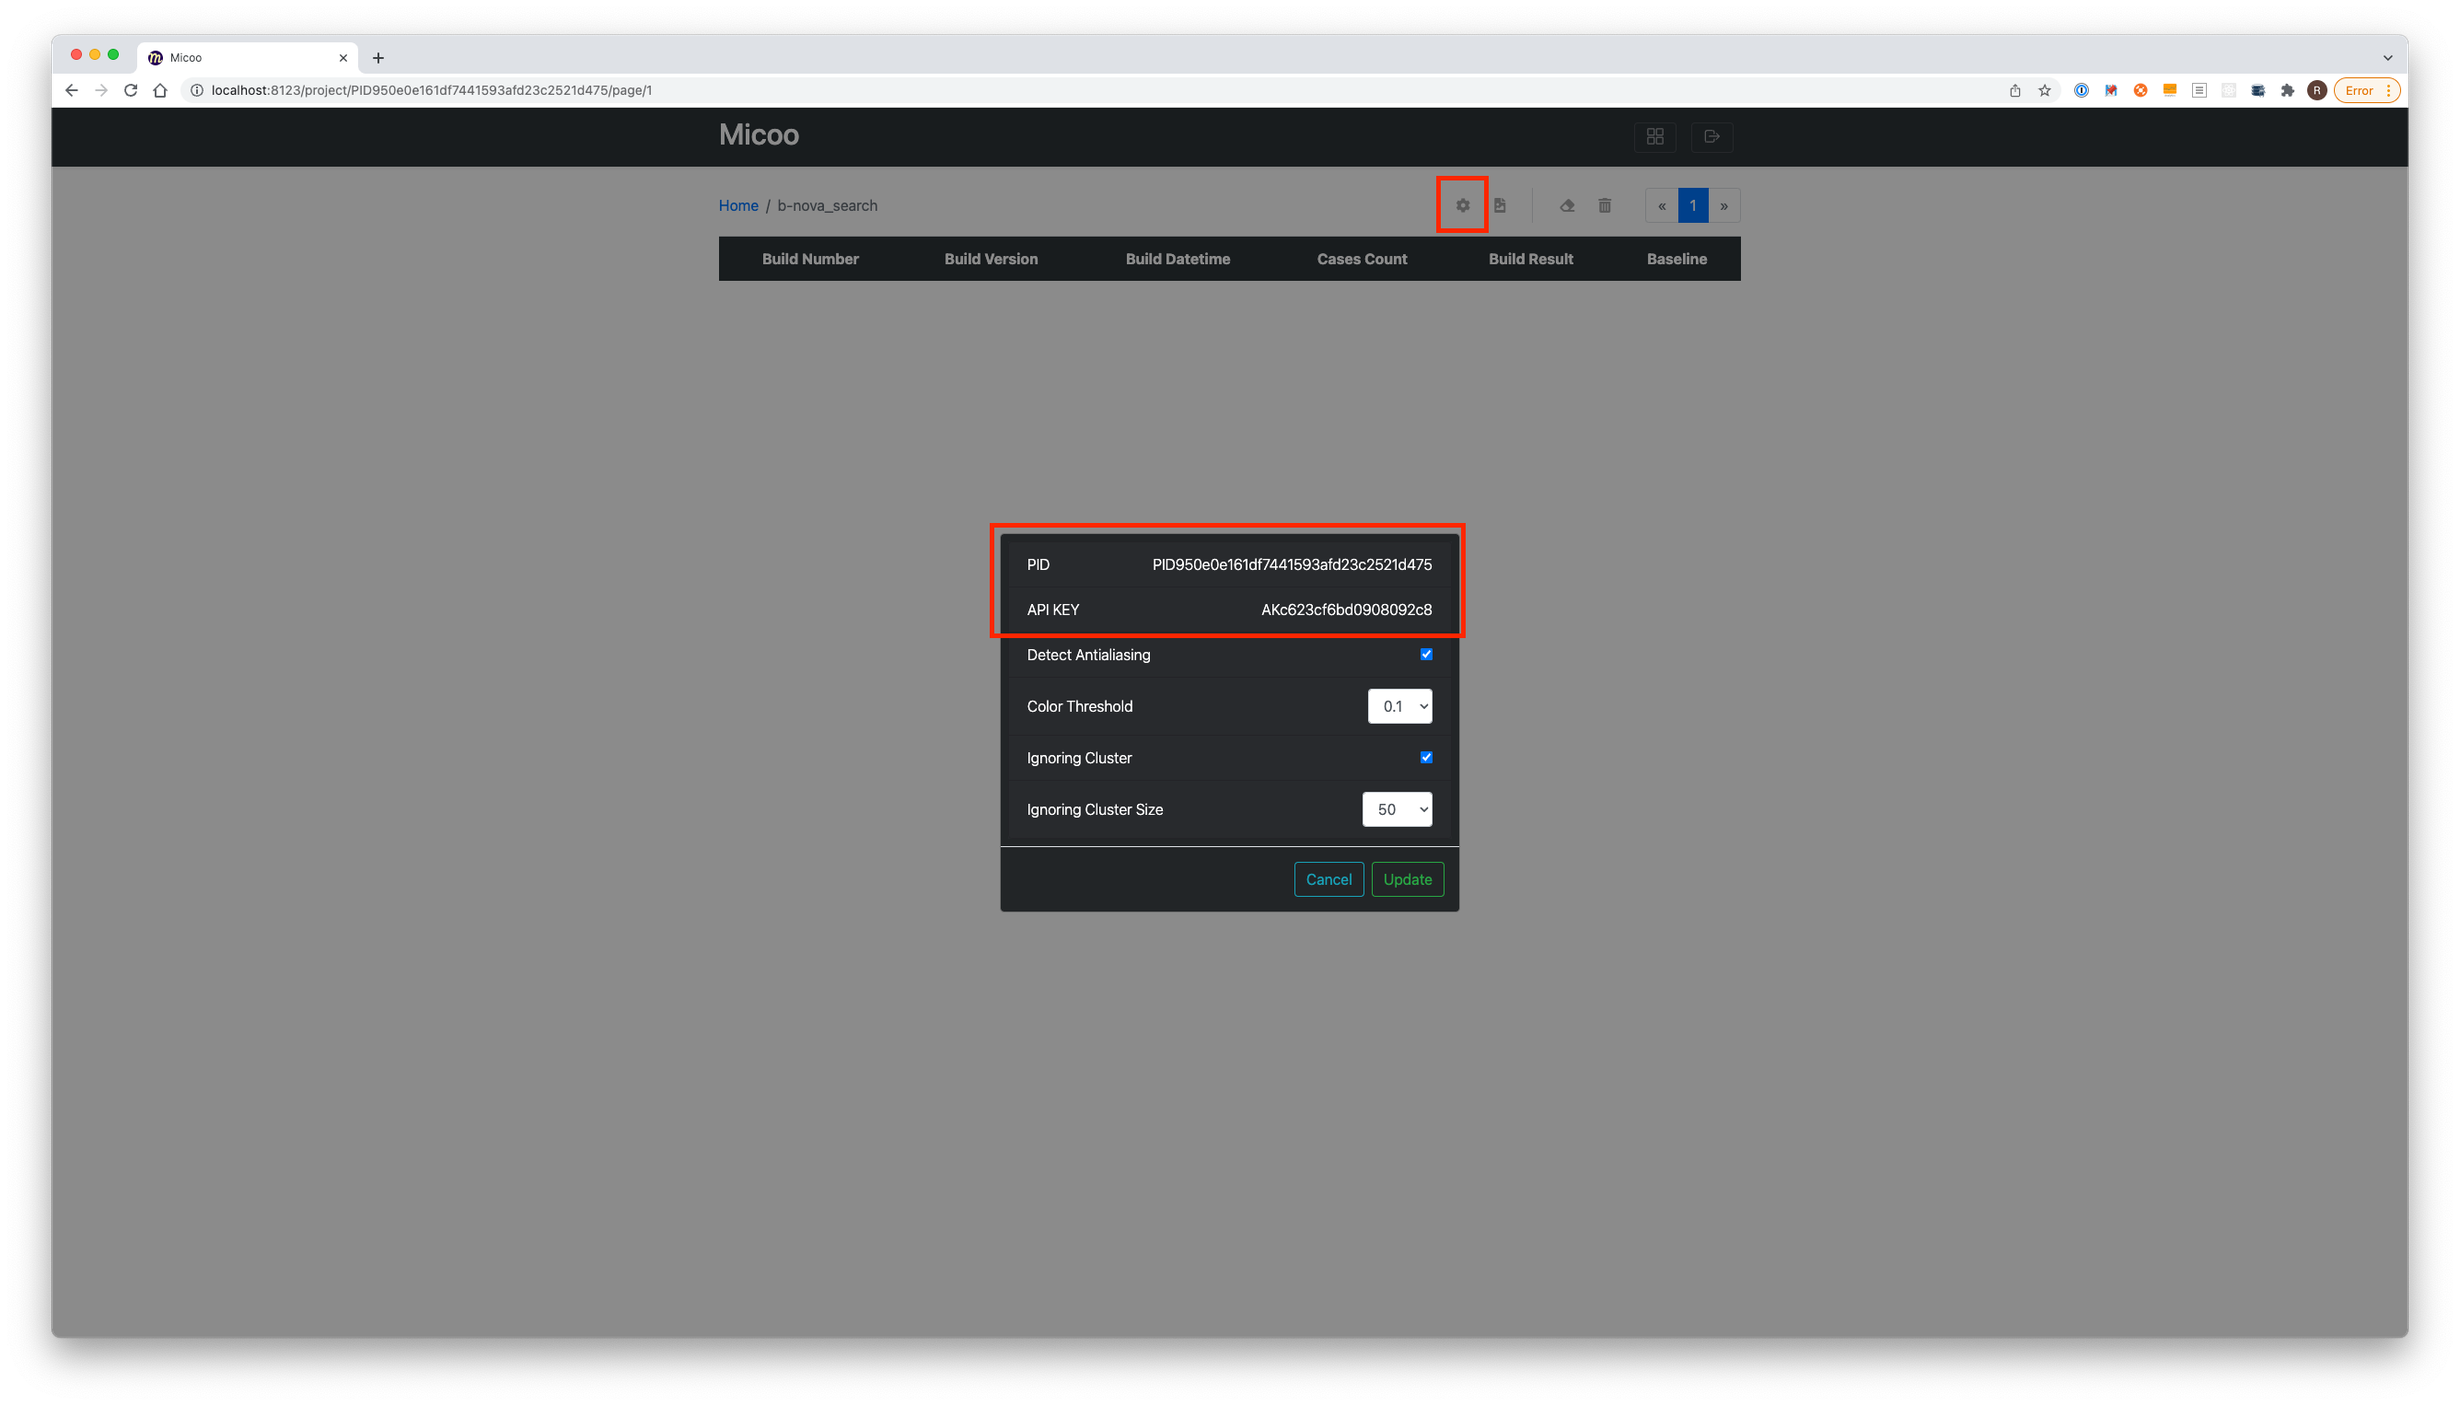
For the next step you need the PID and the API Keys, which you can find in the settings. You need these to upload your images to your corresponding project.
With the necessary information you can create the following file. This script is then responsible for uploading the data and starting a new build when you run it.
|
|
Once this file has been saved, you can execute the JavaScript file. If the process is successful, you will see which files were uploaded. In our example this is only local.png.
|
|
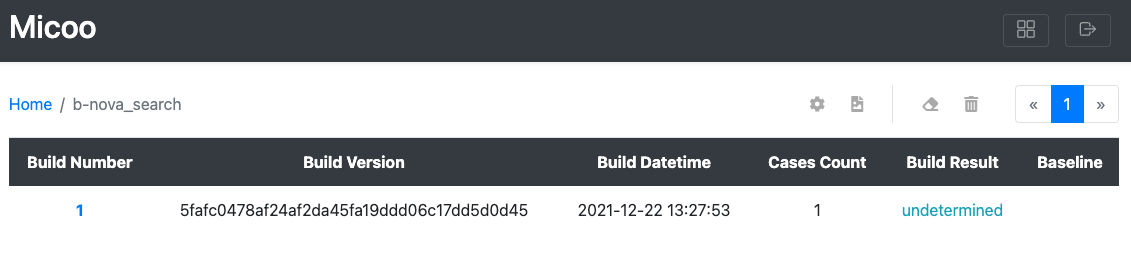
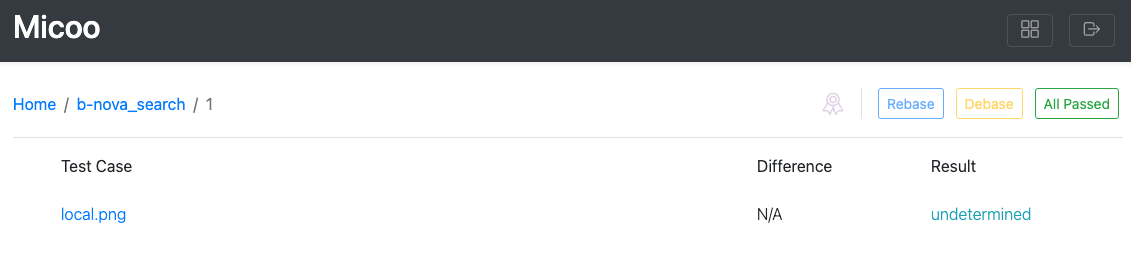
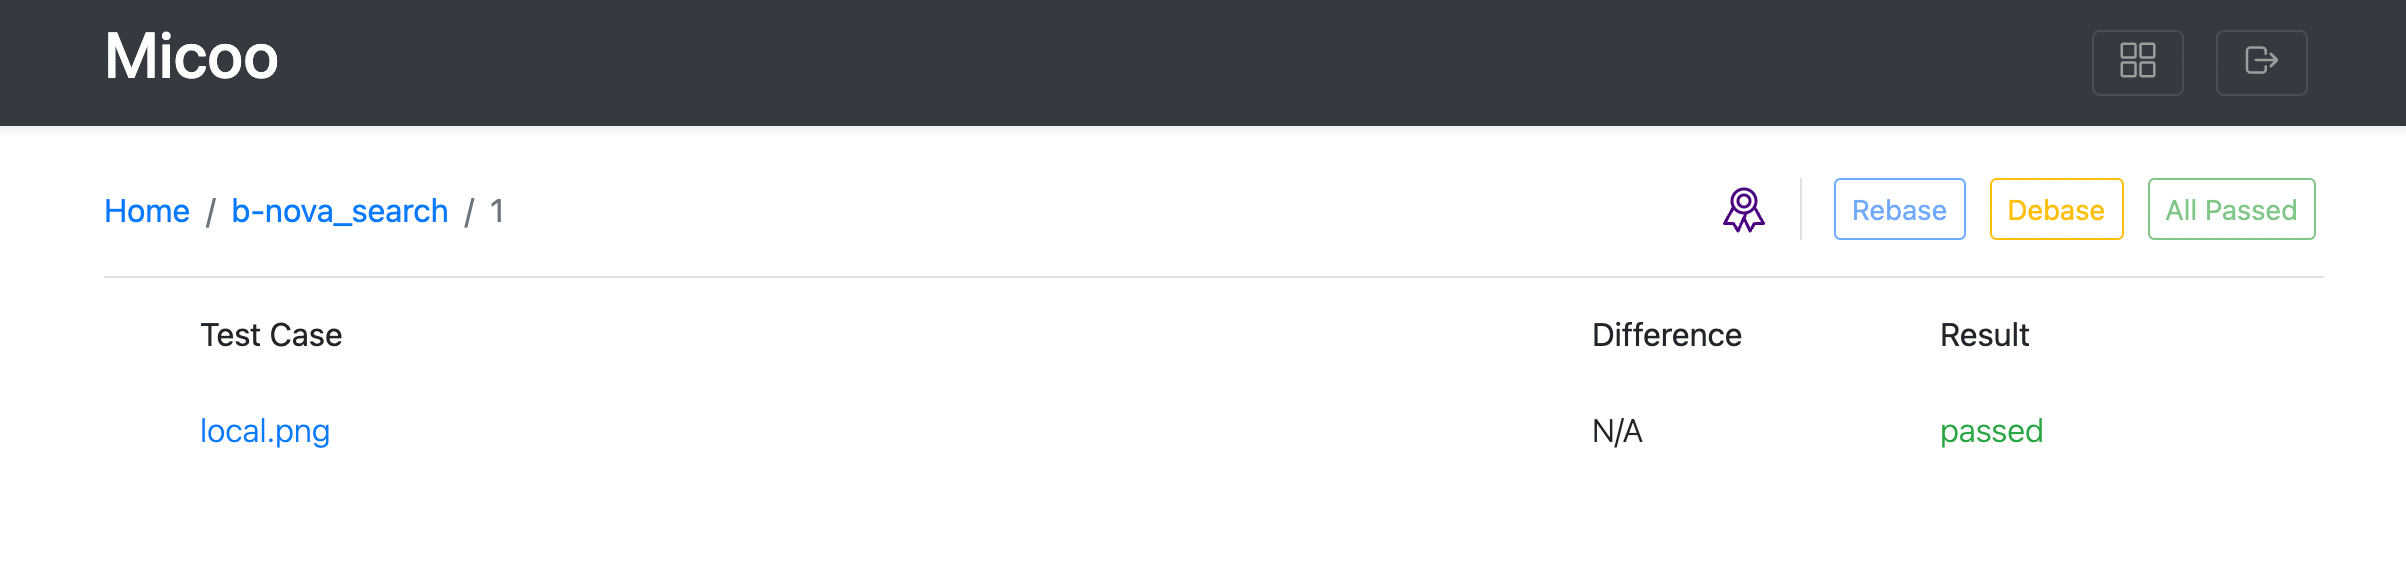
If you now click on Build Number 1, you will be redirected to the detailed view of this build. As this is the first build, no difference can be detected as there is no other image which can be used as a comparison image. For this reason, you must define this test as passed (“All Passed”) if you want to use this image as a reference. In addition, you must click the rebase button. Only through these two conditions does your build count as a basis of comparison for the next tests.
Now we want to recreate the case where there is no change in the view for the user. In our case, it is sufficient here without Code Change to delete the current images and run ui-test.js and visual-test.js again.
|
|
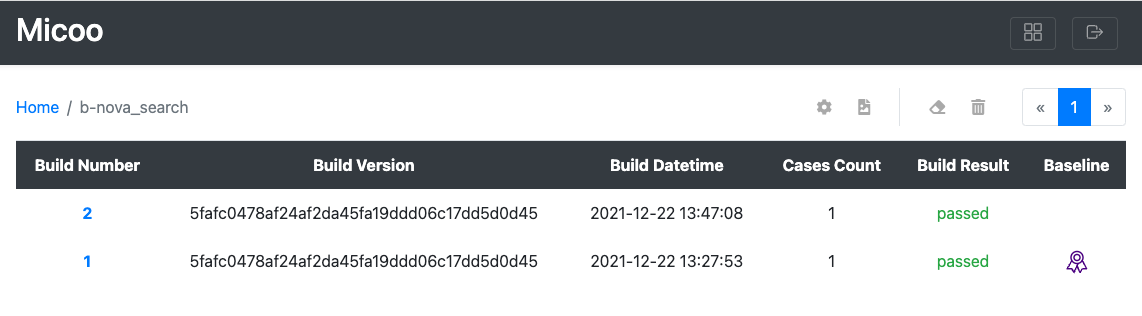
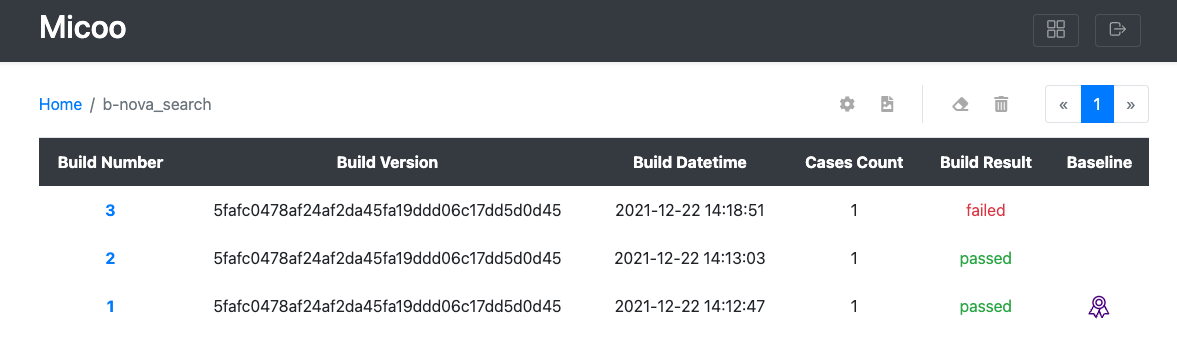
As soon as you see the confirmation that your images have been uploaded, you can switch back to your Micoo project. There you should now see a second Build Number. The Build Result may take a moment, depending on how many images are compared.
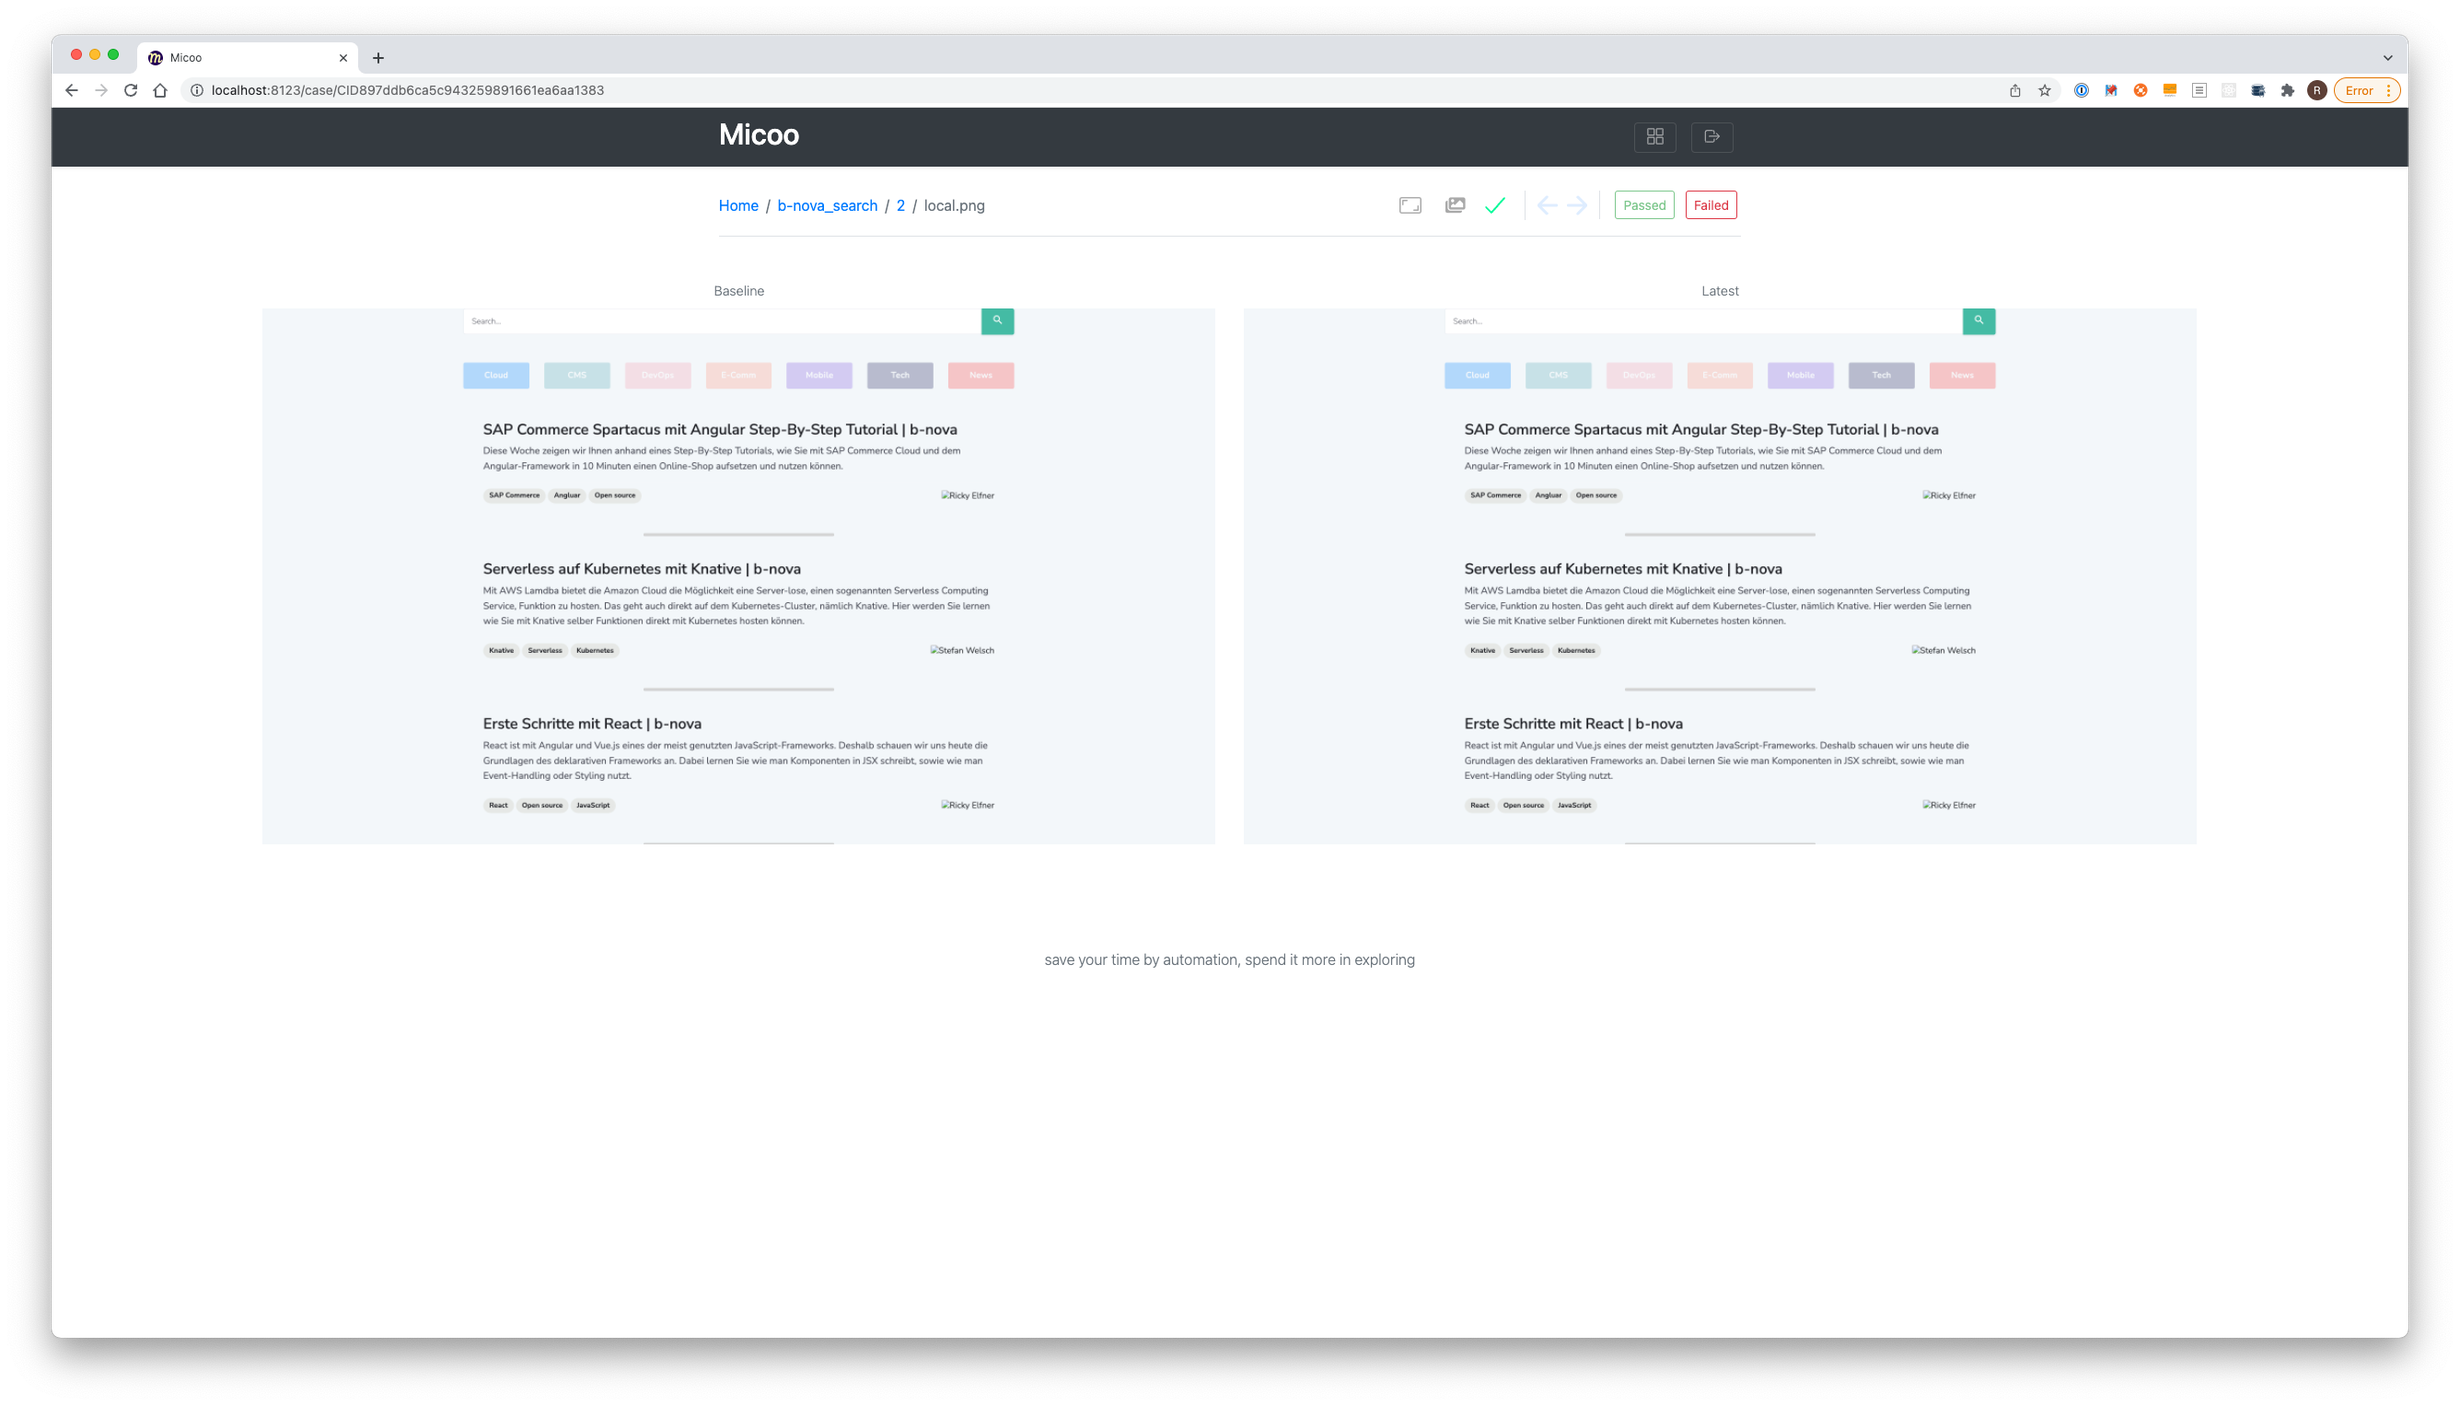
If you now click on Build Number 2 and also on the corresponding test image, you will get a comparison between the base image and the new screenshot.
Now, in the next step, we simply want to provoke an error by changing the font colour of our filter buttons. As soon as this is done, we can delete the screenshots again, do the tests and the upload.
In the project overview we then get the indication that the comparison failed.
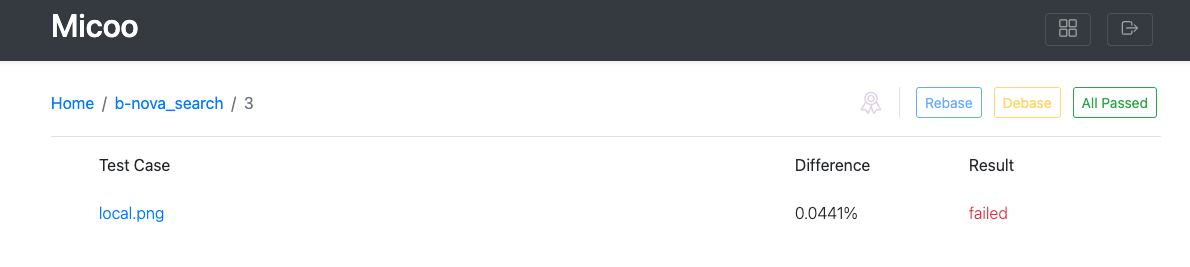
Within the build (in the detail view) you can see which comparisons failed. In our example there is only one image, so the only difference here is the detail info Difference, which shows in percent how much the differences are.
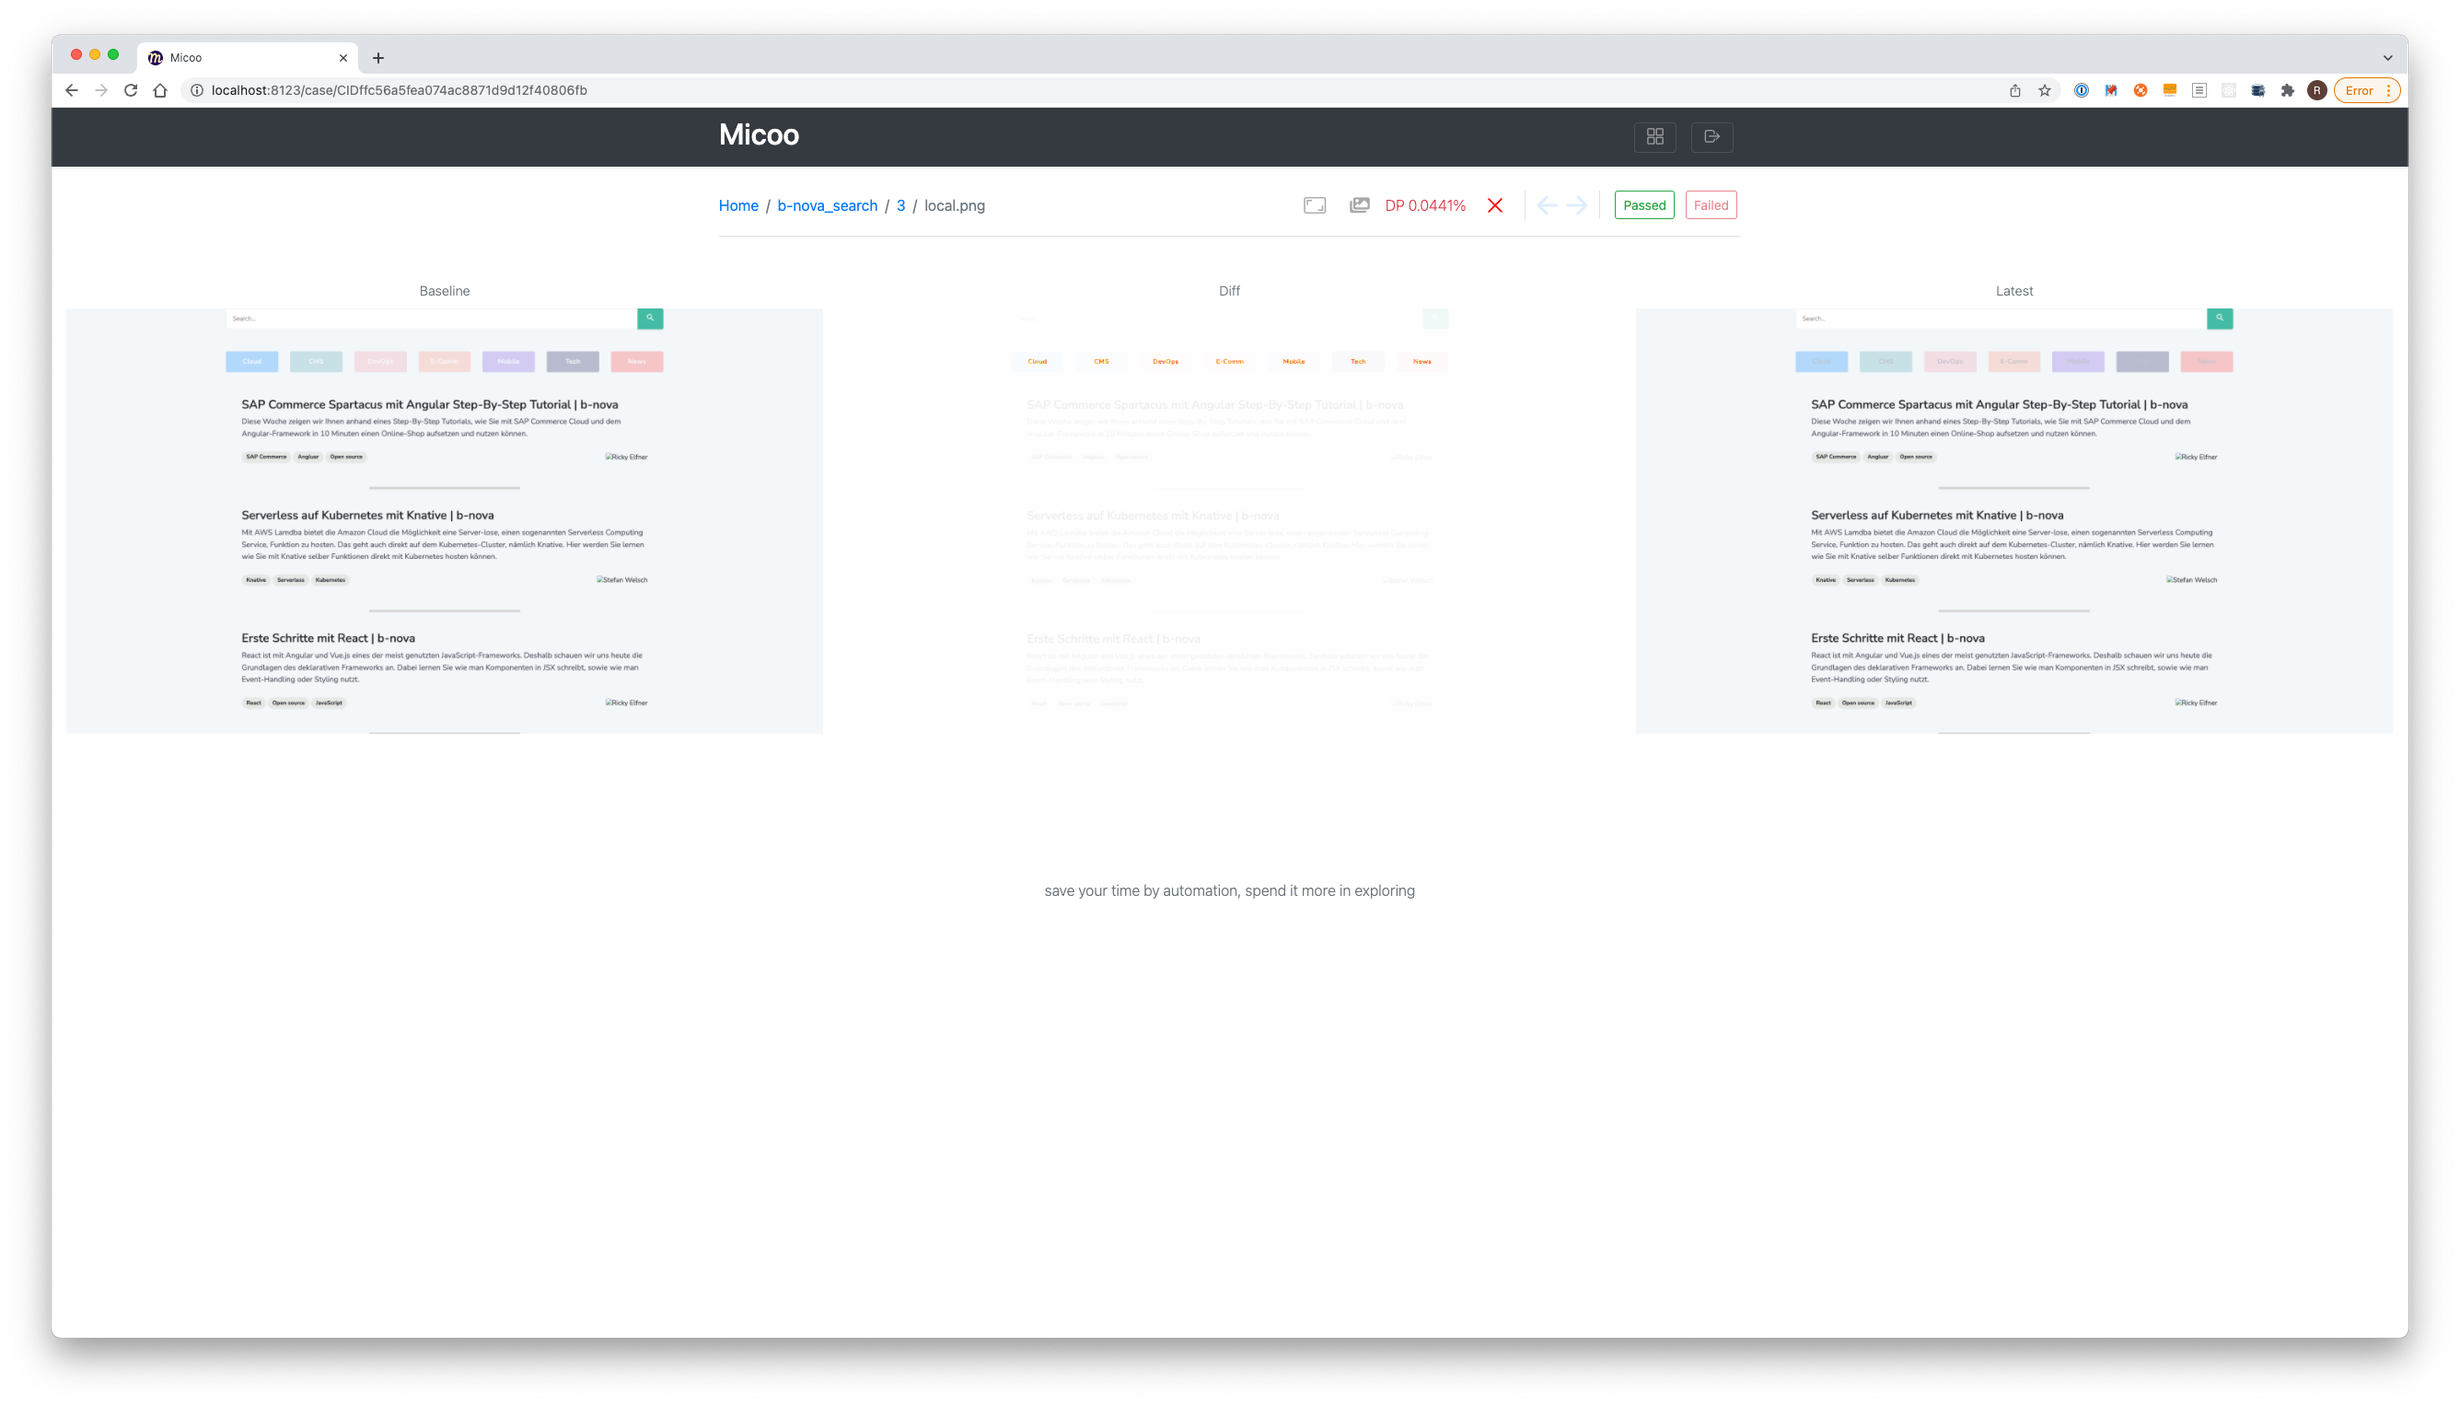
If you now click on the picture or the test case that failed, you will again get a comparison picture including a picture showing the difference.
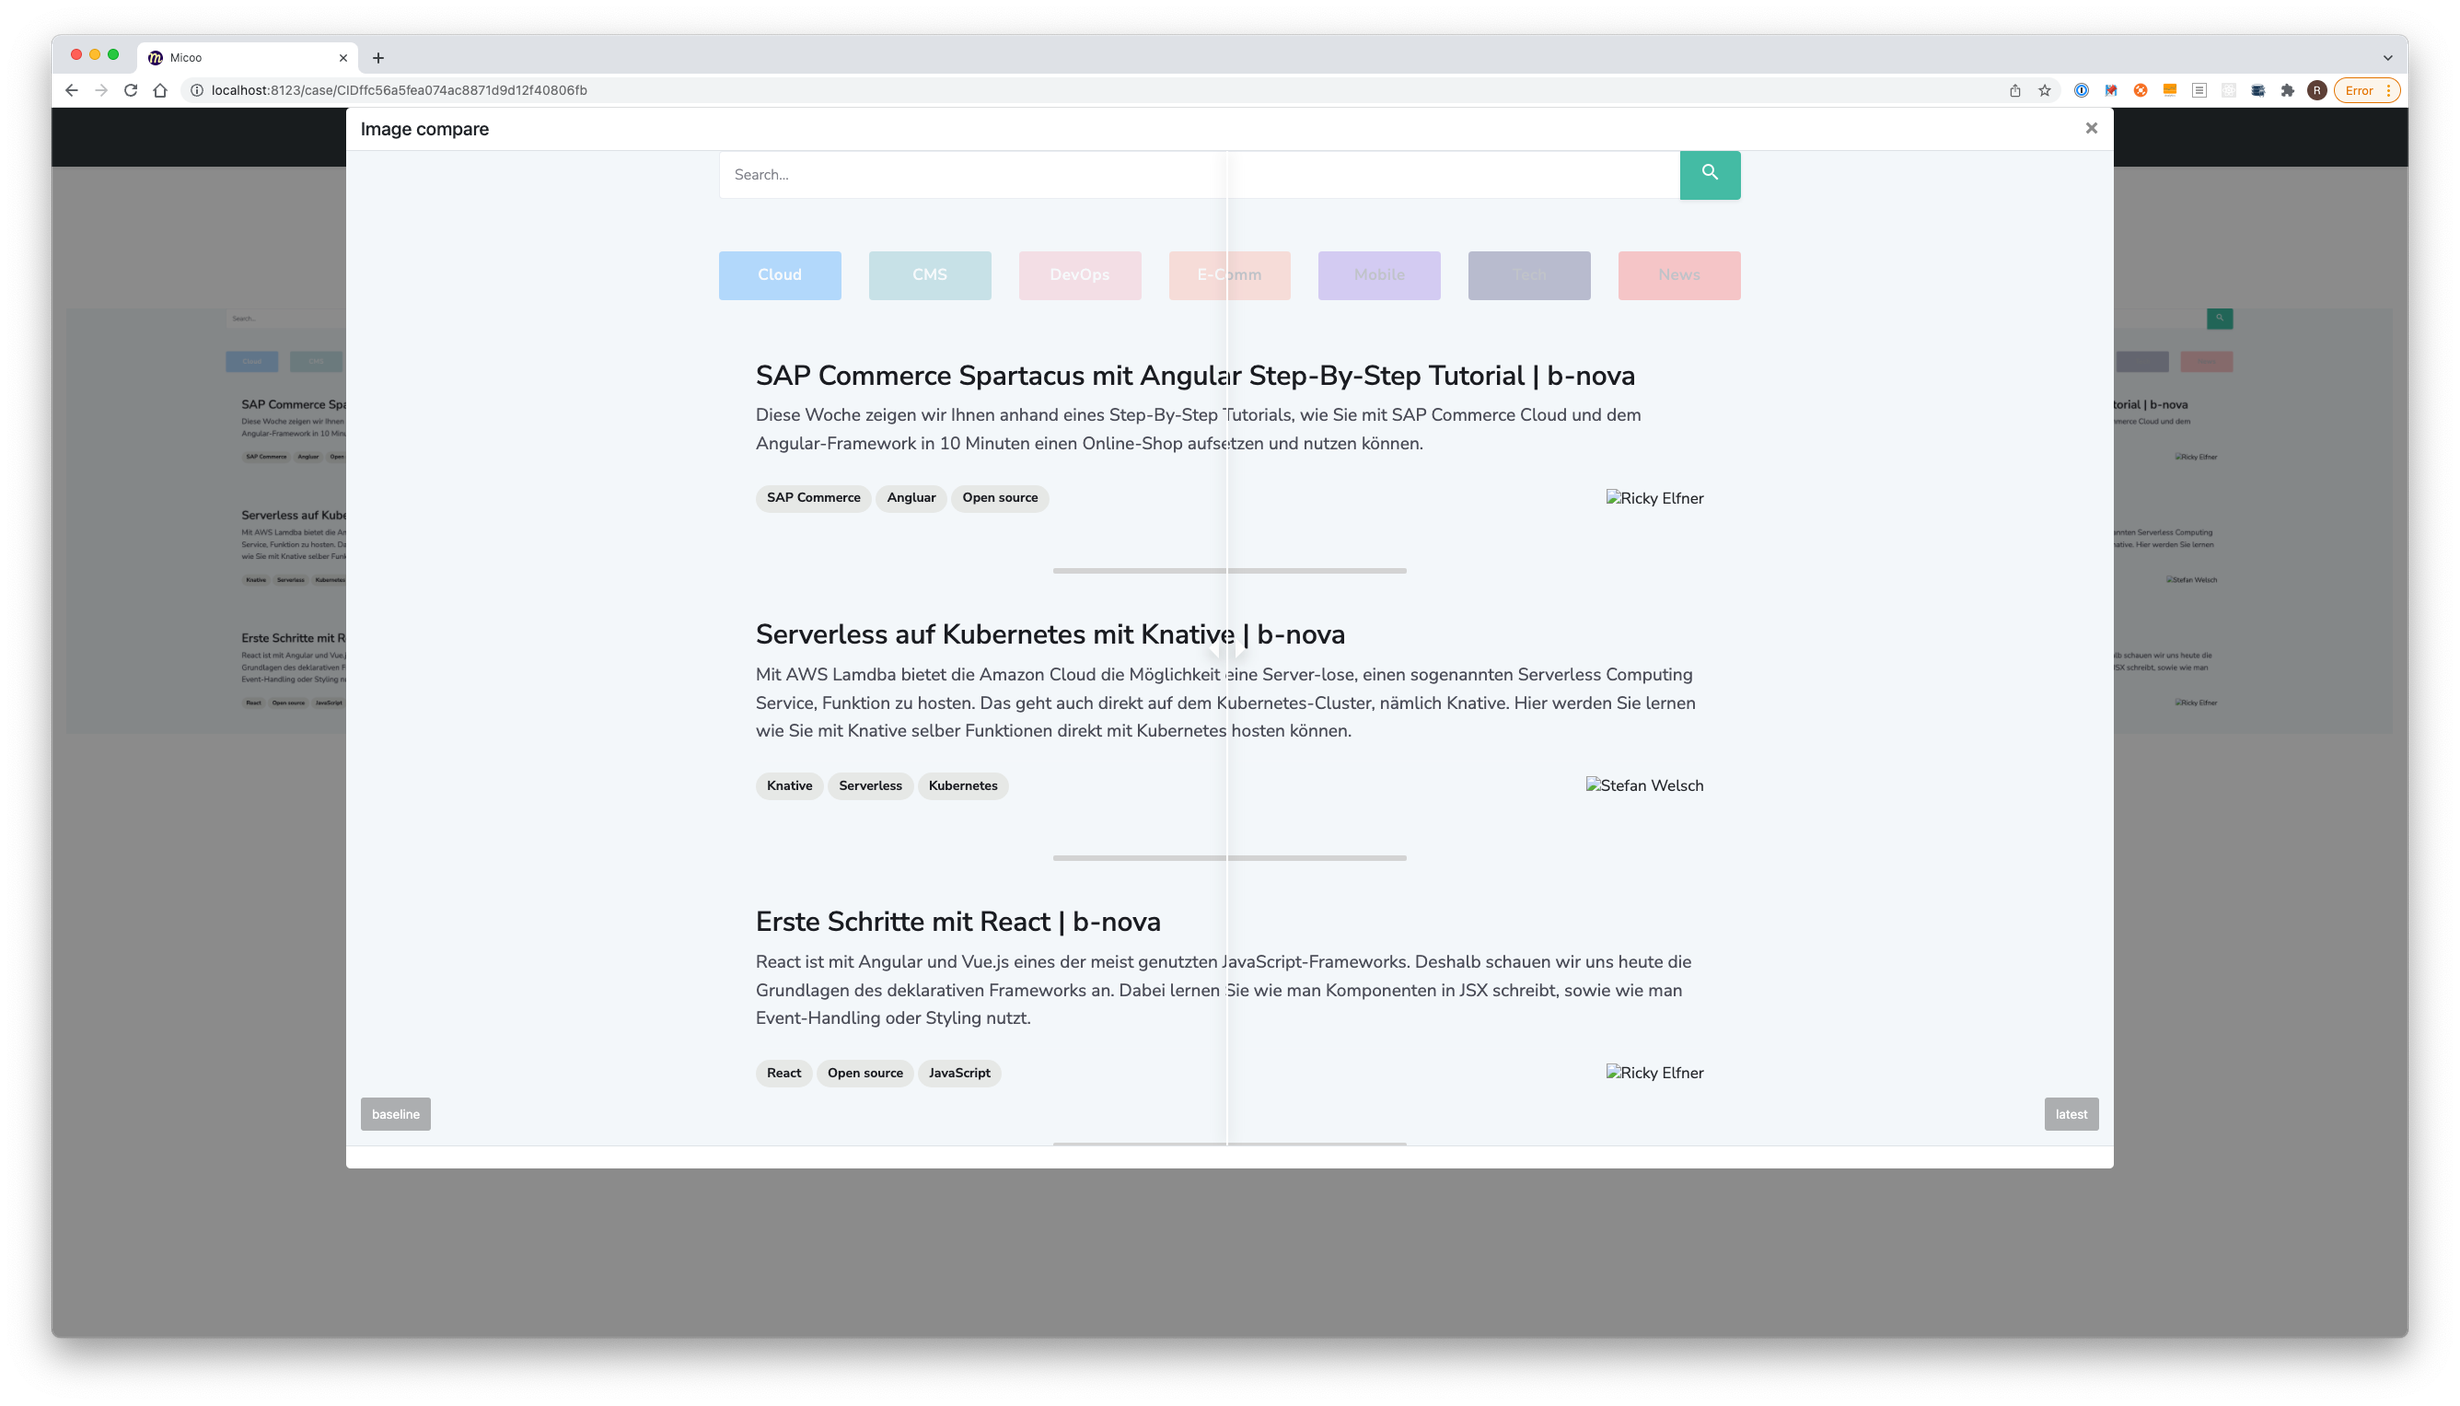
Another useful function here is Image-Compare. Here you have a slider with which you can move from left to right to compare the differences more precisely.
Further test cases
In the next step, we want to use Pupperteer a little more so that we can not only test the start page of the application, but also cover different test cases. Therefore, the next step is to make an entry in the search field so that, for example, highlighting is also tested. First we write a function so that we don’t have everything in the main function. Within this method we search for the input field using the id of the input field (searchTermInputField) and add the parameter searchTerm.
Then we add a short timeout to be on the safe side, because the query always needs a short moment and so we can be sure that the query could be executed completely with every test. And finally, we take a screenshot again, which will be used for comparison.
|
|
In order for this test to be performed, we still need the call in the main function. Here you can also see that we have outsourced the previous logic for the first test to the function testMainPage. Here you can also see that we have outsourced the previous logic for the first test to the function testMainPage.
|
|
Now we run the test class again and upload it to Micoo. But again, we first delete all existing screenshots.
|
|
Inside the project on Micoo you can now see that the fourth test is undetermined.
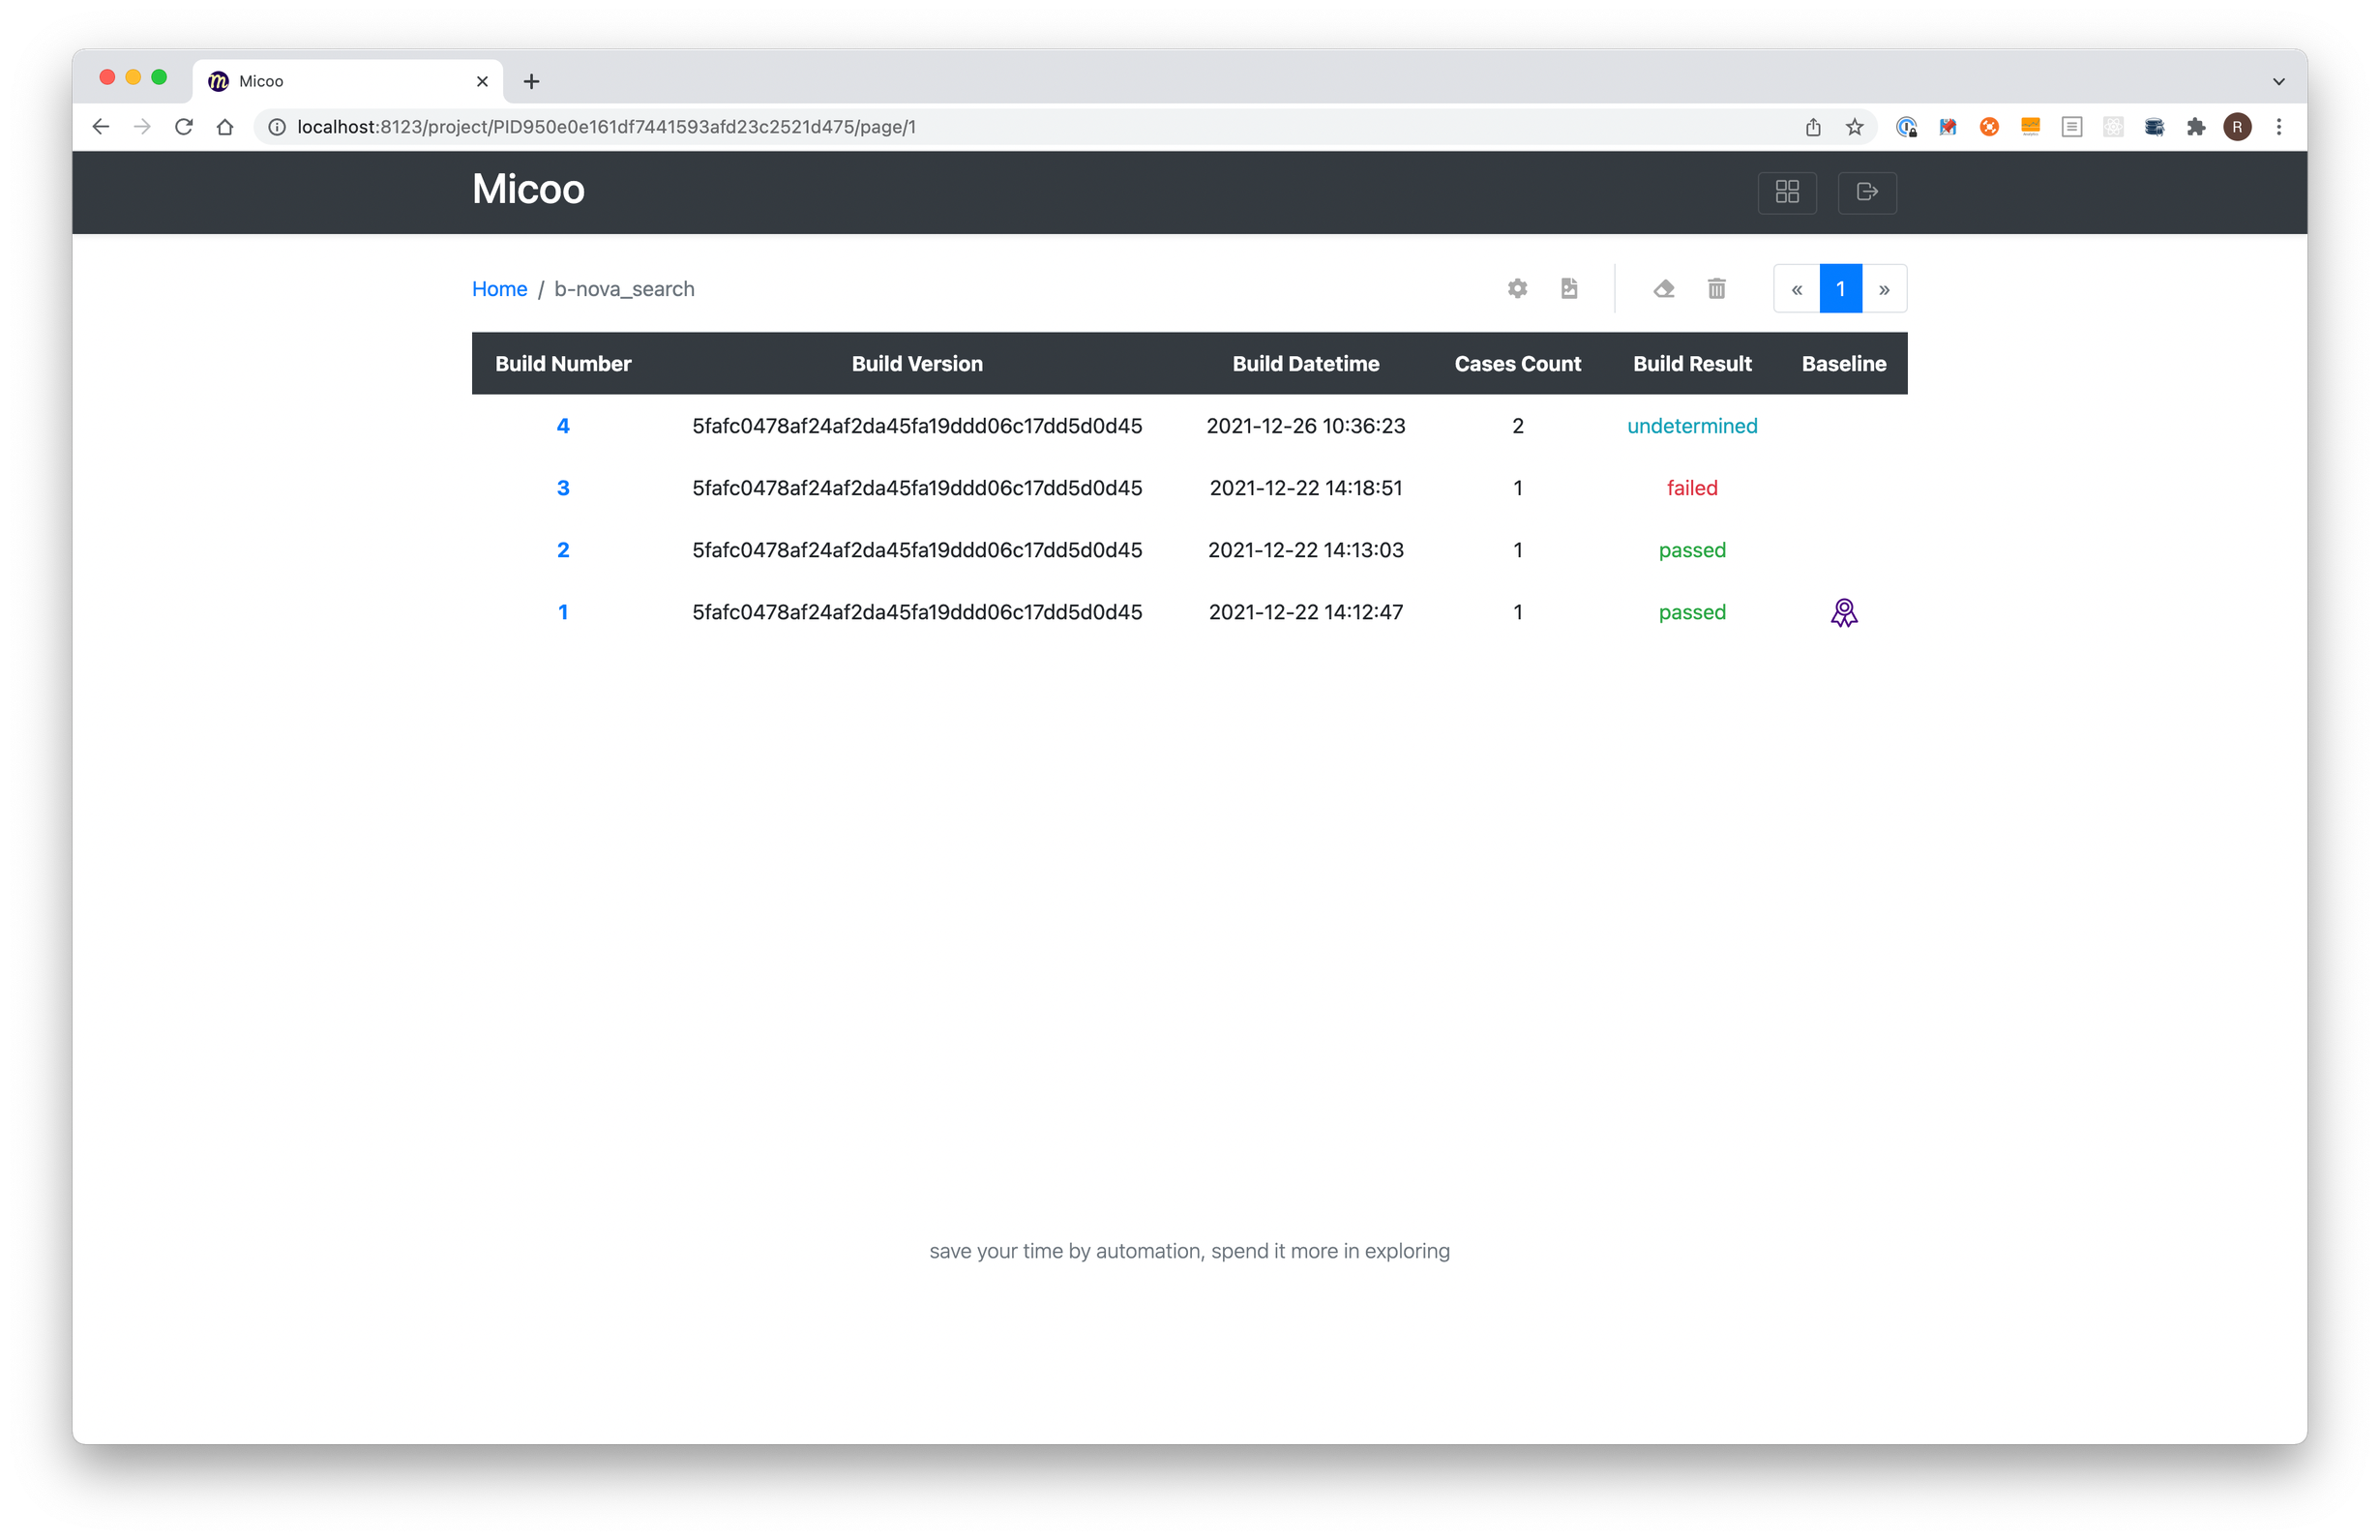
Therefore, you first have to click on the first test and there on a Debase so that you can determine a new basis of comparison that will serve as a basis of comparison again.
You can then go back to the fourth test and determine that all tests are in order and set it as a basis for comparison with ‘Debase’. On the home page you should then see that the purple icon is now on the fourth test. This always shows the screenshots that are to be used for comparison.
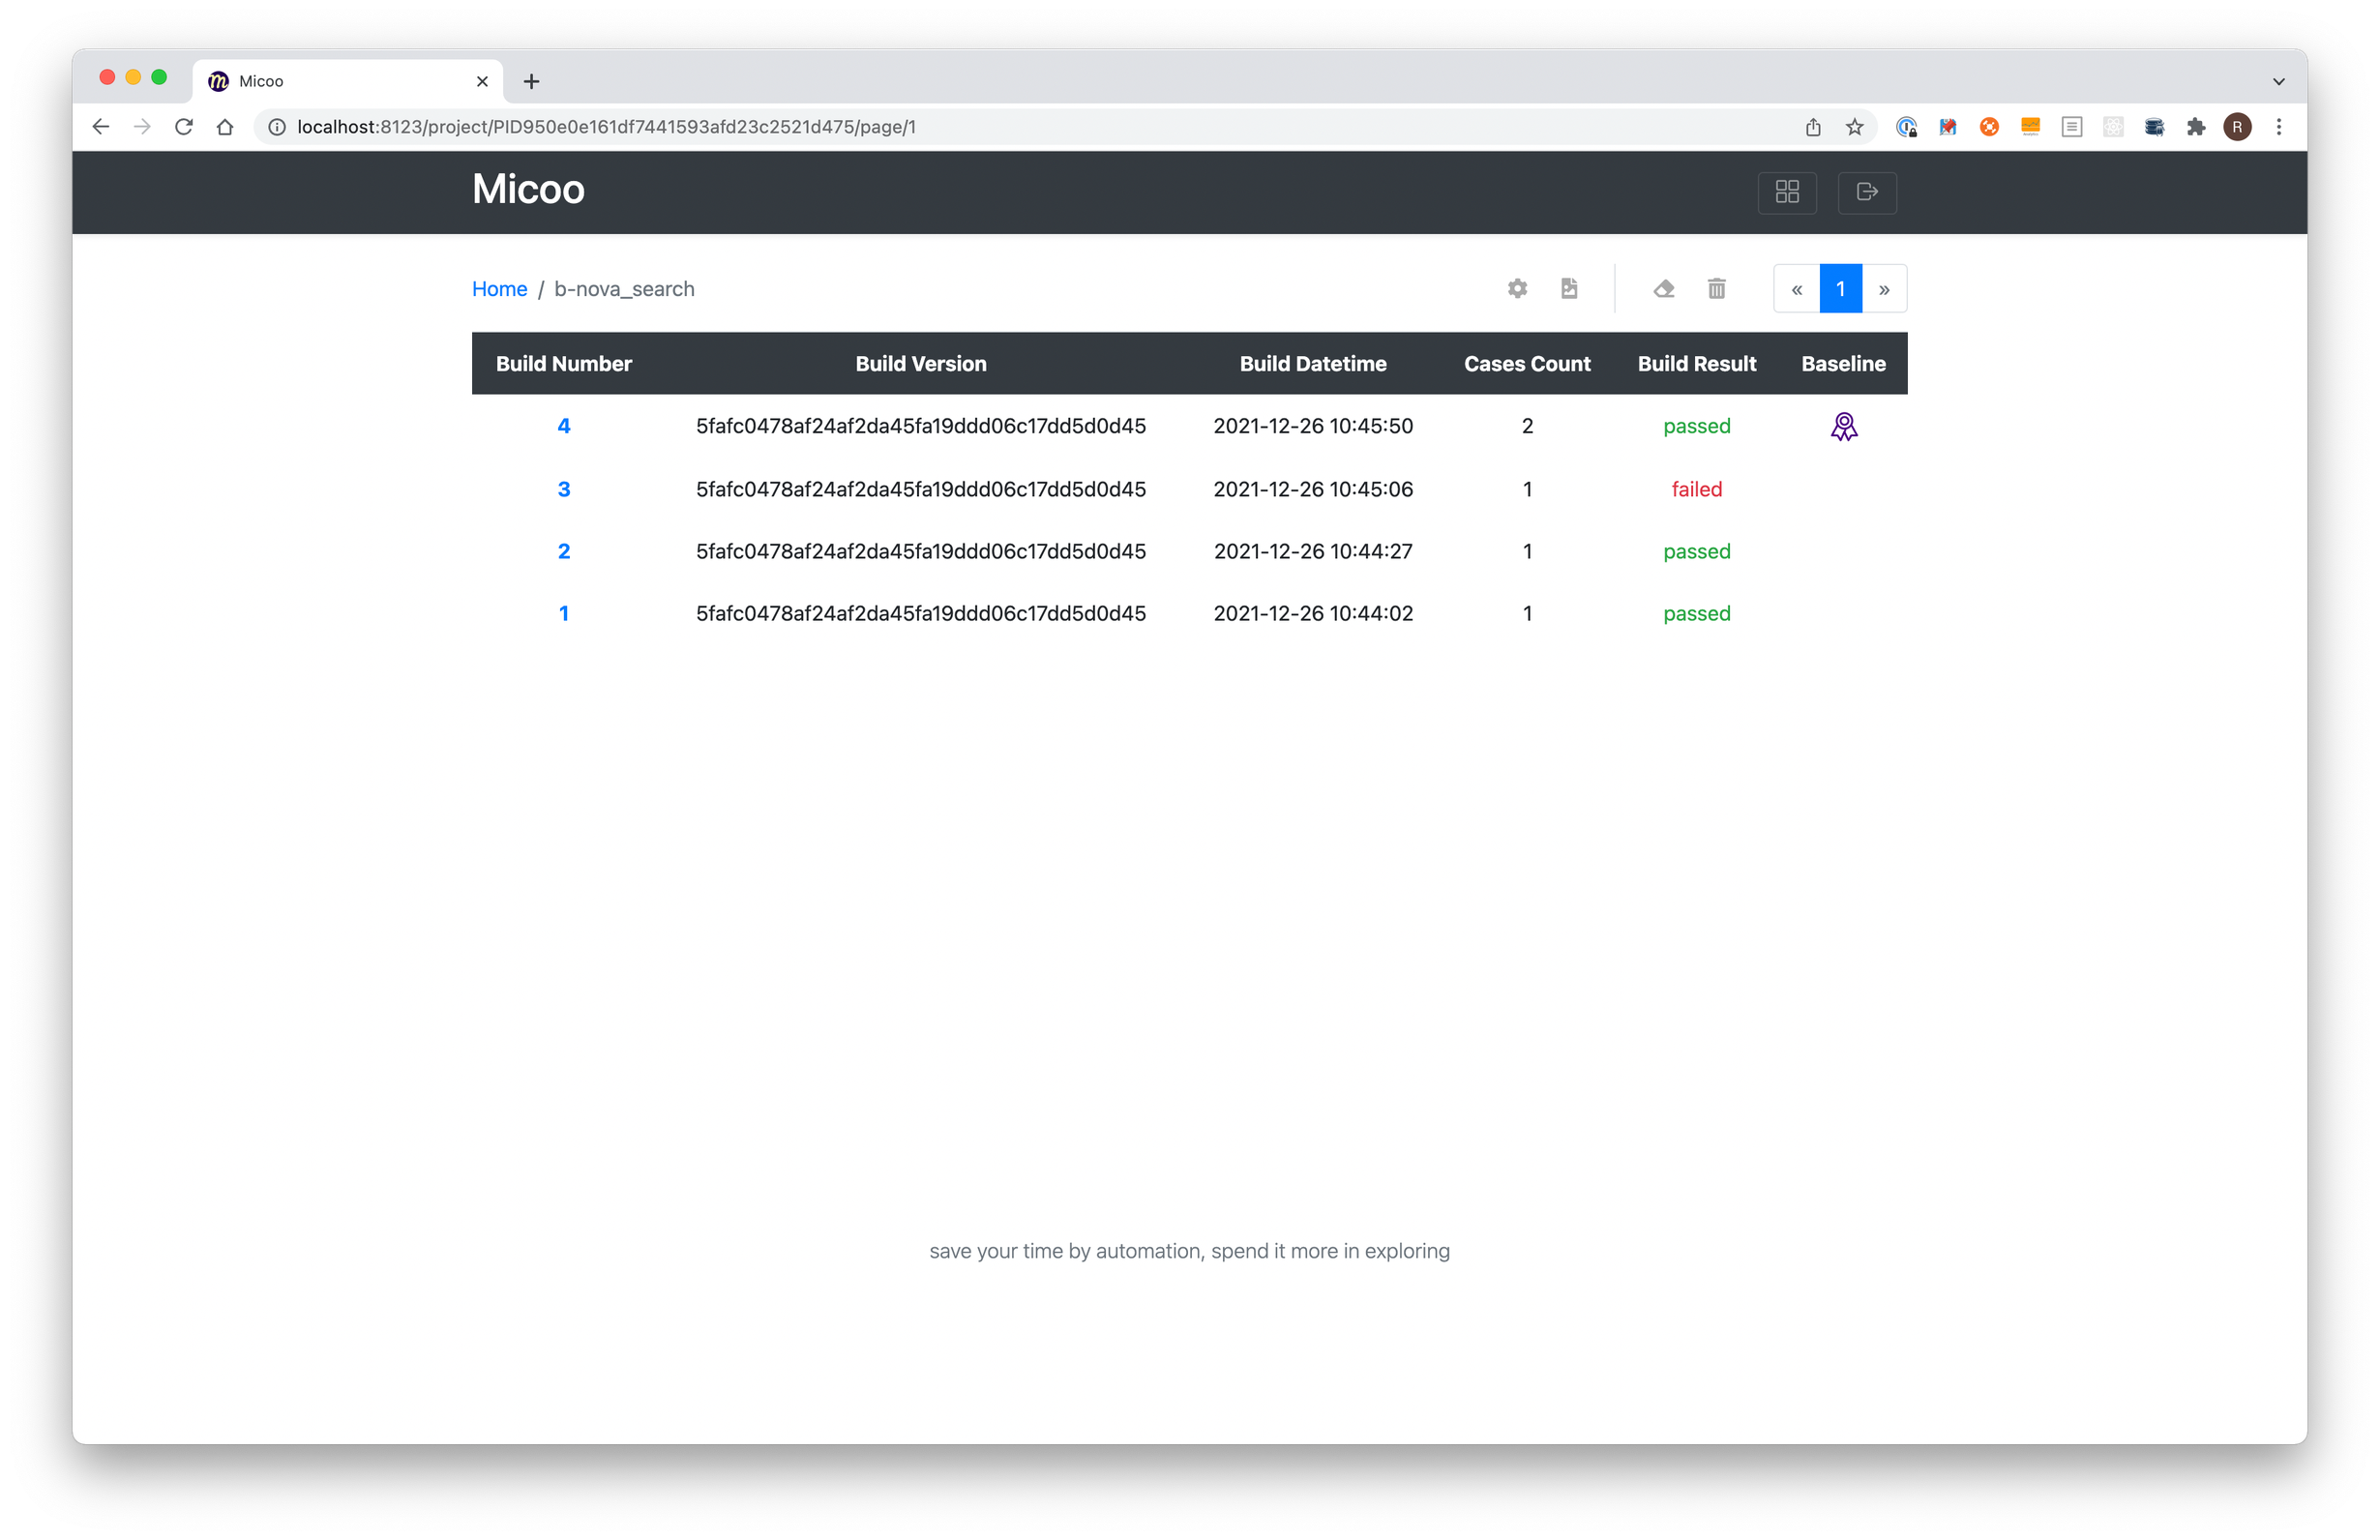
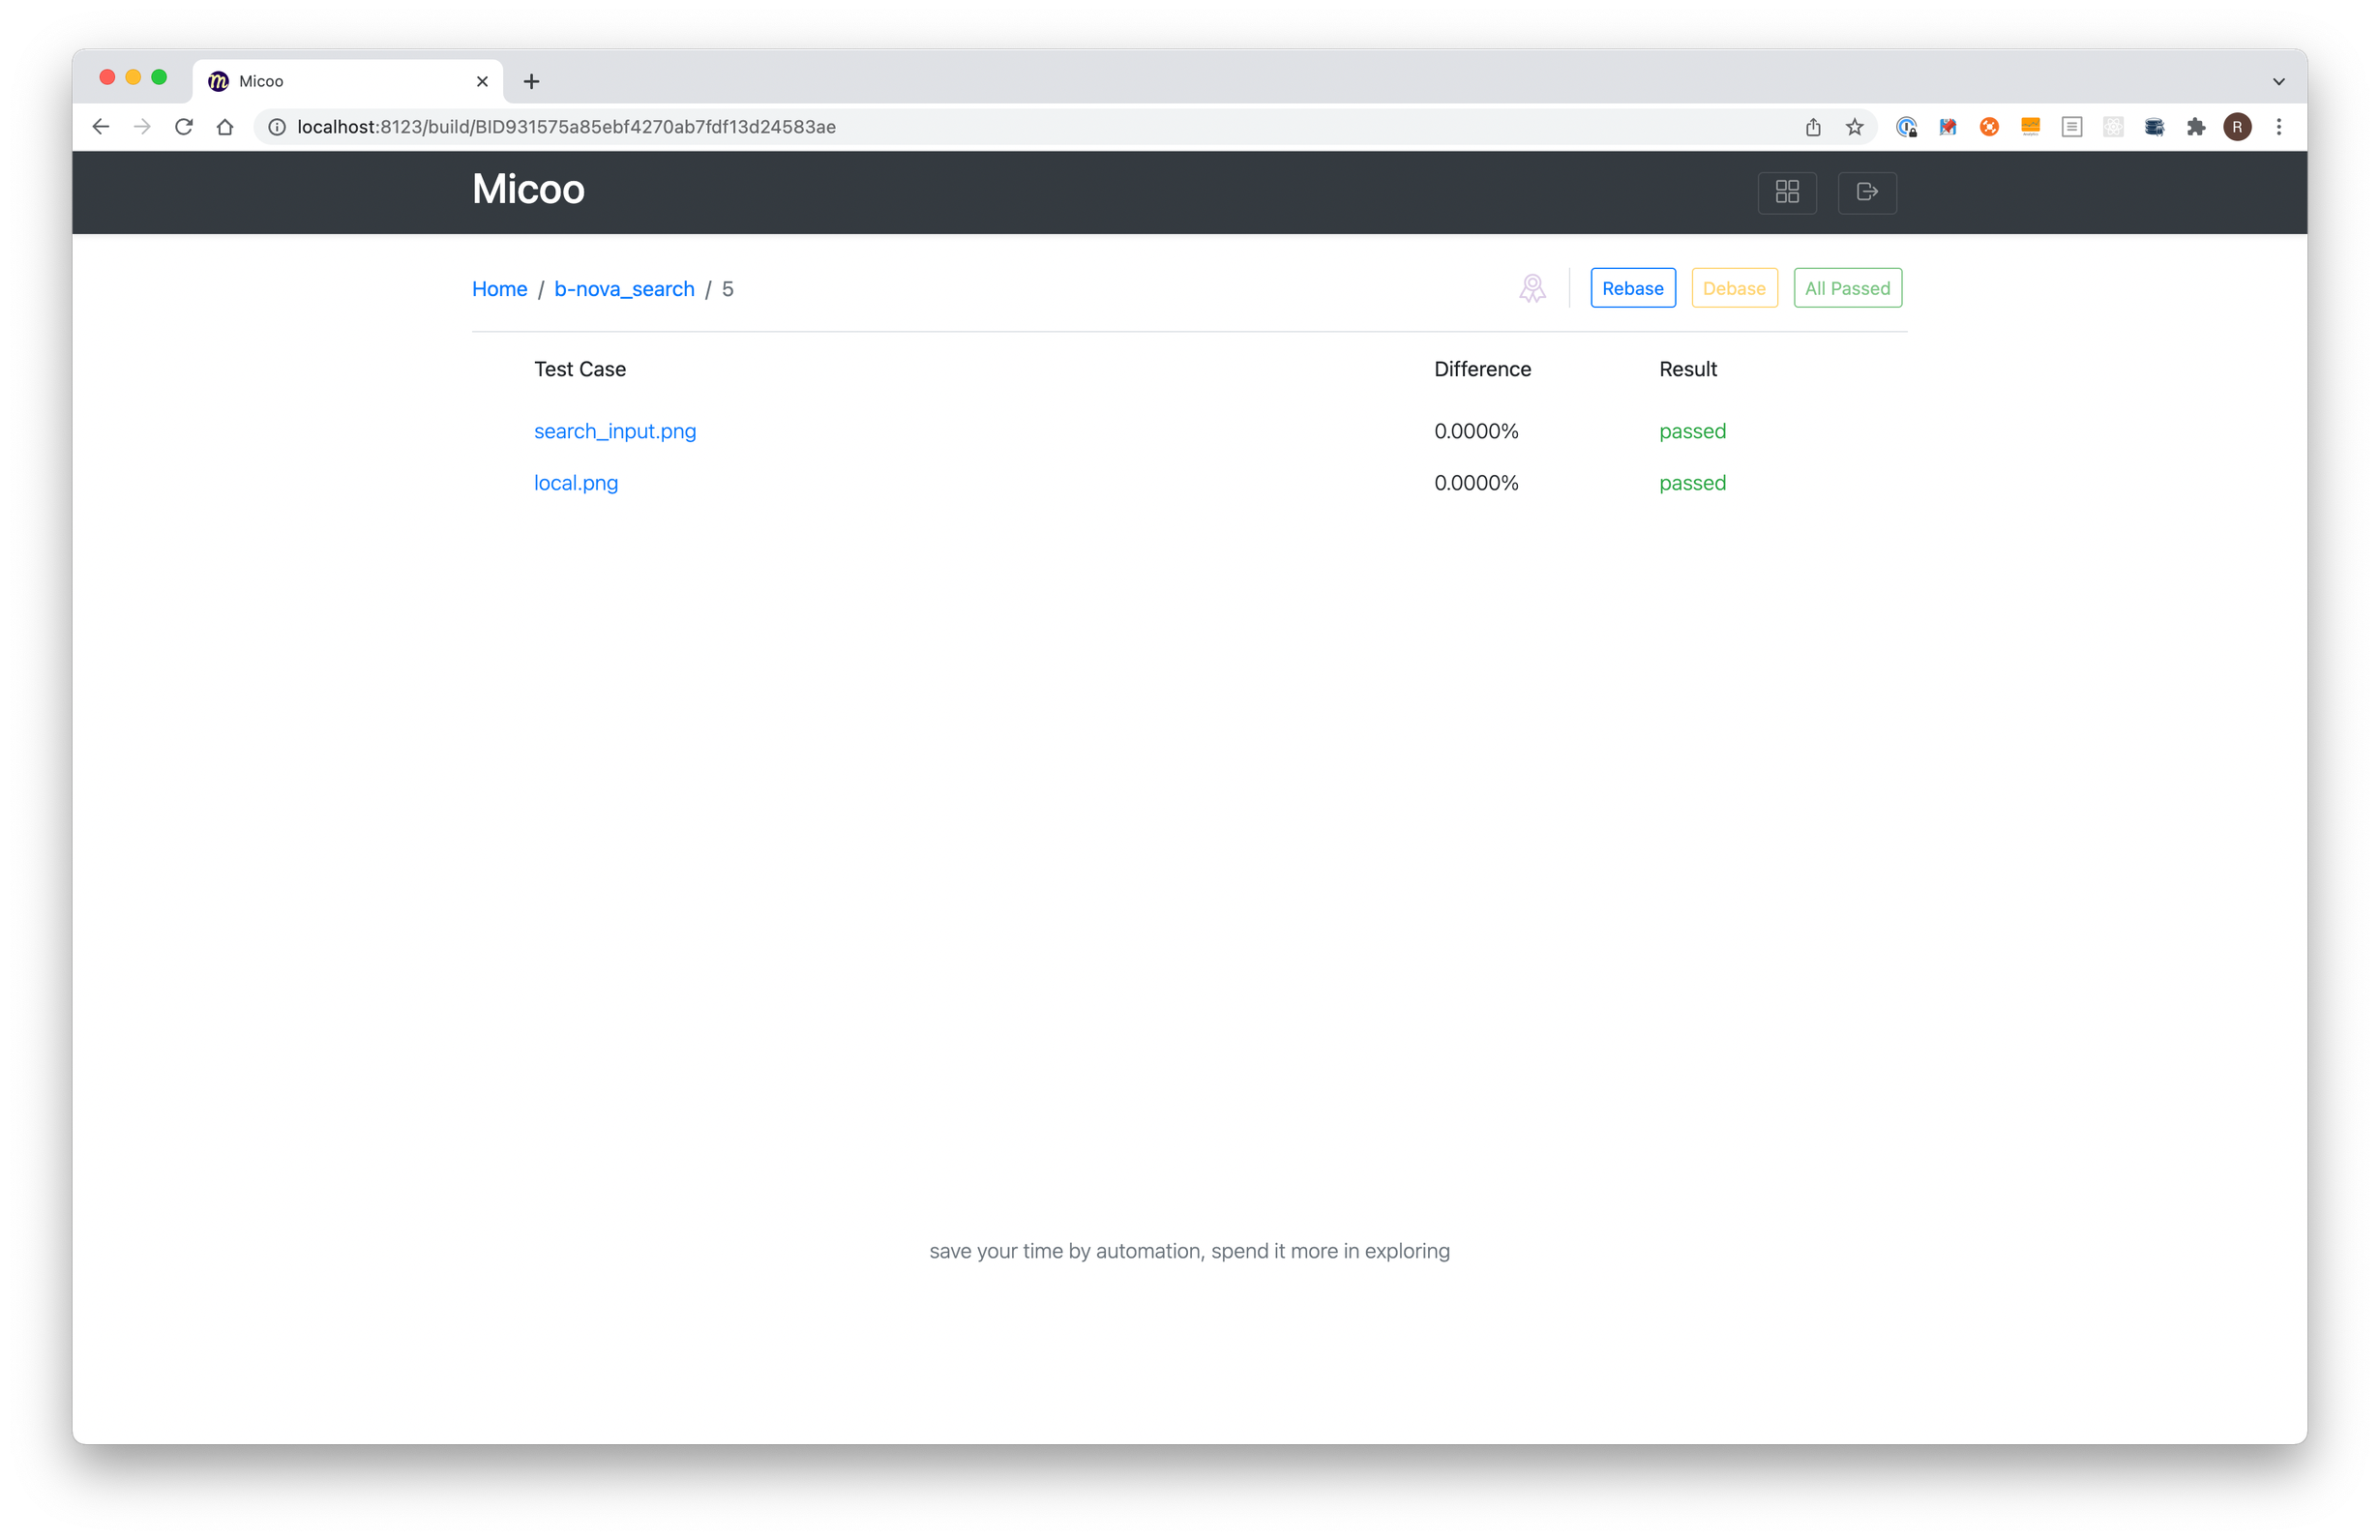
And now you just have to run the test procedure again so that you are sure that it works and also runs successfully automatically. The fifth test now has two images and also both are marked as passed in our example.
Now you have covered the one more test case and you can see what it looks like. Furthermore, you now also know how to set the basis of comparison and also how to change it.
Conclusion
Thanks to the quick set-up, tests can be carried out very quickly, at least locally. But the goal here is rather to automate everything and not only to make it available locally. This is also pointed out to you on Micoo’s web application. Thanks to the Docker images, you can start comparing your application very quickly. If you want to make changes to these images, this is also no problem at all, as they are delivered with them and can therefore be used.
In the end, this is a very simple but also very useful tool. Because, once you have set up all the desired basic elements that are to be compared, you can always be sure that your changes will not have any undesired influence on other elements that you would otherwise not notice so easily. What we would still like to see here are e-mail notifications out-of-the-box.