Devfile.io is an open-source initiative that defines an open standard for containerized development environments using YAML files. The tool was written in Go in 2019 and the main goal is to simplify and automate the setup and management of development environments. This is especially useful in cloud-native development, where environments need to be consistent across different development, testing, and deployment phases. Devfile is also a CNCF Sandbox project. Here is an excerpt from the CNCF Landscape

Origin and Purpose
Devfile.io was developed to address the challenges of maintaining consistent development environments. This is particularly important in times of BYOD (bring your own device), as the local development environment is usually heavily influenced by the respective operating system.
The idea is therefore to provide a standardized method for defining the configuration of these environments, making them portable and reproducible.
A Devfile specifies the tools, dependencies, and settings required for a development environment, so developers can immediately do what they really enjoy, which is to start coding directly without having to manually set up their environment each time, which is time-consuming and nerve-wracking.
Key Features and Benefits
Standardization: Devfiles use YAML and define a clear API using a schema version. Reproducibility: By defining the environment in a Devfile, developers can ensure that the environment is consistent across different machines and throughout the development lifecycle of a project. Automation: Devfiles automate the setup of development environments, reducing the time and effort required to manually configure these environments. Integration: Devfiles integrate with various development tools and platforms such as Eclipse Che, odo and JetBrains Space 1️⃣, Red Hat Developer Sandbox, to provide seamless development experiences.
1️⃣ Unfortunately, it looks like Jetbrains Space is no longer offered and has been replaced by Github Codespaces or is currently in transition.
Innerloop vs Outerloop
In a Devfile specification, there are two areas for deployment: Innerloop and Outerloop. These areas are essential for a comprehensive development experience as well as for the proper integration of the full range of development tools for Kubernetes and OpenShift projects.
Innerloop
Innerloop are all actions that a developer performs in their development environment, such as running tests, debugging, and local deployments, before checking their code into the VCS (Version Control System).
Outerloop
Outerloop therefore logically covers everything that comes after the development phase. Once the source code has been checked into the VCS, integration tests, full builds, or deployments are performed, for example.
Structure of a Devfile
Let’s first take a look at what such a devfile looks like. We see here a valid Devfile, which meets the minimum requirements.
|
|
In line 1 we define the schema version. This simply defines which elements are allowed in our Yaml file and which are not, or rather defines the API version we are using.
In line 3 we then define the components. Components are nothing more than development tools, runtimes or even services. Here we specify the container image that should be used for development.
There are many other things we can define. A complete list can be found in the description of the respective Schema Version.
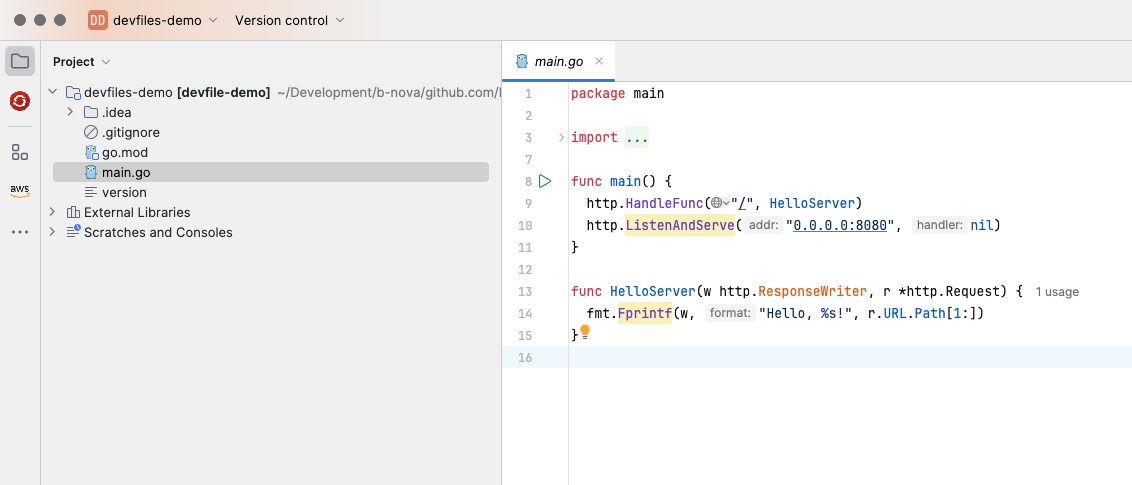
But let’s take a look at a small real world example. Since I want to take a look at odo in my next Techup, I will show you an example here using the Red Hat OpenShift Dev Spaces. I first create a small Go program that I can later “play” with,
|
|
If you don’t have a Red Hat account yet, you need to create one first. I will not show these steps individually here, as they are quite intuitive. Since I mostly develop in IntelliJ, I will install the OpenShift Toolkit by Red Hat. After these two steps are done, a new icon should appear on the left side in IntelliJ.
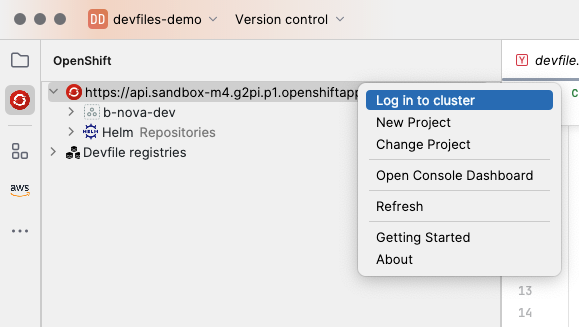
You probably still have a local Url to the cluster there. With a right click on the server you can then log in to your remote cluster. Again, there are a few steps required in an internal IntelliJ browser, which I won’t go into here. Once we’ve done that, let’s take care of our actual Devfile. Locally I now have a very simple Go project with the code shown above.
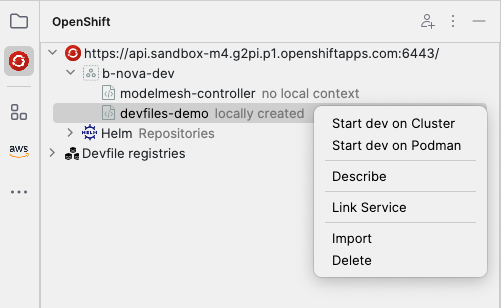
If I go back to the OpenShift view, I see my local project and can select “Start dev on Cluster” there.
An interactive terminal opens where I now have to make a few more entries. I choose the defaults here. When everything is finished, the following lines should appear in the output at some point.
[!TIP]
I had some problems at the beginning because the directories were not specified correctly or the permissions on the folders were wrong. With a few adjustments to the paths it worked out though.
1 2${PROJECT_SOURCE}/.go --> /opt/app-root/src/.go ${PROJECT_SOURCE}/.cache --> /tmp/.cache
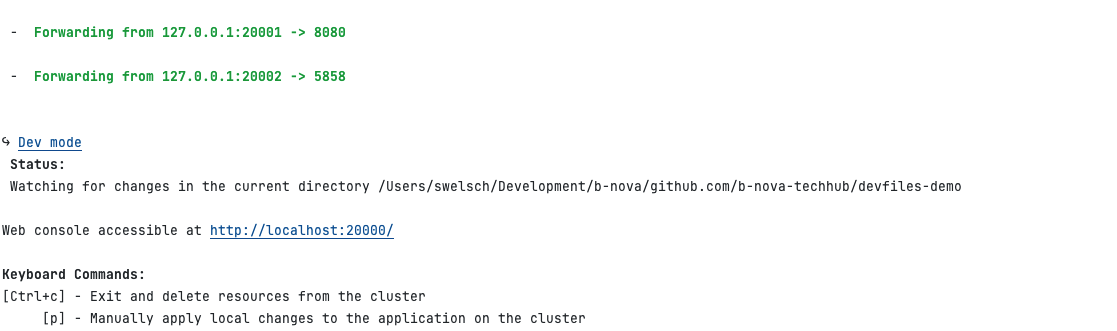
Now we can see that port forwardings have been created, which we can now call locally. If I type http://127.0.0.1:20001/b-nova in the browser, the following page appears
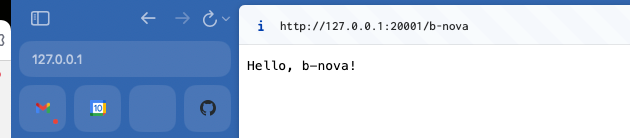
So we now see the output of the Go application running on the OpenShift cluster through the port forwarding in the local browser. Very cool!
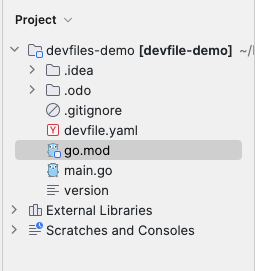
Let’s go back to our local folder. We see that the devfile.yaml has been created for us.
Let’s take a closer look at the file.
|
|
The devfile looks a bit more complicated than our minimal example. Let’s go through it line by line and break it down. We already looked at schemaVersion above. So let’s jump straight to the metadata.
Metadata
As the name suggests, we can define metadata for our devfile, which provides additional information to the developer. All metadata is optional, so I won’t go into it further here.
Let’s get to the “heart” of our devfile. The Component
Component
The Component defines our runtime environment, or environments. There are 5 different types of Components: kubernetes, container, openshift, image, volume.
We take a closer look at container, image and volume.
container
With container we can integrate custom tools into the workspace. These are defined by means of a container image image. We can pass args , i.e. arguments, to the container, or make environment variables available to it via env. With endpoints we specify on which ports the container can be addressed. memoryLimit defines the maximum memory available to the container and mountSources allows the container to access the project sources (/projects path).
image
In contrast to container, with image we can directly build an image based on a Dockerfile. Here is an example:
|
|
I think the structure is self-explanatory.
volume
Finally, let’s take a look at volume. We can use these to exchange data between containers or to share data with other teams during development. Let’s look at a small example:
|
|
Here we see that there is a volume cache which is then added to the container via volume mount.
Line 37-78 defines 3 commands for us. Let’s look at what commands are and what we need them for.
Commands
Commands in a Devfile are specific instructions or actions that are defined to automate and facilitate various development tasks within a development environment. These commands are essential parts of a Devfile and serve various purposes, including building, testing, running, and debugging applications.
What are commands used for?
- Task Automation:
- Build Commands: Automate the application build process by executing the necessary tools and steps to compile the code and create artifacts.
- Run Commands: Start the application in a specific environment, whether locally or in a cloud environment.
- Test Commands: Run test suites to verify the application and ensure that it is working as expected.
- Standardization and Consistency:
- Defining commands in the Devfile allows all developers on a team to use the same commands, resulting in a more consistent and predictable development environment.
- Ease of Development:
- Debug Commands: Facilitate debugging the application by pre-configuring debugging tools and settings.
- Init Commands: Perform initialization tasks, such as setting up databases or configuring environment variables.
- Repeatability and Scalability:
- Commands make it possible to create repeatable and scalable development processes that can be easily transferred from one developer to another.
Structure of a Command
A command in a Devfile is typically defined as a YAML or JSON entry and consists of several components, including:
- ID: The ID of the command.
- attributes: Map in which you can define implementation-dependent yaml attributes.
- Type: The type of command (e.g.
execfor executing a shell command,applyfor applying a K8s resource,compositefor executing multiple sub-commands ).
|
|
We only have exec as type in our example and want to take a closer look at it now. With the exec type we can execute CLI commands in our container.
The attribute commandLine defines the command.
With component we can specify which component the command refers to. Since we only have one component runtime, only this one is specified.
We can provide each command with environment variables using env.
Another field is group. Possible values here are build, run, test, debug or deploy. So we can execute a corresponding command for the different phases in our application. isDefault then defines the default command within a group. There can only be one default command.
So we can define exactly what should be executed for the corresponding lifecycle.
Let’s take a look at the whole thing in practice, using the example of our Go program. What exactly happens when we develop locally and something changes in the code.
We change the greeting in our program from “Hello” to “Hello and welcome” and observe what exactly happens in the console.
|
|
|
|
And if we now call our application again in the browser?
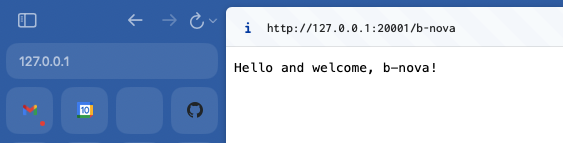
That’s pretty cool. So we can develop locally on our machine and the whole build and deployment process is done for us based on the devfile. In the background, a deployment is created on RedHat OpenShift and the files are synchronized and rebuilt when a change is made.
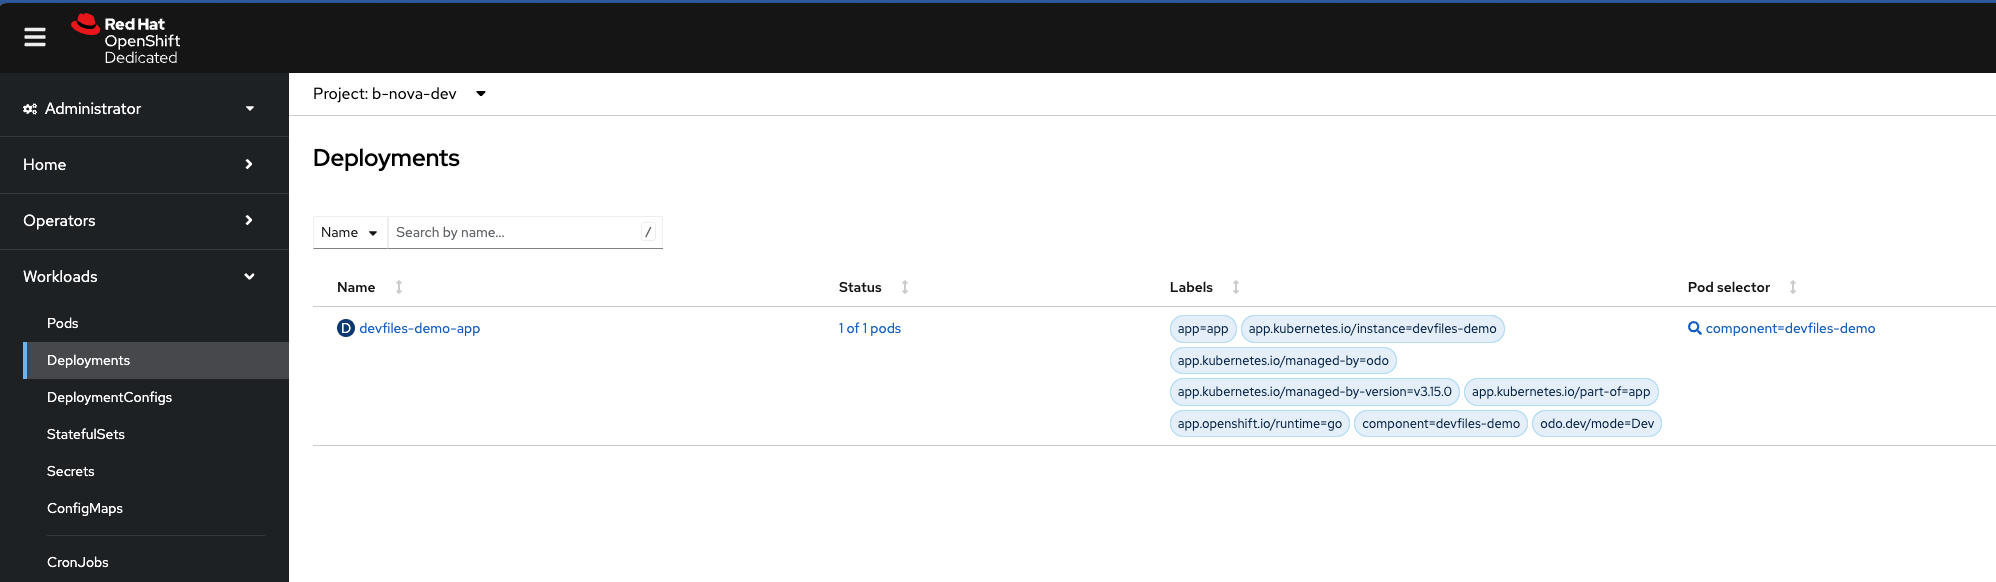
Here we see the OpenShift Deployment in the console
Let’s take a look at the whole thing again in the pod itself. I connect to the terminal to the pod and go to the source directory:
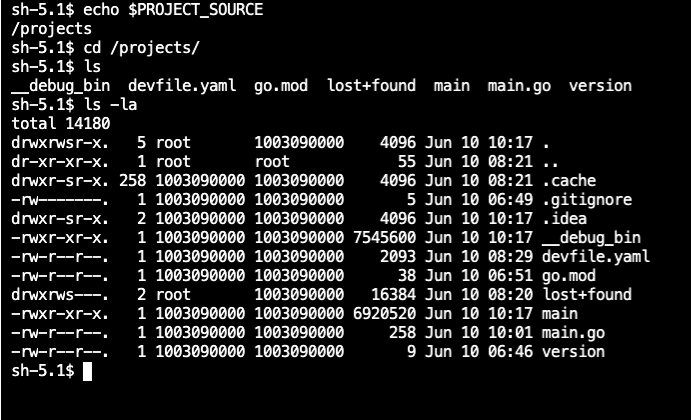
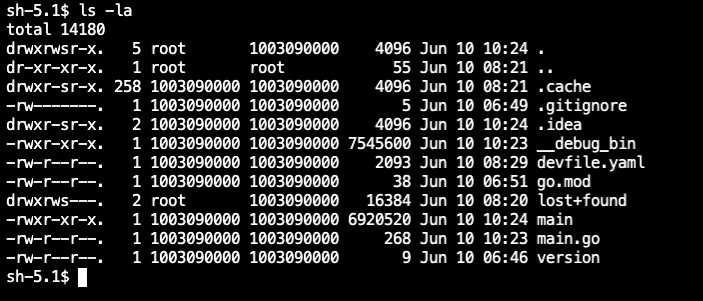
We see the last modification of the binary file (i.e. main) was at 10:17. I now change the text in the main.go file locally again and as we can see the timestamps of the source file and also of the binary change.
That was a short introduction to devfiles.io which makes setting up a development project really easy and straightforward. The attentive reader has probably already noticed that odo.dev is used in the background, which I already mentioned above. I will show you this in more detail in the next Techup.
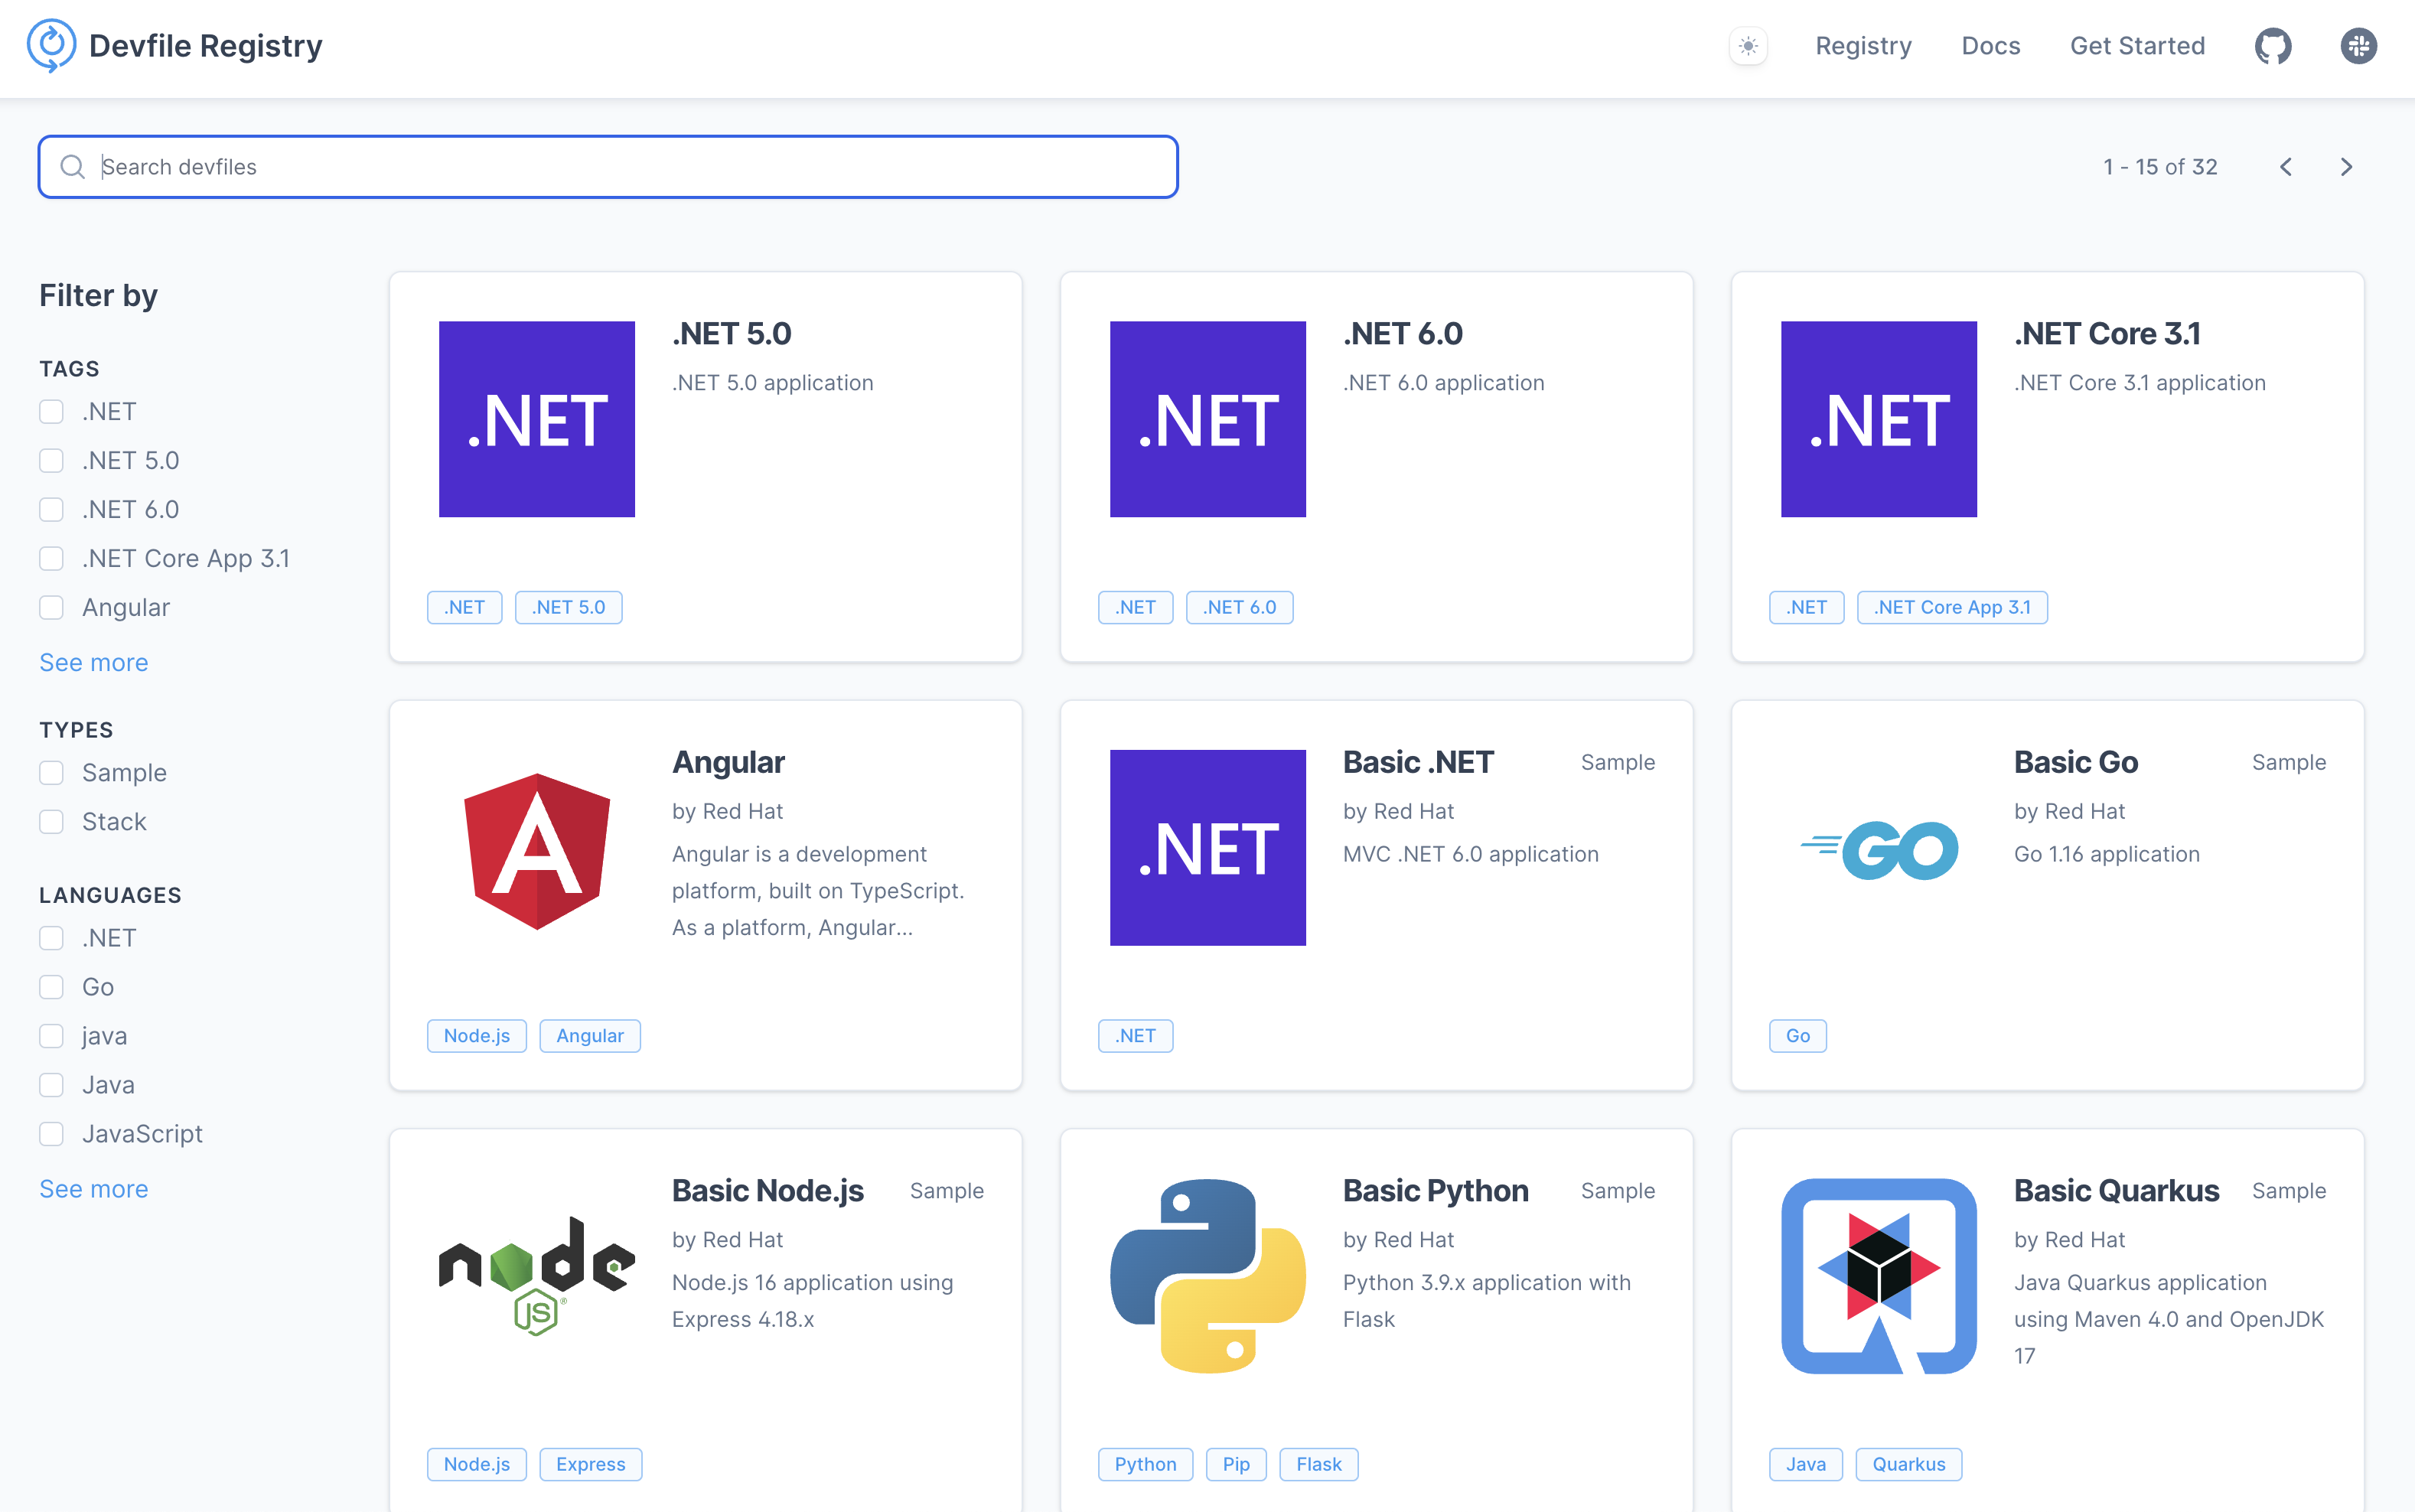
Devfile Registry
Finally, let’s take a look at the Devfile Registry. It is used to store and serve Devfile stacks for Kubernetes developer tools such as odo, Eclipse Che, and the OpenShift Developer Console. This allows us to directly access and use Devfiles via the Devfile Registry.
Each Devfile stack corresponds to a specific runtime or framework, such as Node.js, Quarkus, or Go. A Devfile stack also includes the devfile.yaml file, a logo, and outer-loop resources. These ensure that code reviews and integration tests are performed, typically automated by CI/CD (Continuous Integration/Continuous Delivery) pipelines. In short, Devfile stacks provide developers with a template for getting started with developing cloud-native applications.
Conclusion
Devfiles are a step in the right direction in my opinion. However, since I have only used this in test projects so far and have not really worked with it in a team, I cannot yet give a final assessment. For my tests, however, it is a very useful tool that can significantly optimize the setup time of a development environment.
This techup has been translated automatically by Gemini