This week we deal with Spartacus, the Angular based JavaScript storefront for the SAP Commerce Cloud. The Angular application communicates via the Commerce API of the SAP Commerce Cloud. Spartacus is an open source project which is freely available on GitHub.
We will set up an exemplary store together locally. We will use Angular as a front-end framework and address a SAP-hosted SAP Commerce cloud store in the back-end.
Version 3.1 of the storefront is now available. In order to be able to use this version, the following requirements must be met:
- Angular-CLI → Version 10.1 or newer, but <11
- Node.js → preferably the latest 12.x version, but <13
- Yarn → Version 1.15 or newer
- SAP Commerce Cloud 1905 or later
Commissioning of the sample store
To test Spartacus, we first create a new Angular app. You can call the app as in
the example from Spartacus itself mystore.
|
|
Once you’ve run the command, you’ll be asked if you want the app to use Angular Routing. You can add the dependency first, but you don’t need it to get started.
As soon as this process has been successfully completed, you can change to the mystore directory within the terminal
and open VS Code with code ..
In some cases it is better to do another yarn install afterwards to make sure that all dependencies have been
installed correctly. To make sure that your application is running, you can start it with yarn start beforehand. For
the next steps you should stop the server afterwards.
If everything works as desired, we can now use an example from Spartacus ourselves, because SAP provides a functional backend.
With Spartacus Schematics it is possible that you can install the Spartacus libraries within your project. In the
example provided, four options are used. For those who have already worked with SAP Hybris or similar, the two
options baseUrl and baseSite will already be familiar. Because these provide information about the backend of the
shop. With the third option you can specify that the server-side rendering function is activated and with the fourth,
the presets for a progressive web app are also added.
|
|
Due to the different dependencies that are used, there can often be dependency problems during the installation. You should fix these first before you can proceed. That is why we are making the project available to you via GitHub so that you can see which versions we used to create this tutorial.
If you have successfully completed the installation, all necessary files have been adapted automatically.
Within app.module.ts, you can find the previously passed settings for baseSite and baseUrl. In this step it should
be mentioned that you should remove the module AppRoutingModule from the import if you added Angular Routing when
creating the project. Otherwise nothing will be displayed without further settings.
|
|
Another important change that was made automatically can be seen within the app.component.html. Because there the
entire content was deleted and replaced by a single HTML tag.
|
|
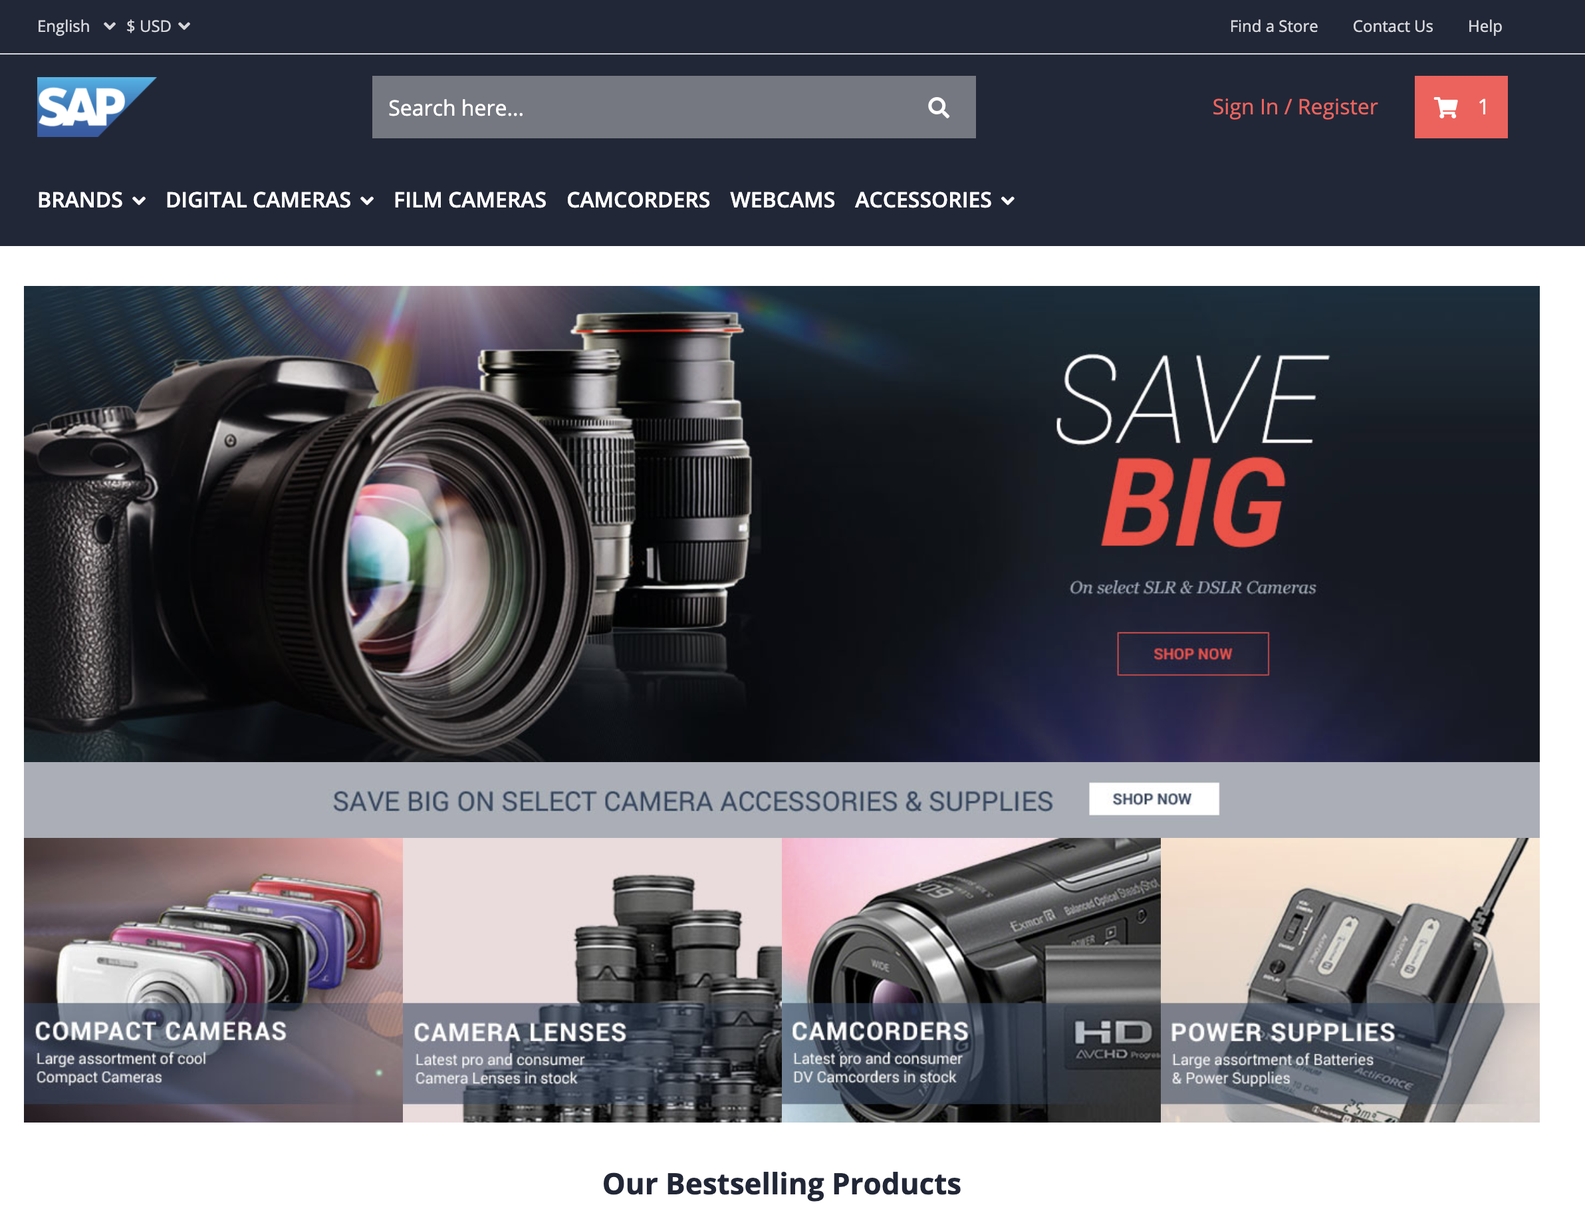
Now you can start the server again with yarn start. You should now see the sample store provided by SAP at the
address http://localhost:4200/.
Customize a component
Of course, you also have the option of adapting existing components that are already made available via the backend. As an example, we will now revise a product detail page.
Since Spartacus is an open source project, you can also find the necessary information within GitHub. There you can, for
example, look up the
specified slots
for the ProductDetailsPageTemplate. However, the components come from the backend side.
|
|
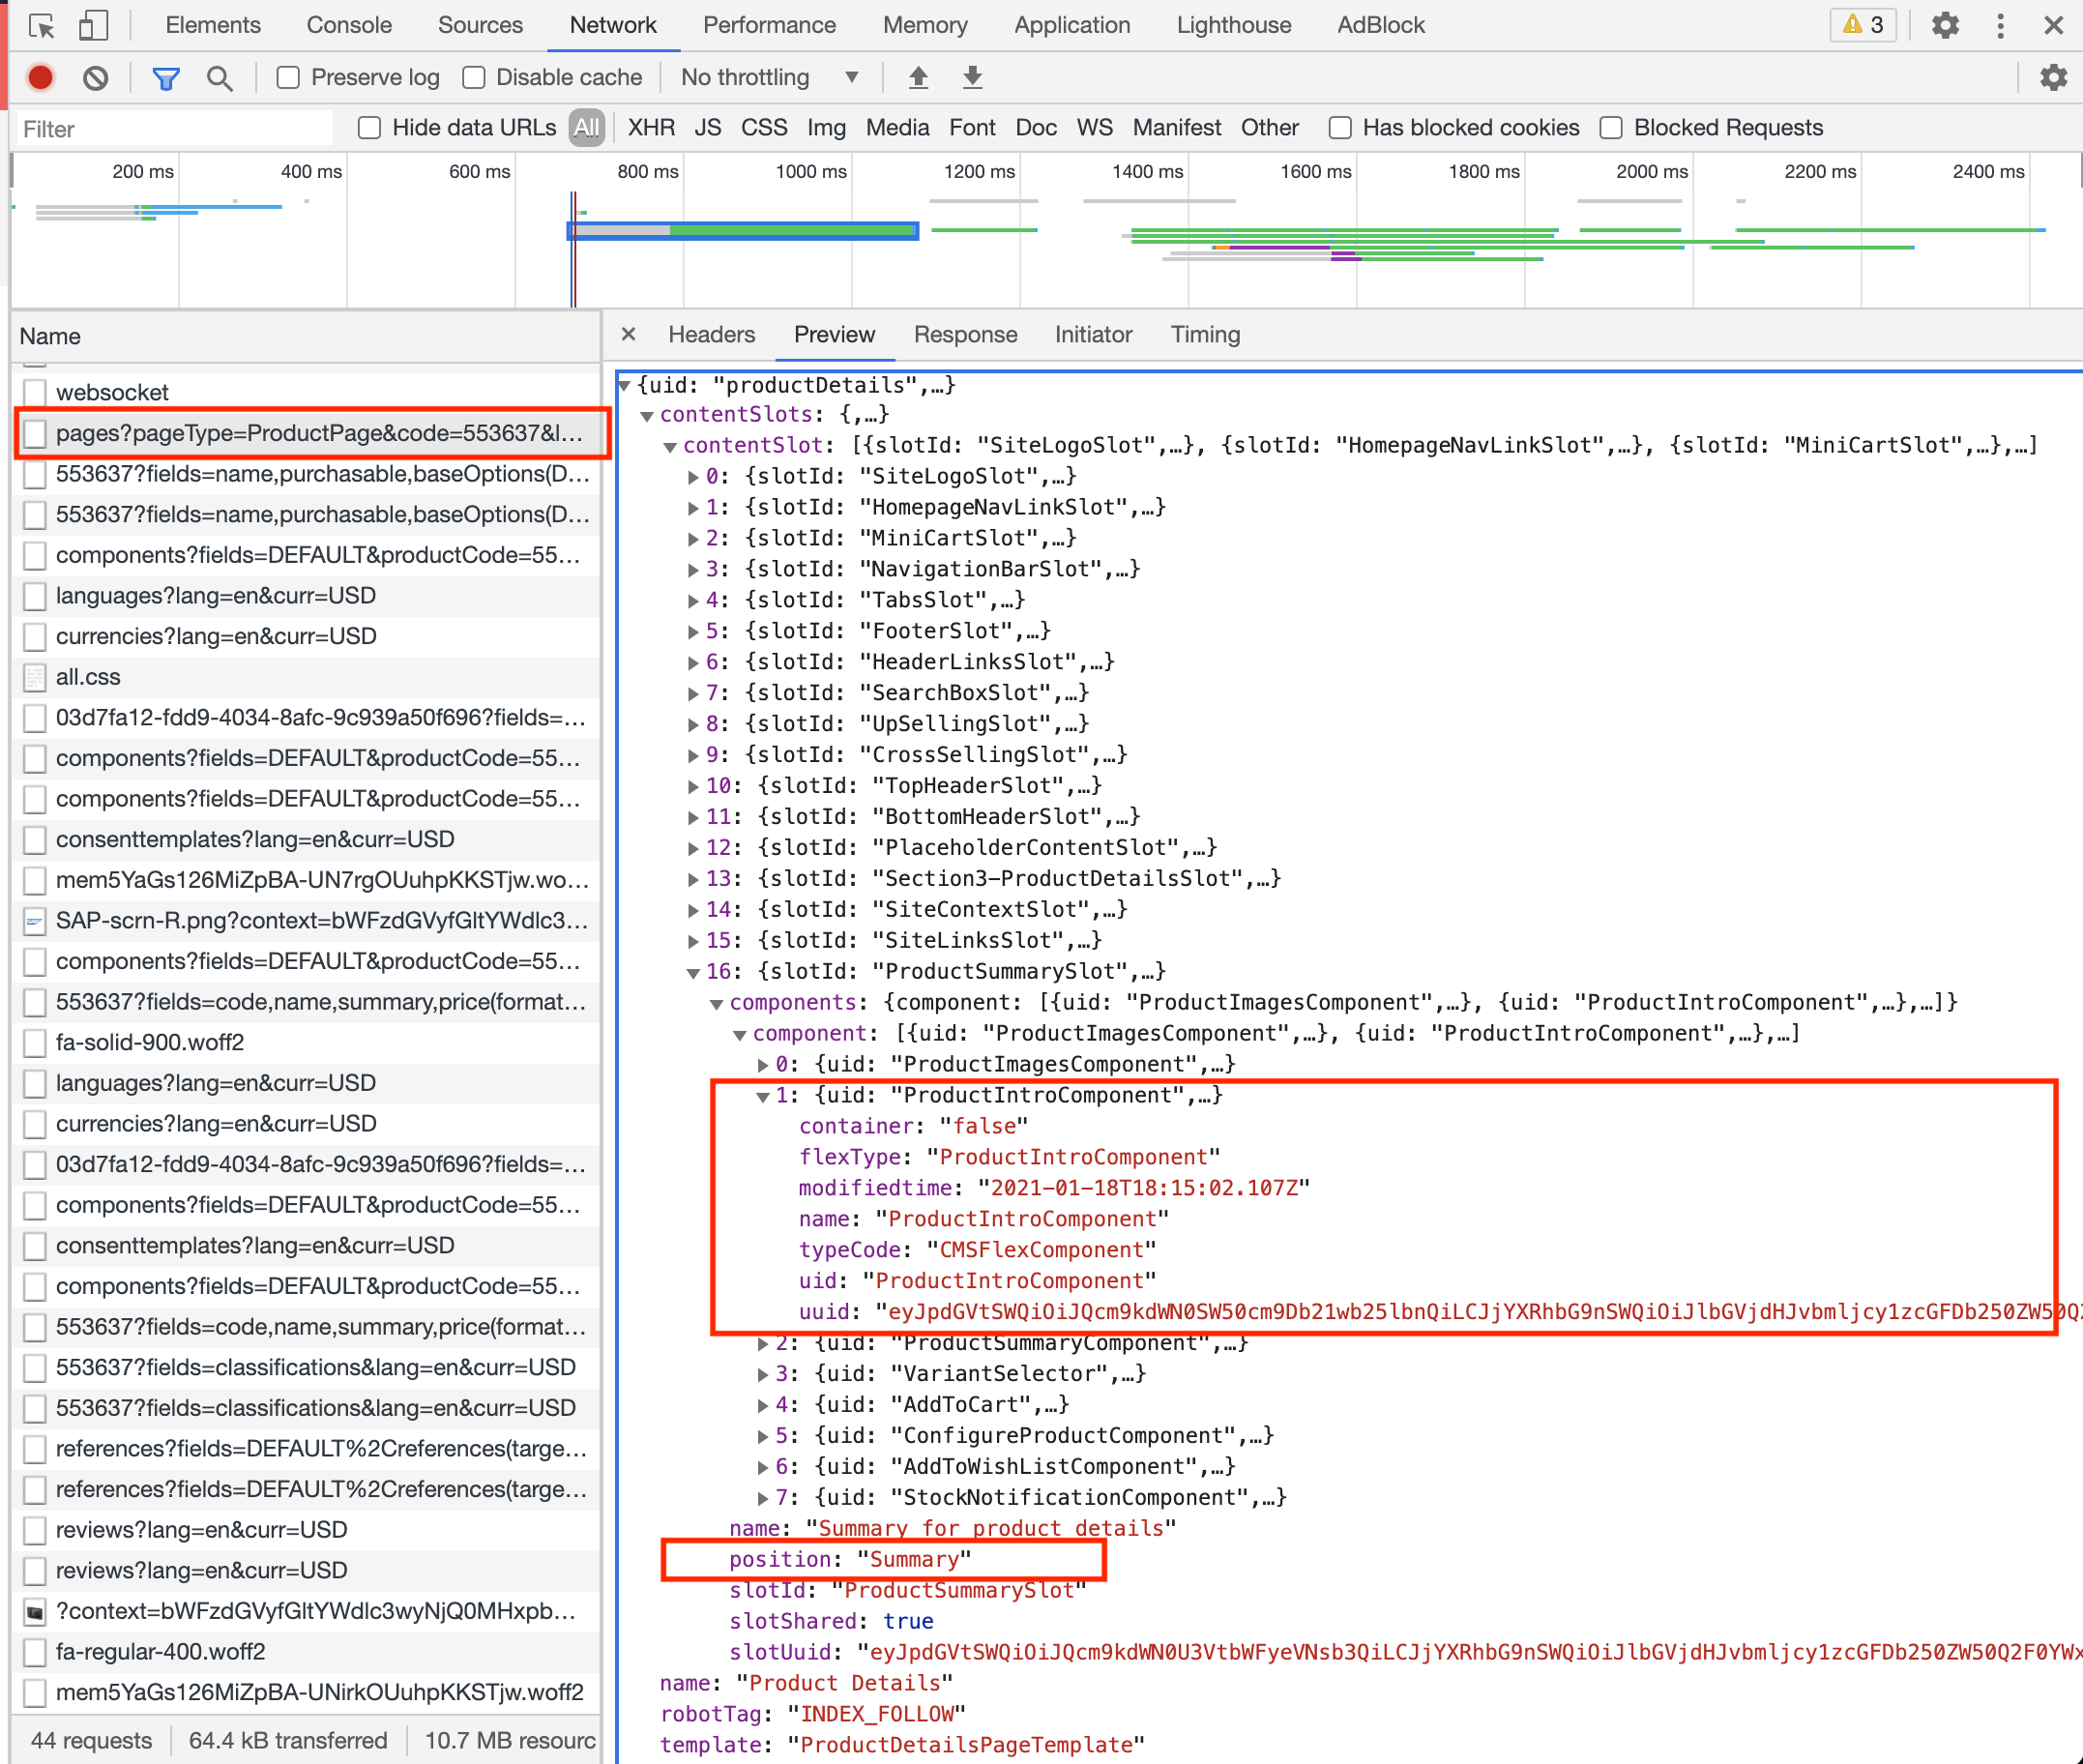
To do this, you can open the network tab in the browser via the developer console and call up a product page in the
store. Within the call pages?pageType=ProductPage… you can now see all components that are used. Using
the Component 16, you can see the description Postion: Summary, which corresponds to the first slot. This slot
corresponds to the slot that you can see in GitHub for the ProductDetailsPageTemplate, or in the previous picture.
The ProductIntroComponent is now used as an example component to be adapted. The attribute flexType is used for
identification.
Now we come back to the practical part within VS Code. First, you need to create a module. The best way to do this is via the terminal. The name for the module is based on the standard Spartacus abbreviation, namely Product-Detail-Page.
|
|
In the second step you now have to create a component within this module.
|
|
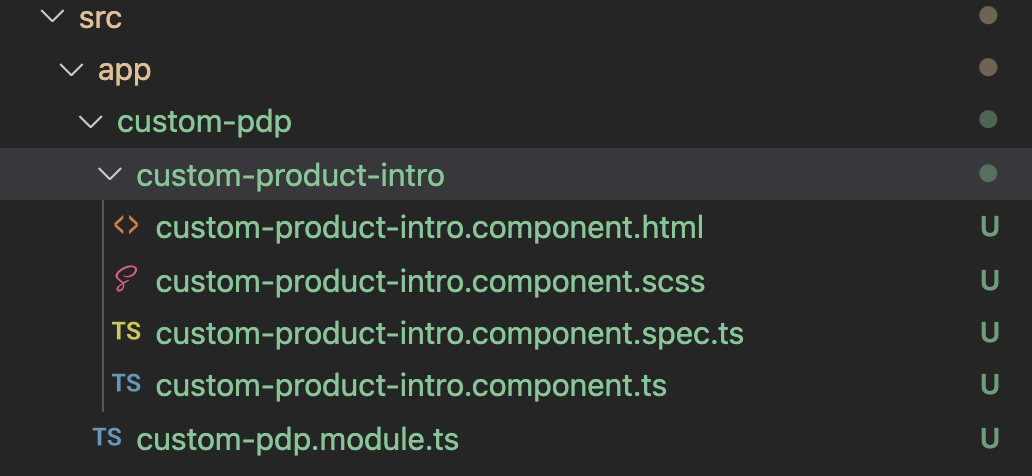
You now have the following folder structure:
The withConfig part defines that it is a CMS component. The ProductIntroComponent is to be replaced. You can find this component using the flexType. The component used instead is the one you created earlier.
Config Typing helps you to use the correct attributes, in this example CmsConfig is used.
|
|
So that this component can also be used in the app, you have to add the module CustomPdpModule in the
file app.module.ts within the import statement.
|
|
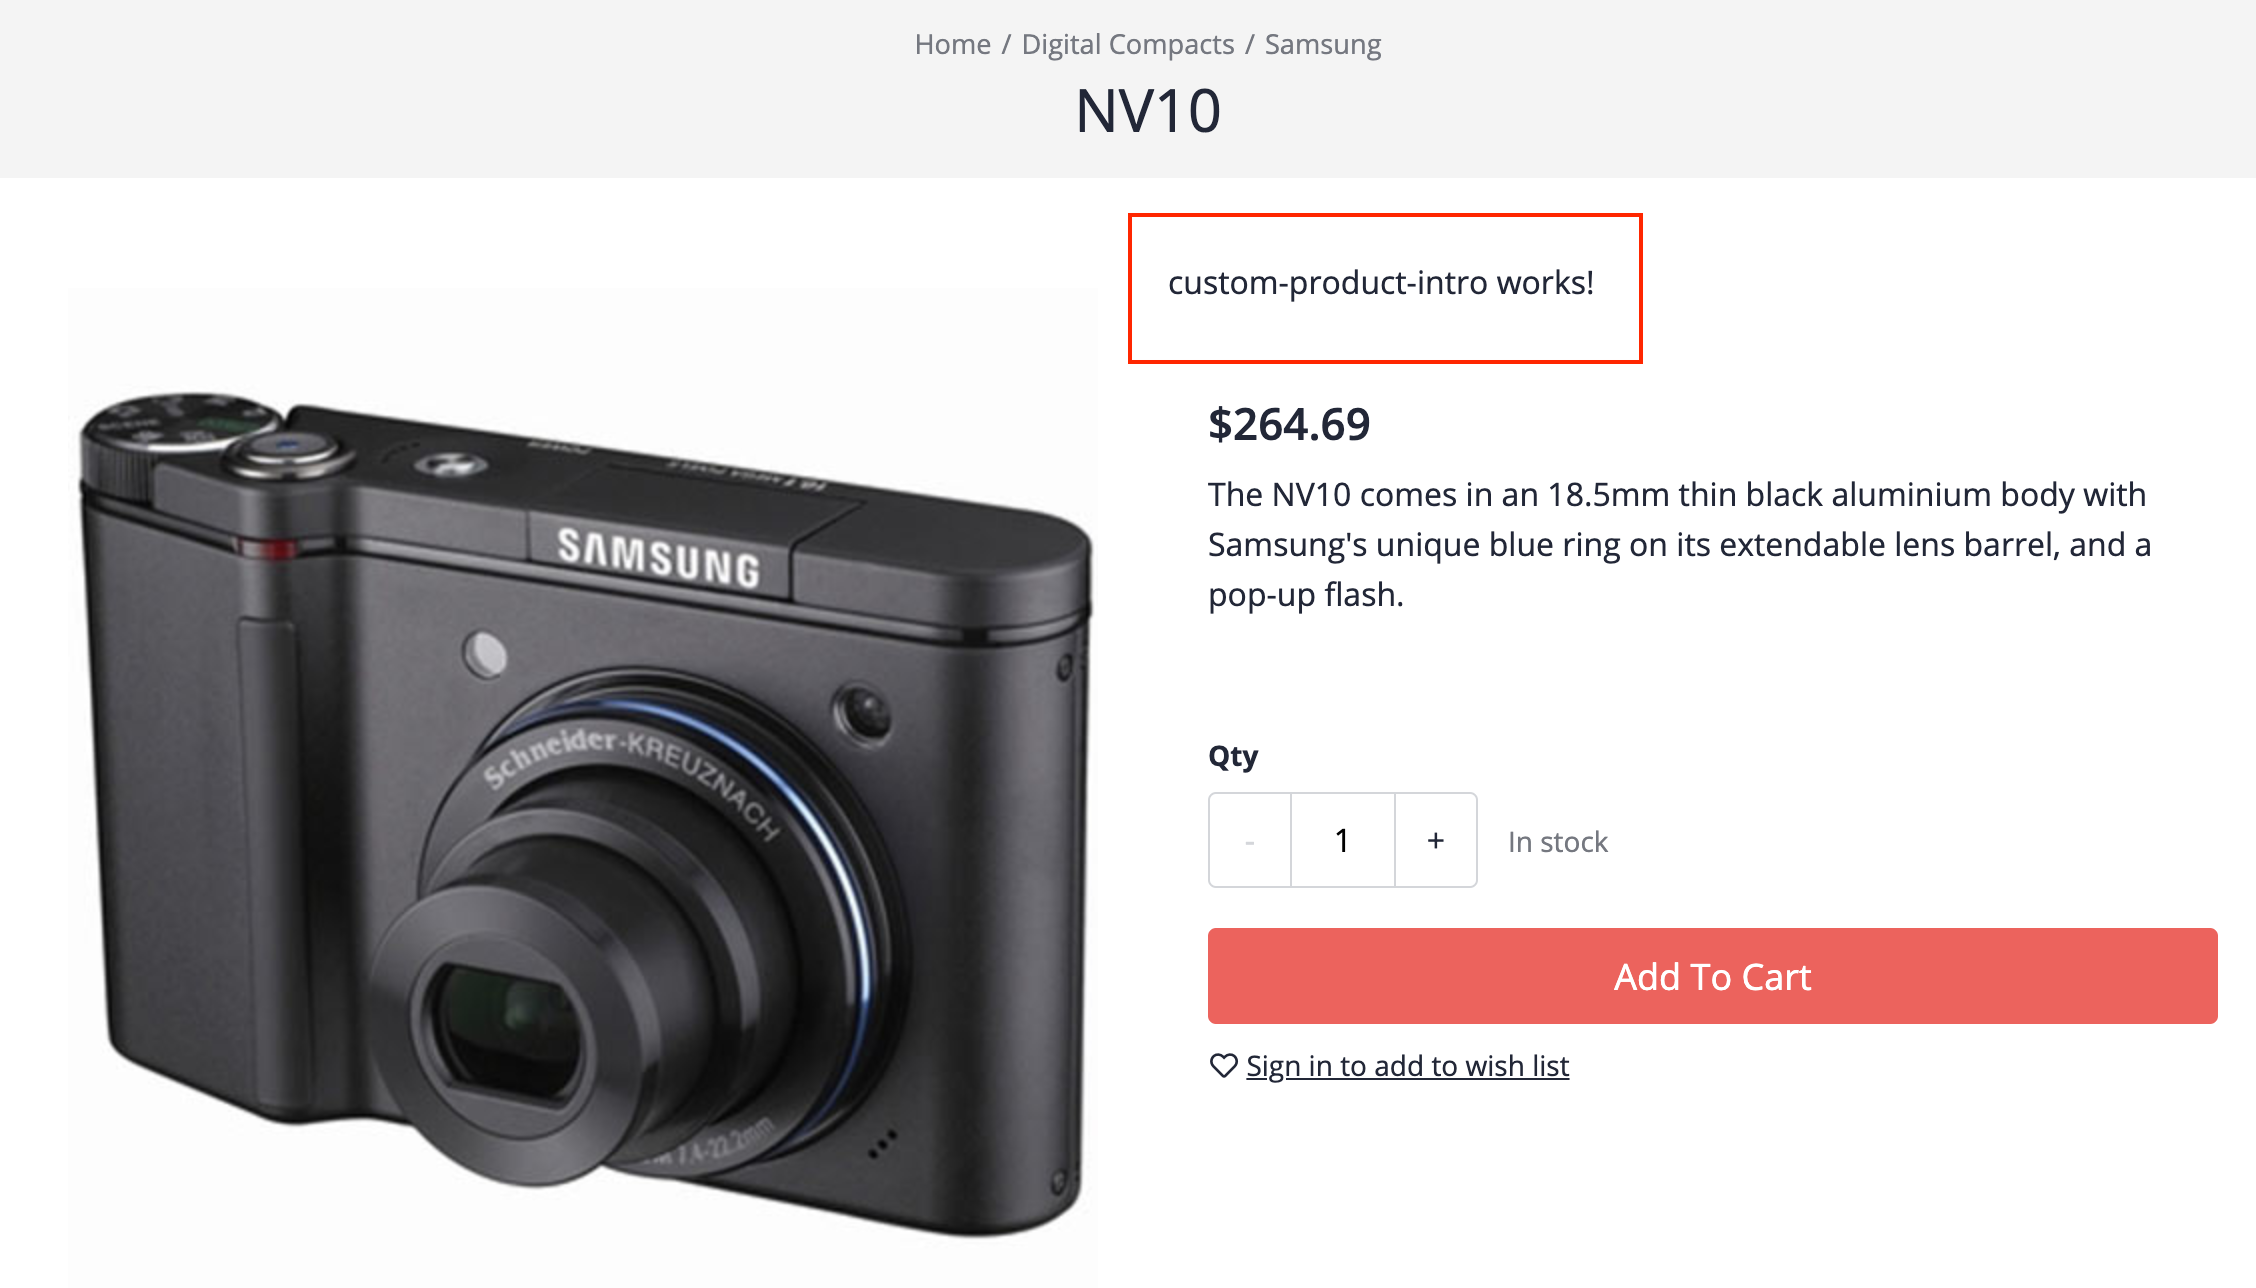
As soon as you save the change and everything has been rebuilt, you will now see the standard text of a component that
was created via ng on the Product Detail Page (kurz PDP), namely: “custom-product-intro works!“
Now, of course, you also want to be able to access product information so that you can display it in your own way. To do
this, you have to adjust a few things within custom-product-intro.component.ts. Within the constructor you first
determine the CurrentProductService, which you get from Spartacus Storefront and which of course you have to import.
|
|
In order to access and display the attributes of the products, you have to switch to the
file custom-product-intro.component.html. There you first create a ng-container, since the product variable is an
observable and has to be “unpacked”. You can then access all the attributes that are defined within the product
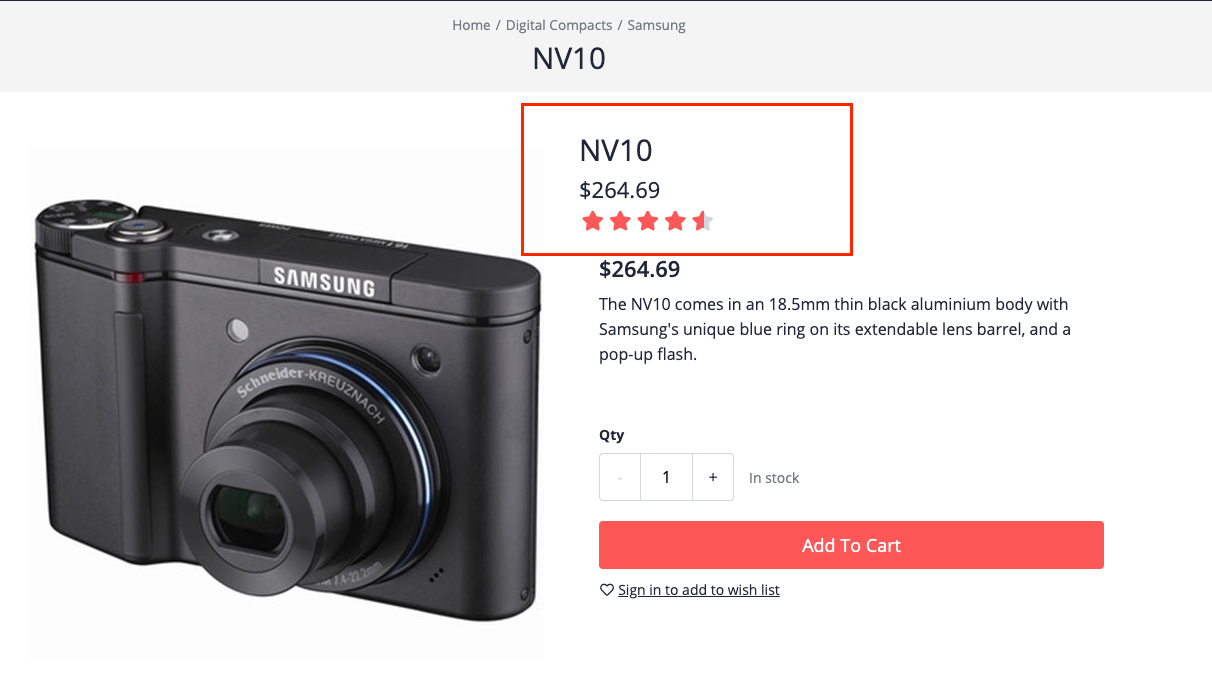
model. In this example, the name is output first and then the price.
The next special feature are components that are also made available via Spartacus Storefront. There is also a documentation for these components and their modules. A star rating component is used in this example.
|
|
So that you can also display this Spartacus component, you must also import the module within custom-pdp.module.ts.
|
|
With these changes you now have the following view on your product detail page:
PWA
As you saw earlier, the fourth option to the ng add @spartacus/schematics command was --pwa. This has already added
the settings for a Progressive Web App. In order to actually use this function, you have to execute the following
command.
|
|
This command in turn automatically executes two other commands:
|
|
The first part of it generates all the necessary files and registers your service worker to run your app as a PWA. The second part runs an automatically generated script.
If you have successfully completed this command, you can now start the server:
|
|
You can now open your website again. This time, however, via: http://localhost:4000/
Since it is now a PWA, you can also see the associated service worker within the developer tools in the “Application” tab.
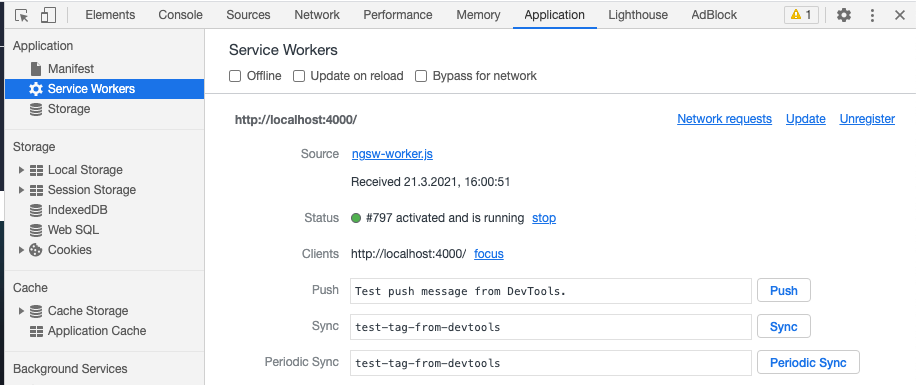
Another advantage is that it can be installed as an app.
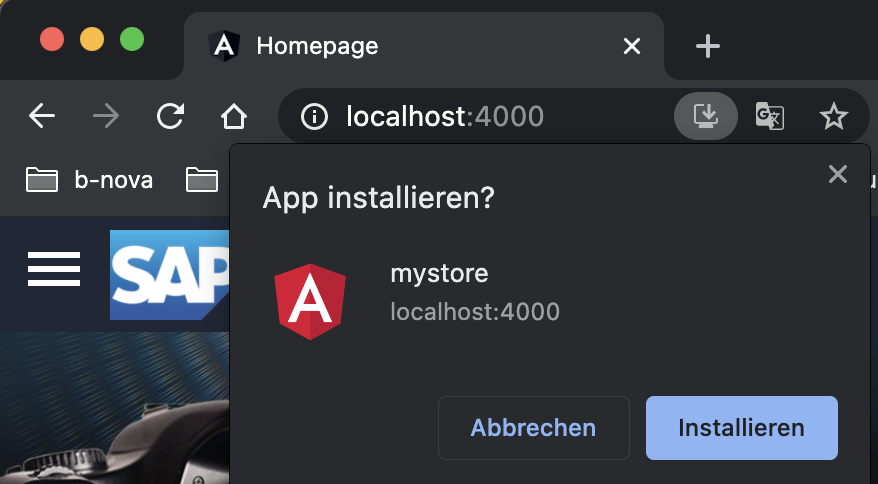
The online shop can then be opened as an app. It looks like this:

You have now successfully connected the SAP backend with an Angular application to the Spartacus storefront and created your own component. You can also use the online shop as a progressive web app, or PWA for short. If you want to know more about the benefits of PWAs, you can have a look at our blog next week to read more about them.
This text was automatically translated with our golang markdown translator.