Daytona is a development environment management (DEM) platform launched in early 2023. The team behind Daytona originally developed Codeanywhere, one of the first cloud-based integrated development environments. After recognizing the limitations of Codeanywhere and noticing the evolving needs of the developer community, they decided to create a more robust and flexible solution, which led to the birth of Daytona.
Daytona promises efficient management of development environments. According to the Daytona website, there is even the following statement:
Daytona is a radically simple open source development environment manager.
But what exactly does Daytona do? Here are a few details that can be read on the website.
With Daytona, the entire development environment is automated from the ground up. It starts with provisioning the necessary instance and intelligently interpreting and applying the desired configuration. Daytona then sets up prebuilds that provide developers with ready-to-use environments. The secure VPN connection ensures that all data is protected, while the ability to connect both local and web IDEs offers maximum flexibility.
Daytona makes the entire development process seamless and efficient, so you and your team can focus on what matters most: writing code.
First of all, I have to mention that I needed a lot of patience at the beginning to be able to use Daytona. There were different kinds of errors, but in the end it worked. I will go into the individual errors in the course of the techup. It is also important to mention that I only looked at the open-source version of Daytona, which has been available since March 06, 2024 and is therefore still very young. This is important to mention because the range of functions of the open-source variant and the enterprise variant are probably very different.
But let’s take a look at what the whole thing looks like in practice.
Setup
First we install the Daytona CLI. To do this, we execute the following command in a terminal:
|
|
We then get the following output:
|
|
First Workspace
We can now start directly and create a new workspace. So we select the item daytona create. Here we can simply enter a Git URL and a workspace name to start.
|
|
Once the information has been entered, the workspace is initialized. In the log output we see that a daytonaio/workspace-project Docker image is downloaded, with which our workspace will later be provisioned. As we can already see here, we need Docker on our computer to be able to use Daytona. Then the Daytona binary is installed and an SSH daemon is started.
Once everything is initialized, we can open the project locally. To do this, we can simply enter the following command in the terminal.
|
|
We see our workspace and can simply select it. The following message appears and VSCode opens with the desired project.
|
|
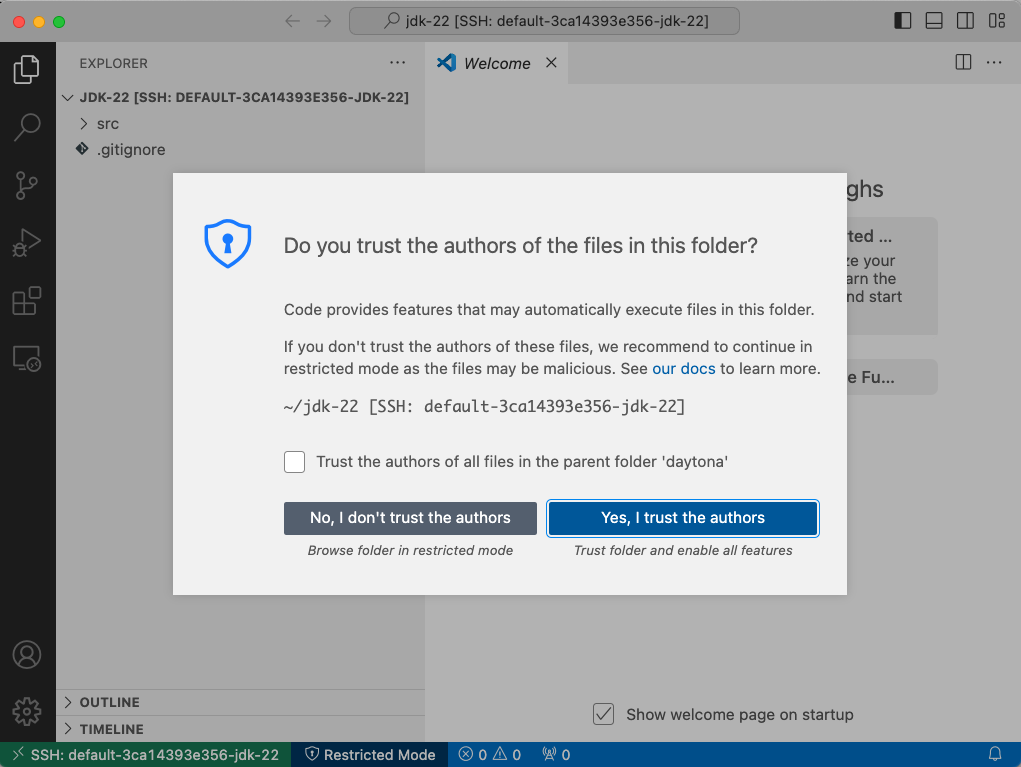
But where exactly is our project running now? As we can see, an SSH connection is established to our project. The attentive reader has seen that a Docker container was started during initialization. Let’s take a look at the running containers on the system.

So our project is running in a Docker container that we can connect to via SSH.
For those who don’t like working with VSCode, there is good news. Daytona also offers other development environments. We can output a list with the following command.
|
|
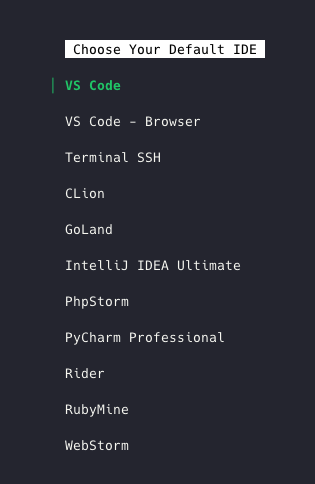
I’ll come out as an IntelliJ user here and choose “IntelliJ IDEA Ultimate” as the default IDE.
Now we can run the daytona code command again and IntelliJ should open.
Unfortunately, it doesn’t work as easily as with VSCode. When opening the project, the following error occurred first:

However, this error is quickly resolved. We first need to install the Jetbrains Gateway so that we can establish a remote connection to our Docker container. An SSH remote connection is then established and IntelliJ is started. Unfortunately, an error was also thrown during startup.
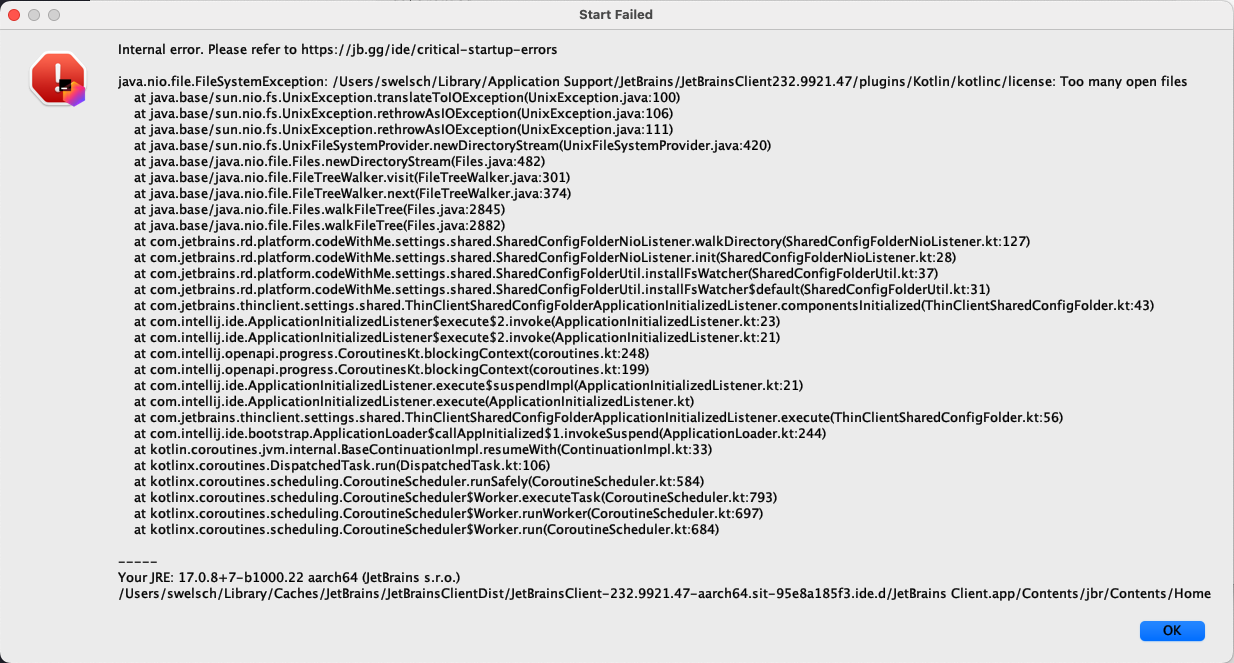
I was surprised that a relatively old IntelliJ version (2023.2.2) is used here, which is fixed in the code. So I decided to create a pull request in which the latest version is always taken. https://github.com/daytonaio/daytona/pull/541
Unfortunately, I couldn’t solve this error and probably have to continue working with VSCode for now.
But let’s take a look at what else Daytona has to offer. If you type daytona --help in the console, you get an overview of all the commands that the CLI supports.
|
|
Git Providers
I don’t want to go into all the commands now, but I’ll pick out a few that are quite interesting. With git-providers you can, as the name suggests, store various Git providers at Daytona, which you can then access.
|
|
Let’s take a look at this using the example of Github. To add a new Git provider, you need a personal access token so that you also have access to non-public repositories. If we now enter daytona create again, we see that we can select the already created Git provider, in our case Github.
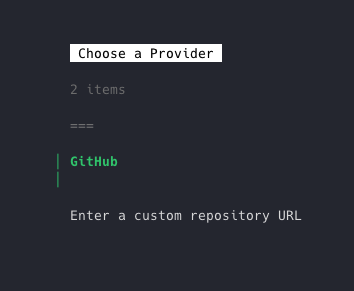
If we now select Github, we see all personal repositories and can select one here. Unfortunately, I didn’t manage to display the company repositories either. That’s why the function is currently not really usable for my purposes and I have to take the detour of entering a custom repository URL, which is not really bad either.
Another interesting command is profile. This theoretically allows us to use multiple API servers. It would be conceivable, for example, to create different profiles for different cloud providers where the API server is deployed.

Another thing to mention is provider. This allows us to determine how our containers are made available. In the open source variant, there is only the Docker provider here.
Since Daytona is open source, as already mentioned, you can probably write more providers here to your heart’s content, which I haven’t looked at. However, the enterprise variant probably also supports Kubernetes and OpenShift.
Conclusion
Daytona is a great idea, but the open-source variant is still very rudimentary and still needs a lot of improvement. Unfortunately, there is not really any documentation from which you can get the information. This also needs to be improved. Daytona is said to be expandable through a plugin principle, but there is currently no information about this on the Github page either. I will definitely keep an eye on the product and try it out in a team for internal projects. If you would like to be kept up to date on the topic, you are welcome to follow me on LinkedIn.
This techup has been translated automatically by Gemini